

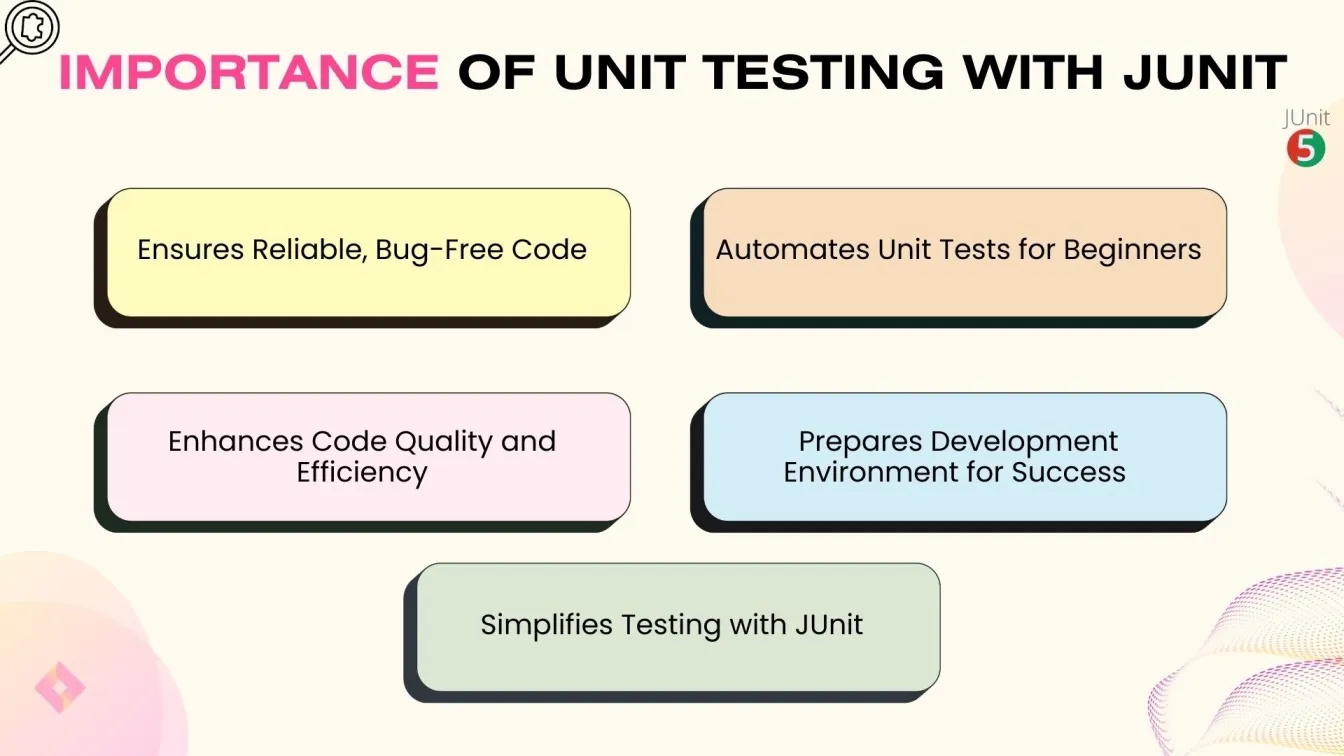
JUnit testing is a critical component of software development that ensures your code is dependable, bug-free, and of good software quality. It ensures functional testing of the Java programming language by enabling unit test automation.
Understanding how to use JUnit for building and automating unit test suites is essential for beginners. It supports data-driven testing, improving code quality and efficiency. The JUnit framework, a widely used Java unit test framework, simplifies testing by providing intuitive tools, testing methods, and annotations. This guide will introduce you to JUnit testing in Java, helping you set up your development environment for success.
Key Points We'll Explore in This Blog:
📌 What is JUnit Testing? Learn how JUnit testing in Java helps automate unit tests, improving software quality and reducing bugs.
📌 Getting Started with JUnit Java Testing: A step-by-step guide on how to use JUnit, from setting up JUnit import to executing JUnit @Test cases.
📌 JUnit Framework and Build Tool Integration: Best practices for integrating JUnit with Maven and Gradle to streamline testing.
📌 JUnit Annotations Explained: Learn about @Test, @BeforeEach, @AfterEach, and other JUnit testing framework annotations.
📌 Parameterized Tests for Maximum Coverage: How to use JUnit tests Java for multiple inputs, reducing repetition.
📌 Advanced JUnit 5 Features: Discover nested tests, dynamic tests, and custom extensions.
📌 Avoiding Common JUnit Mistakes: Learn what is JUnit used for and how to avoid pitfalls for reliable test cases.
By leveraging JUnit testing, developers can ensure high-quality Java applications while simplifying automated testing.
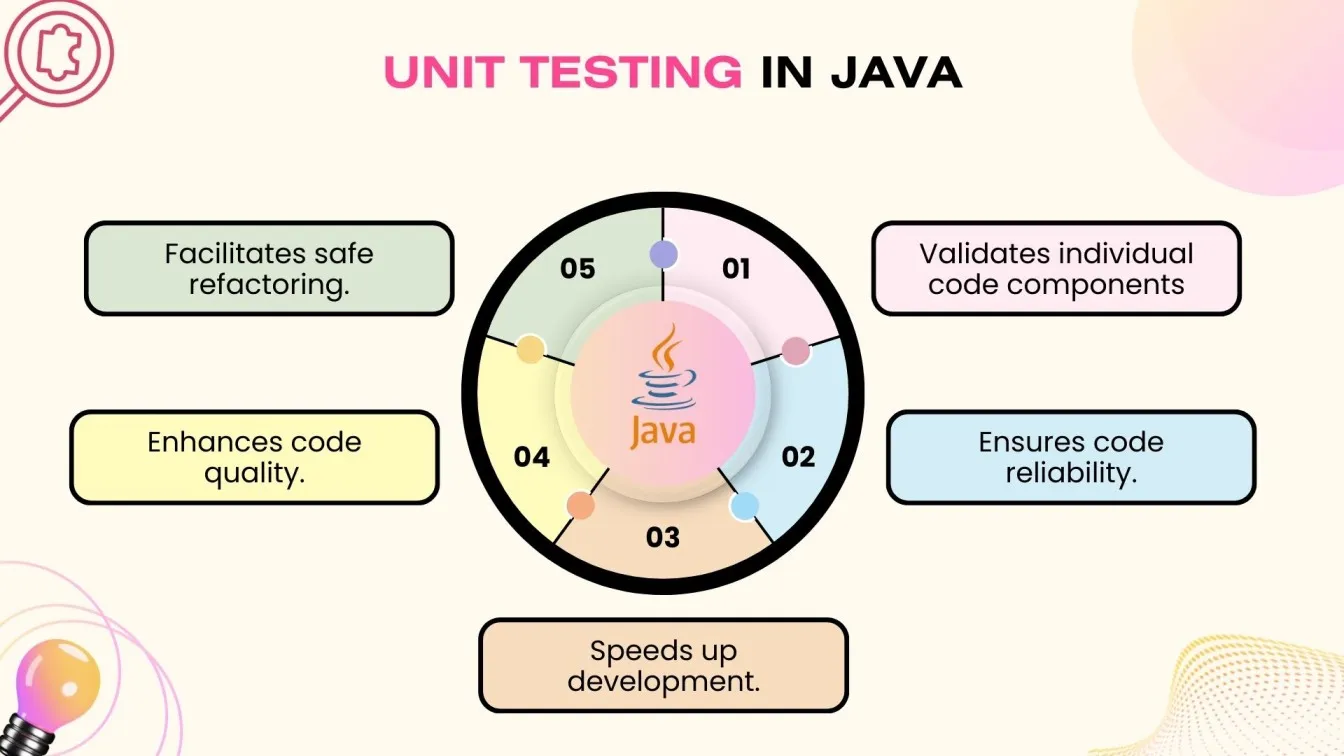
What is Unit Testing, and Why Does It Matter in Java Development?
The technique of testing individual program parts or components to make sure they function properly is known as unit testing. A small piece of code, like a method or function, is commonly referred to as a unit in Java development for user experience. Unit tests verify that these parts function as intended in a range of scenarios, including edge cases.
For a number of reasons, unit testing is essential over manual testing for the development process :
Ensures Code Reliability: Unit tests identify and fix issues early, preventing problems from affecting other parts of the program.
Faster Development: Unit tests help quickly confirm that changes don't break existing functionality, saving time on debugging.
Enhances Code Quality: Writing unit tests encourages better code design, leading to cleaner, more maintainable code.
Facilitates Refactoring: Unit tests ensure changes don’t introduce new issues, making code refactoring safer.
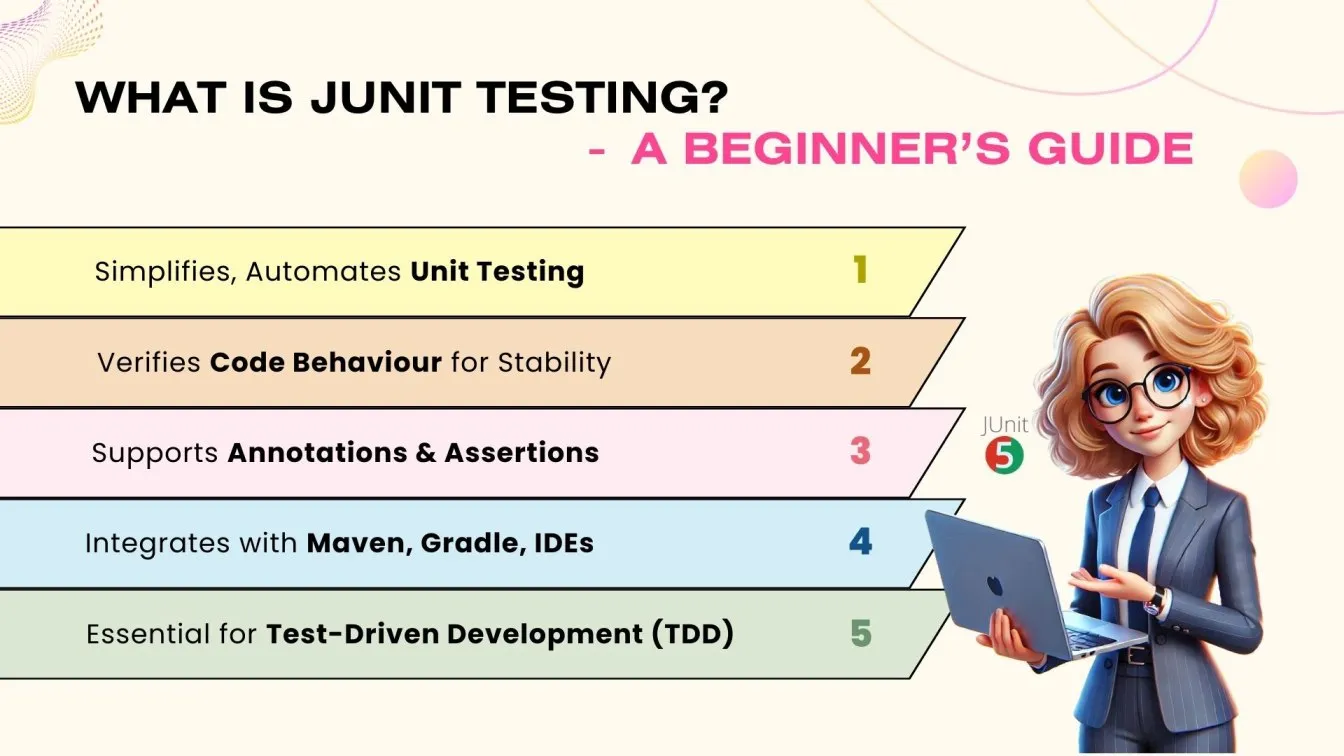
What is JUnit Testing? A Beginner’s Introduction to Test Automation
JUnit is a widely-used Java framework for unit testing in Java, designed to make the testing process simple, efficient, simple method, and automated.
It allows developers to verify that their code behaves as expected, ensuring higher code quality and stability. For someone new to testing or just starting with JUnit, understanding its fundamentals in the JUnit framework is essential for mastering the test automation framework.
What is JUnit?
JUnit is a popular testing framework specifically for Java. It supports annotations, assertions, and test runners that automate the execution of test cases. JUnit is part of the xUnit family of unit testing frameworks and is widely used in test-driven development (TDD) to provide valuable Insights.
Key Features of JUnit:
- Annotations: Simplify test case creation with annotations like @Test, @Before, and @After.
- Assertions: Validate test results in the entire test suite with methods such as assertEquals(), assertTrue(), and assertThrows().
- Test Suites: Group multiple tests to run together.
- Integration: Works seamlessly with build tools like Maven and Gradle and IDEs like IntelliJ IDEA and Eclipse.
How Does JUnit Work?
- Write test cases for individual methods.
- Annotate methods with @Test.
- Use assertions like assertEquals() to check results.
- Run tests using a test runner.
Why Should You Use JUnit for Java Unit Testing?
A crucial tool for guaranteeing Java programs of superior quality is JUnit. It has many benefits that increase software stability and expedite the testing process.
Let's examine the reasons JUnit ought to be your preferred framework for unit testing Java applications.
🟢Easier Testing Process
JUnit streamlines test creation with minimal setup using annotations like @Test and @BeforeEach, automating repetitive tasks to let developers focus on coding.
🟢Improves Code Quality
Unit tests catch bugs early. JUnit assertions like assertEquals ensure code works as expected in different scenarios.
🟢Enables Automation
JUnit tests run automatically after code changes, integrated with CI tools like Jenkins for consistent testing and faster feedback.
🟢Seamless Integration: JUnit integrates smoothly with IDEs like IntelliJ IDEA, Eclipse, and NetBeans, and works with build tools like Maven and Gradle for efficient test creation and execution.
🟢Supports Modern Testing: JUnit supports advanced features like parameterized, nested, and dynamic tests, promoting Test-Driven Development (TDD) by functional testing enabling developers to write tests before code.

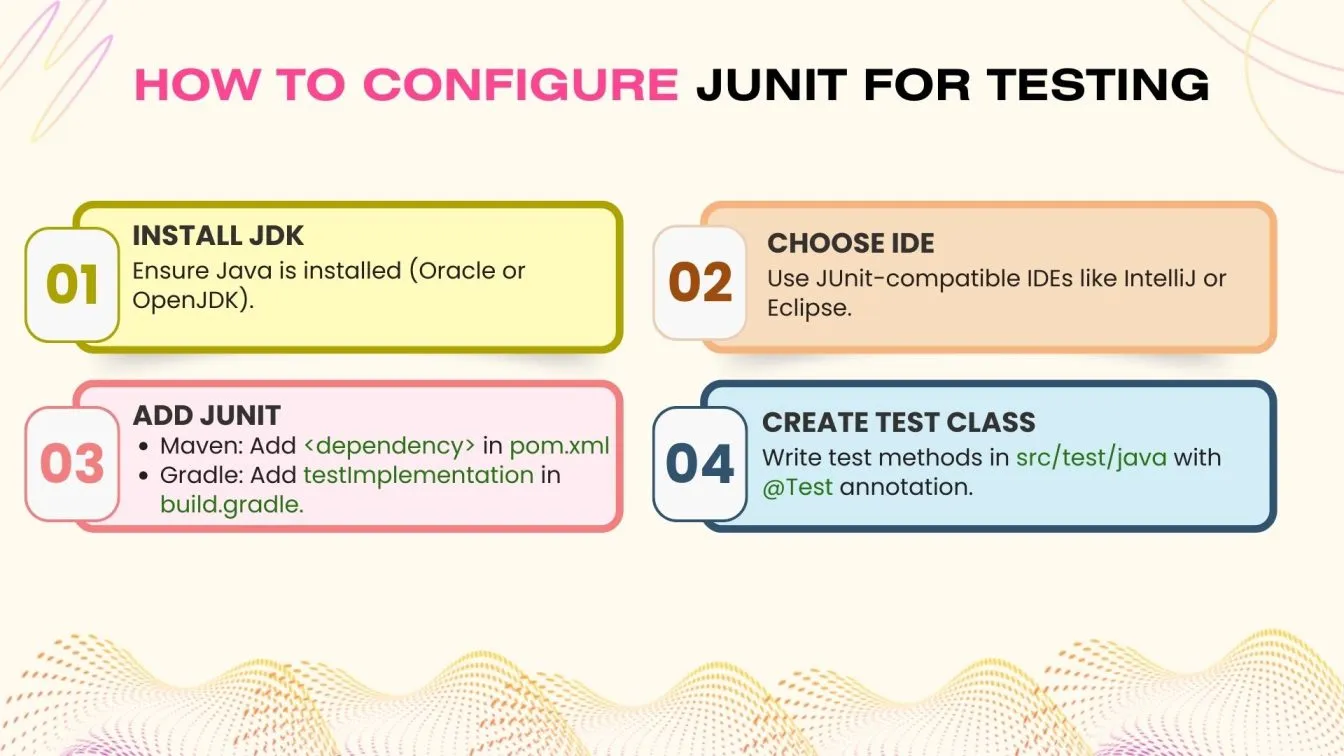
How Can Your Development Environment Be Configured for JUnit Testing?
The procedure of configuring your development environment for JUnit testing is simple for data-driven testing. To help you get started, below is a detailed guide:
1. Install the JDK (Java Development Kit)
- Verify that your computer has the Java Development Kit (JDK) installed.
- You can use open-source substitutes like OpenJDK or get it from the official Oracle website.
2. Select an IDE (Integrated Development Environment)
- JUnit integration is supported by well-known IDEs like IntelliJ IDEA, Eclipse, and NetBeans by default.
- Make sure your preferred IDE is set up for Java development before downloading and installing it.
3. Add JUnit to Your Project
- Maven: Add the following dependency in your pom.xml:
<dependency>
    <!-- JUnit Jupiter dependency for JUnit 5 -->
    <groupId>org.junit.jupiter</groupId>
    <artifactId>junit-jupiter</artifactId>
    <!-- Version of JUnit Jupiter to use for testing -->
    <version>5.10.0</version>
    <!-- The 'test' scope means this dependency will only be used during the testing phase -->
    <scope>test</scope>
</dependency>Gradle: Add this to your build.gradle file :
testImplementation 'org.junit.jupiter:junit-jupiter:5.10.0'4. Set Up a Test Class
- Create a test class in your project, typically inside the src/test/java directory.
- Annotate your test methods with @Test, and start writing test cases using JUnit’s assertions.
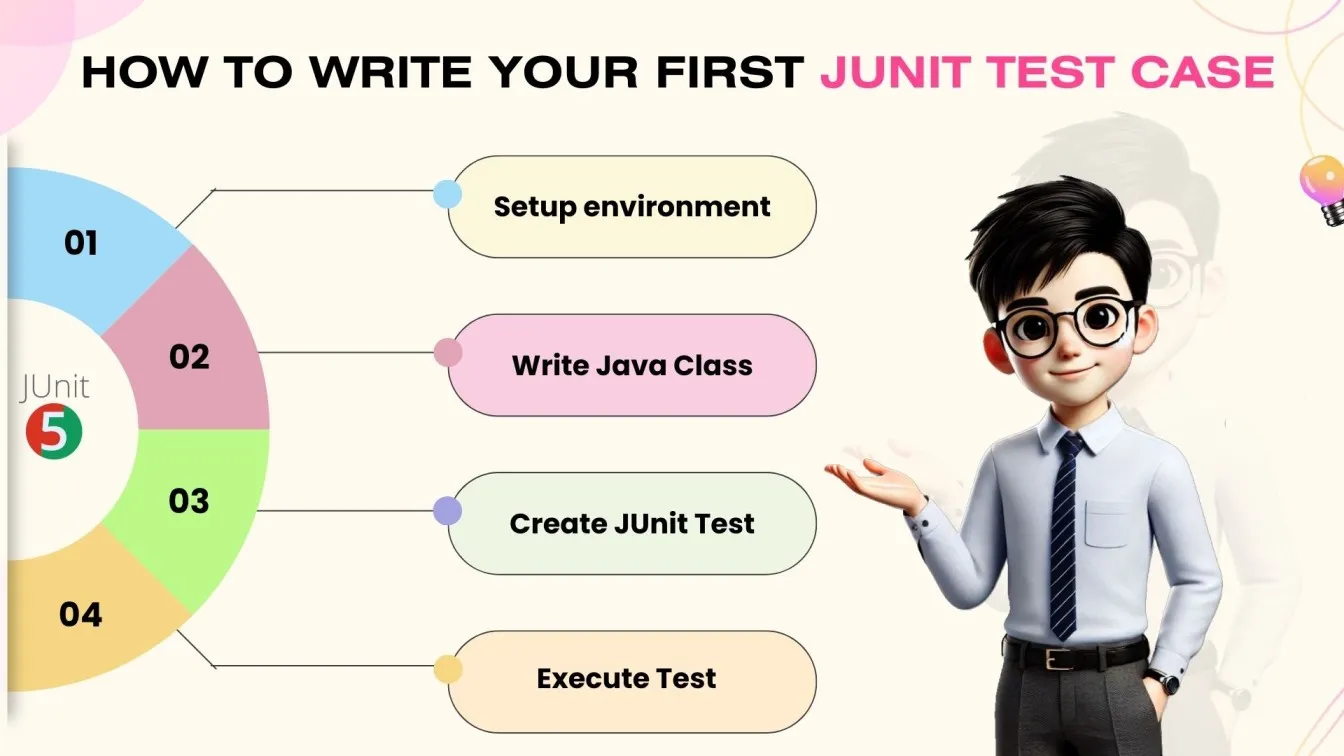
How to Write Your First JUnit Test Case: A Beginner’s Tutorial
An excellent method to begin learning Java test automation, which is an effective testing method to write your first JUnit test case. Here is a basic, step-by-step tutorial to get you going:
1. Prepare Your Space
- Make sure you have the Java Development Kit (JDK) and an Integrated Development Environment (IDE) such as Eclipse or IntelliJ IDEA installed before beginning any test authoring.
- Additionally, JUnit must be added to the requirements for your project using either Gradle or Maven.
2. Make a Basic Java Test Class
- To begin, create a Java class that contains the function you wish to test. Let’s design a method that adds two numbers, for instance:
public class Calculator {
    public int add(int a, int b) {
        return a + b;
    }
}
3. Create a Test Class for JUnit
To test the add function, now construct a test class with a method. To designate the method as a test case, use the @Test annotation.
import org.junit.jupiter.api.Test;
import static org.junit.jupiter.api.Assertions.*;

public class CalculatorTest {
    @Test
    public void testAdd() {
        Calculator calculator = new Calculator();
        assertEquals(5, calculator.add(2, 3));
    }
}
4. Launch the Test
In your IDE, right-click the test file and launch it. If the test is successful, your add method is operating as intended.
What Are JUnit Annotations, and How Do They Simplify Testing?
Java JUnit Annotations: Enhancing Testing Efficiency
JUnit framework provides JUnit annotations that serve as unique markers to define Java JUnit testing actions. These annotations automate unit testing execution, improving process efficiency, test manageability, and code coverage.
Common JUnit Annotations
🟢 @Test
The most commonly used JUnit @Test annotation marks a method as a JUnit test case in a JUnit testing framework.
🟢 @BeforeEach
This JUnit annotation ensures setup tasks execute before every JUnit test Java, such as initializing test-related objects.
🟢 @AfterEach
Used for cleanup operations like resetting states or closing database connections after each JUnit test.
🟢 @BeforeAll
A static method runs once before all JUnit tests Java for expensive setup operations, ensuring efficient Java JUnit testing.
🟢 @AfterAll
Runs once after all JUnit tests, used for final cleanup tasks in a JUnit testing framework.
How JUnit Annotations Simplify Testing
These JUnit annotations streamline Java unit testing, reducing boilerplate code and making JUnit test Java cases more readable. By automating repetitive operations, developers can focus on actual test logic, improving software quality and functional testing.
Using JUnit testing in Java with these annotations ensures efficient automated testing, improving Java software development.

JUnit Assertions Explained: How to Verify Test Results Effectively
JUnit testing in Java relies on JUnit assertions to validate expected results, ensuring software accuracy and reliability. These assertions compare actual vs. expected values during Java JUnit testing, helping catch bugs early in unit testing.
What Are JUnit Assertions?
The JUnit framework provides an Assertions class with methods to validate conditions in JUnit test cases. If an assertion fails, the JUnit test Java case fails, signaling unintended behavior. This is essential in automated testing to ensure smooth functional testing.
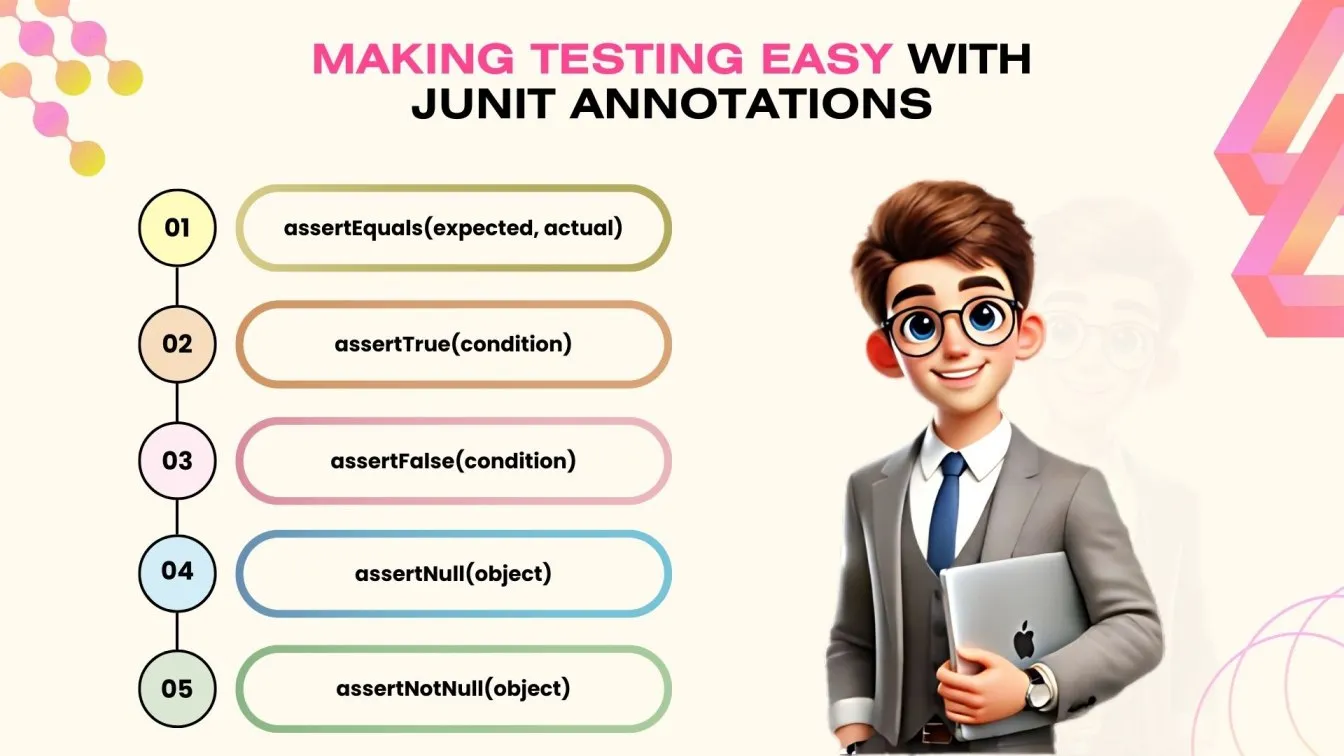
Common JUnit Assertions
✔ assertEquals(expected, actual) – Compares expected vs. actual results in JUnit testing Java.
✔ assertTrue(condition) – Ensures a condition is true; otherwise, the JUnit test fails.
✔ assertFalse(condition) – Confirms a condition is false; if true, the test fails.
✔ assertNull(object) – Verifies an object is null in JUnit testing framework.
✔ assertNotNull(object) – Ensures an object is not null in Java JUnit testing.
Why Assertions Matter in JUnit?
Assertions automate test validation, making JUnit testing more efficient, reliable, and accurate. By using JUnit assertions, developers improve Java unit test frameworks, ensuring better software quality and debugging capabilities.
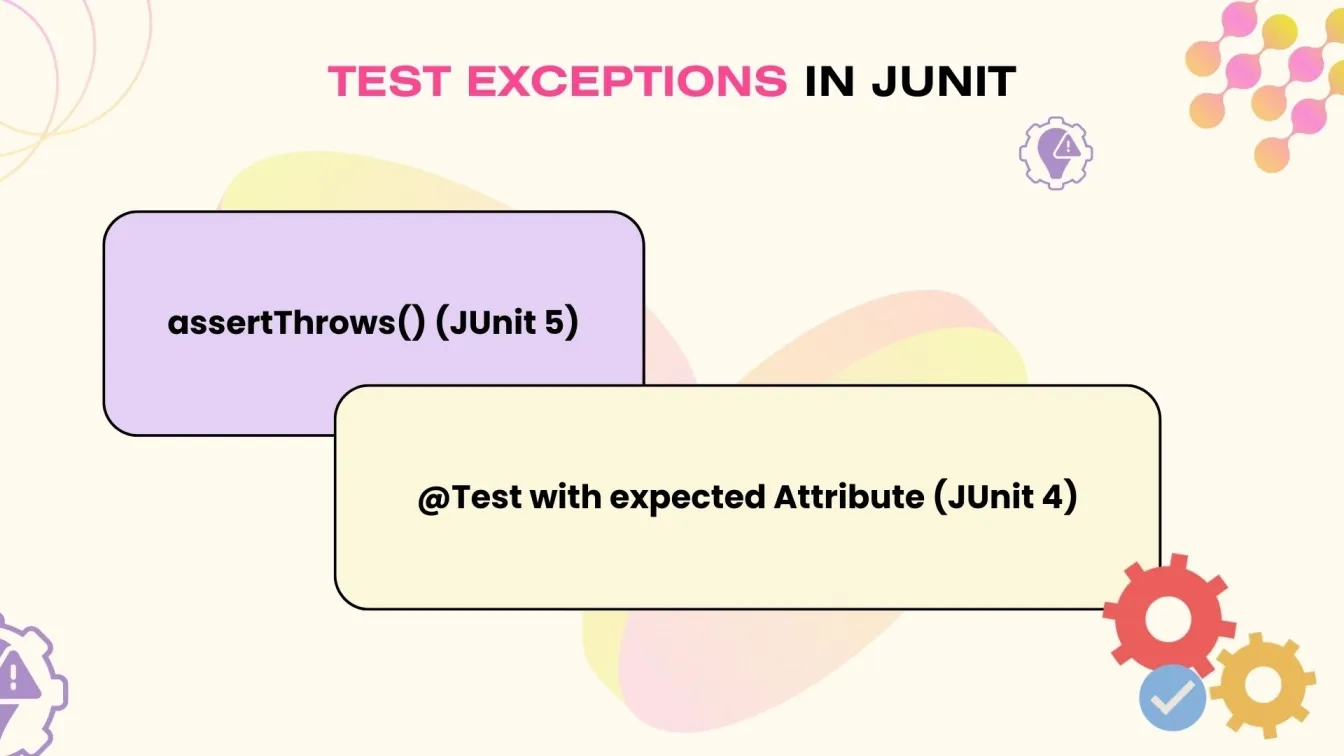
How to Test Exceptions in JUnit: A Complete Guide
To make sure your code manages failures and edge situations correctly, you must test exceptions in JUnit. To confirm that your code throws the expected exceptions under specific circumstances, JUnit offers a number of ways.
Testing Exceptions using assertThrows():
The assertThrows() method, which was added in JUnit 5, is the most popular approach to test exceptions in JUnit. It verifies that when a particular block of code is run, a particular exception is raised.
Here's how assertThrows() is used:
import org.junit.jupiter.api.Test;
import static org.junit.jupiter.api.Assertions.*;

public class CalculatorTest {

    @Test
    void testDivideByZero() {
        Calculator calculator = new Calculator();

        // Test that an ArithmeticException is thrown
        assertThrows(ArithmeticException.class, () -> {
            calculator.divide(5, 0);
        });
    }
}
In this example, the assertThrows() method checks that an ArithmeticException is thrown when trying to divide by zero.
Using @Test with expected Attribute (JUnit 4) :
In JUnit 4, you can also use the @Test annotation’s expected attribute to specify the expected exception. However, assertThrows() is recommended in JUnit 5 for more control and flexibility.
What Are Parameterised Tests in JUnit, and How Can You Use Them?
JUnit's parameterised tests make your tests more scalable and efficient by enabling you to execute the same test with several data sets. Parameterised tests reduce code duplication and improve test coverage by allowing you to run the same test logic with different inputs instead of developing separate test methods for each combination of inputs.
Why Employ Tests with Parameters?
- Test Multiple Inputs:
You may easily test diverse situations without duplicating code by using parameterized tests, which let you provide different values to a single test function. - Better Code Maintenance:
Instead of developing distinct test methods for every input, you only need to maintain one. - Cleaner Test Code:
You can write shorter, easier-to-read test code by utilising parameterized tests.
How to Write Parameterized Tests in JUnit 5
JUnit 5 provides the @ParameterizedTest annotation to run tests with multiple inputs. You can use various sources for test parameters, such as @ValueSource, @CsvSource, and @MethodSource.
Here’s an example using @ValueSource to run the test with multiple integers:
import org.junit.jupiter.api.Test;
import org.junit.jupiter.params.ParameterizedTest;
import org.junit.jupiter.params.provider.ValueSource;
import static org.junit.jupiter.api.Assertions.*;

public class CalculatorTest {
    @ParameterizedTest
    @ValueSource(ints = {1, 2, 3, 4, 5})
    void testAdd(int number) {
        Calculator calculator = new Calculator();
        assertEquals(number + 1, calculator.add(number, 1));
    }
}
In this example, the testAdd method is executed five times, each time with a different integer, testing the addition functionality for multiple inputs.
Parameterised tests in JUnit simplify testing by enabling you to run a single test with multiple inputs. This reduces repetition, enhances test coverage, and makes your tests more maintainable.

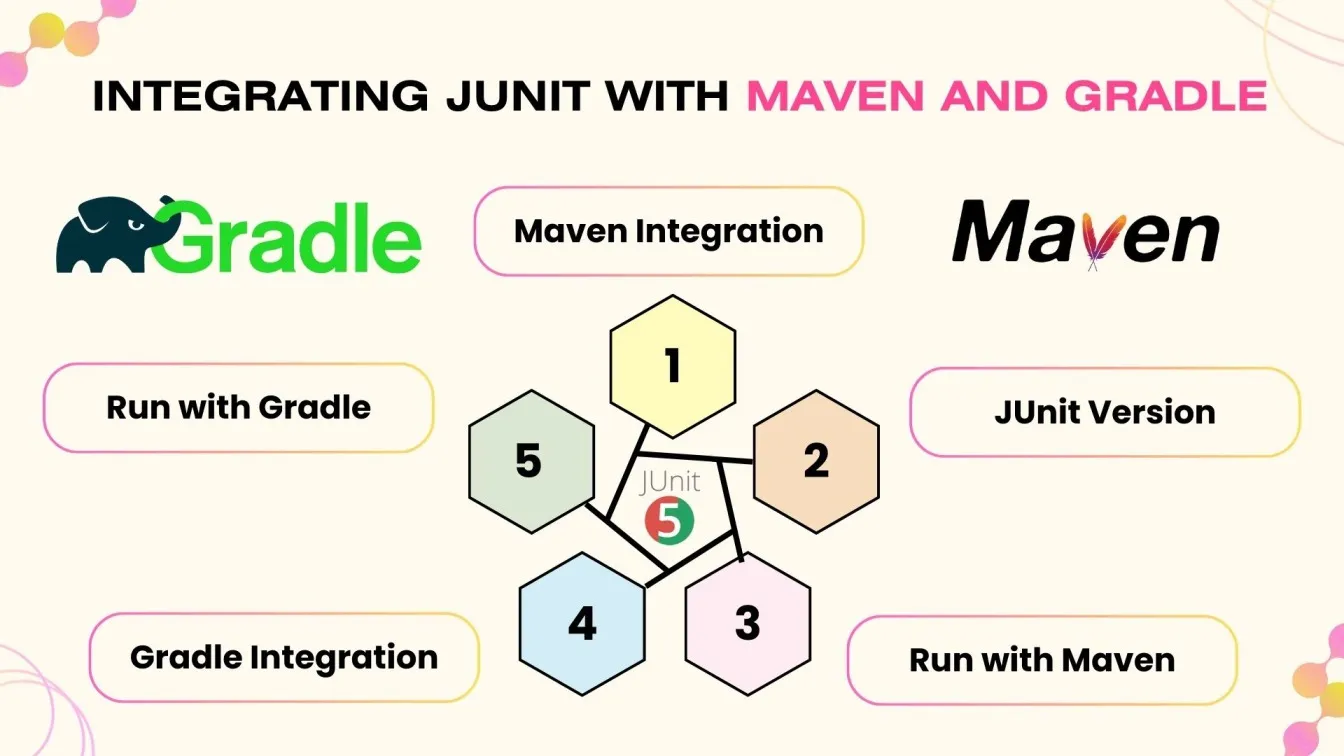
How to Integrate JUnit with Maven and Gradle for Automated Testing
Adding JUnit to your build tools, such as Maven or Gradle, simplifies the testing process. JUnit is a popular tool for writing Java unit tests. As you work on your code, the automation framework in testing ensures that it is regularly checked, helping you identify problems early.
Combining Maven and JUnit
You must include the JUnit dependency in your pom.xml file in order to connect JUnit with Maven. Here's how:
- Open your pom.xml file.
- In the <dependencies> section, include the following dependency:
<dependency>
    <!-- JUnit Jupiter dependency for JUnit 5 -->
    <groupId>org.junit.jupiter</groupId>
    <artifactId>junit-jupiter</artifactId>
    <!-- Version of JUnit Jupiter to use for testing -->
    <version>5.10.0</version>
    <!-- The 'test' scope means this dependency will only be used during the testing phase -->
    <scope>test</scope>
</dependency>- Maven will download JUnit, and you can run tests using the mvn test command. Maven will automatically compile the test code and run the test cases.
Integrating JUnit with Gradle
For Gradle, you can integrate JUnit by modifying your build.gradle file:
- Open your build.gradle file.
- Add the following under dependencies:
testImplementation 'org.junit.jupiter:junit-jupiter:5.10.0'- To run tests, use the command gradle test. Gradle will manage dependencies and execute tests automatically.
Which Techniques Make JUnit Test Cases the Most Effective?
Writing efficient JUnit test cases is crucial to keeping code scalable, dependable, and clean. The following are recommended procedures to adhere to:
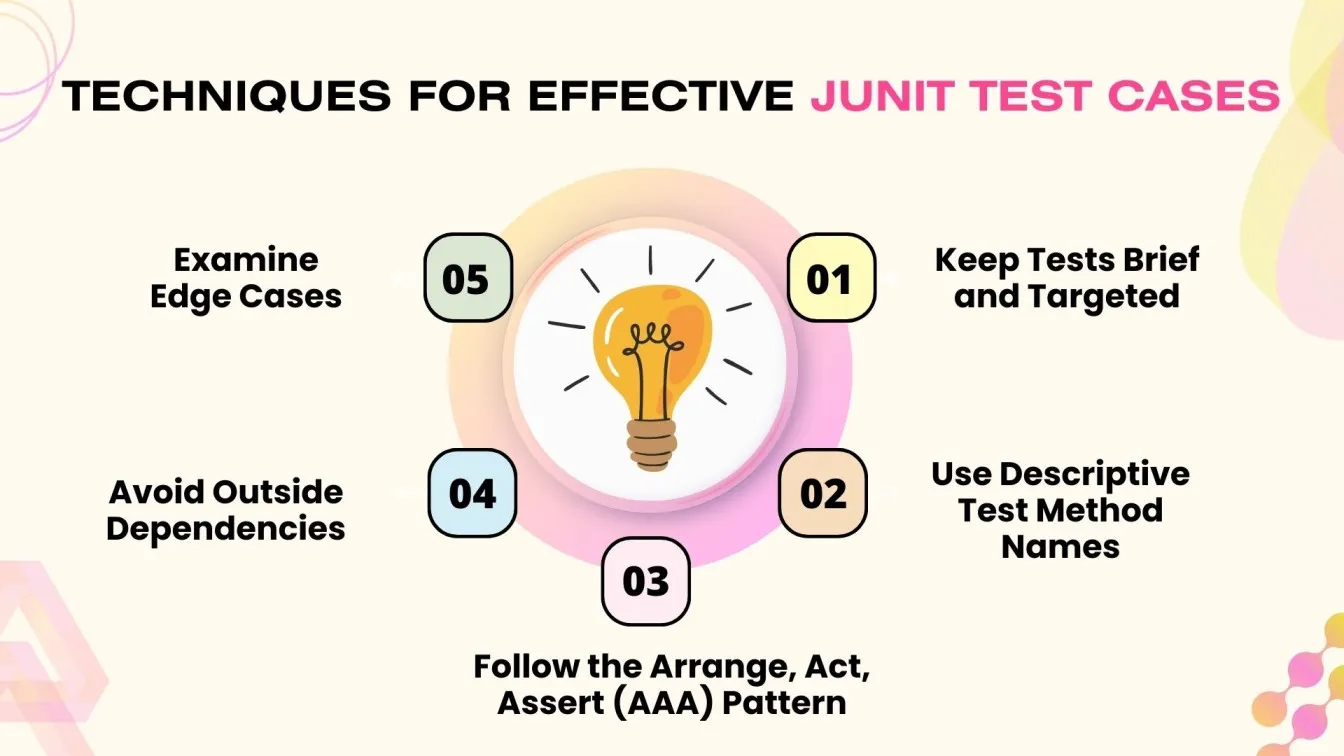
- Keep Tests Brief and Targeted: Focus on one function per test to simplify maintenance and debugging.
- Use Descriptive Test Method Names: Name tests clearly, like testAddPositiveNumbers(), to enhance readability.
- Follow the Arrange, Act, Assert (AAA) Pattern: Structure tests into three steps: Arrange, Act, and Assert for clarity.
- Avoid Outside Dependencies: Use mocks or stubs instead of relying on external systems like databases or APIs.
- Examine Edge Cases: Test beyond the "happy path" to cover edge cases, null values, and incorrect inputs.
What Are the Common Mistakes in JUnit Testing (And How to Avoid Them)?
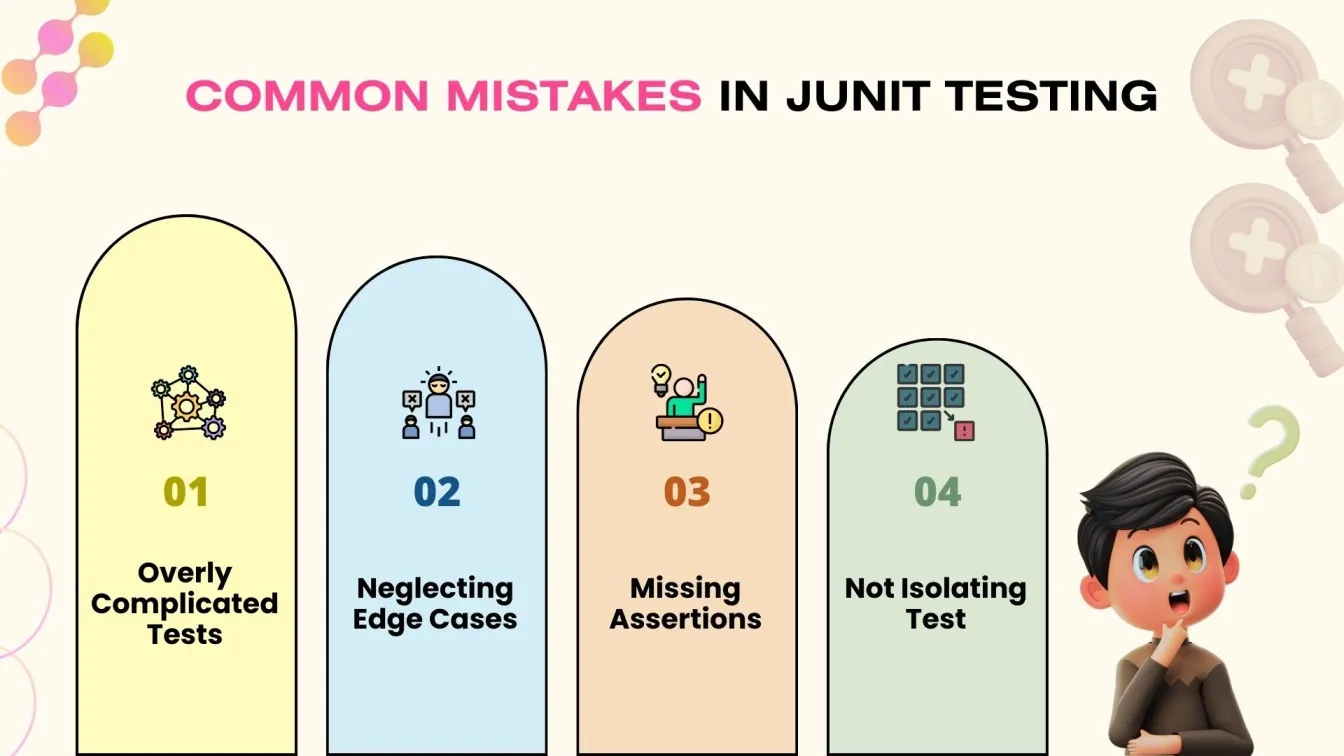
Although JUnit testing is a crucial component of Java development, there are several typical errors that might reduce the efficacy of your tests. The following are some of the most common problems and solutions:
- Creating Overly Complicated Tests: Avoid tests that cover too many scenarios. Focus on one unit per test using the Arrange, Act, Assert (AAA) pattern.
- Not Testing Edge Cases: Always test edge cases, such as null inputs and invalid data, to ensure your code handles all scenarios.
- Forgetting to Use Assertions: Use assertions in every test to verify the code works correctly by comparing expected and actual outcomes.
- Not Isolating Tests: Use mocks or stubs instead of relying on external systems to keep tests fast and isolated.
What’s New in JUnit 5? Exploring Its Advanced Features for Java Testing
A number of cutting-edge improvements that improve the adaptability and strength of Java testing were introduced in JUnit 5. Here are a few of the most significant enhancements:
- Modular Architecture: JUnit 5 introduces a modular structure with JUnit Platform, JUnit Jupiter, and JUnit Vintage, enabling better management of tests across different JUnit versions.
- Improved Annotations: JUnit 5 introduces new annotations:
some text- @Test: Marks a method as a test case.
- @BeforeEach & @AfterEach: Run before and after each test method.
- @BeforeAll & @AfterAll: Run once before and after all tests in a class.
- Nested Tests: The @Nested annotation allows grouping related test cases within a class, improving readability and structure.
- Extensions: JUnit 5’s extension model is more flexible. Use @ExtendWith to create custom extensions for features like resource management or custom assertions.
- Dynamic Tests: The @TestFactory annotation introduces dynamic tests, allowing tests to be generated at runtime based on specific conditions.

How Does JUnit Support Test-Driven Development (TDD) in Java?
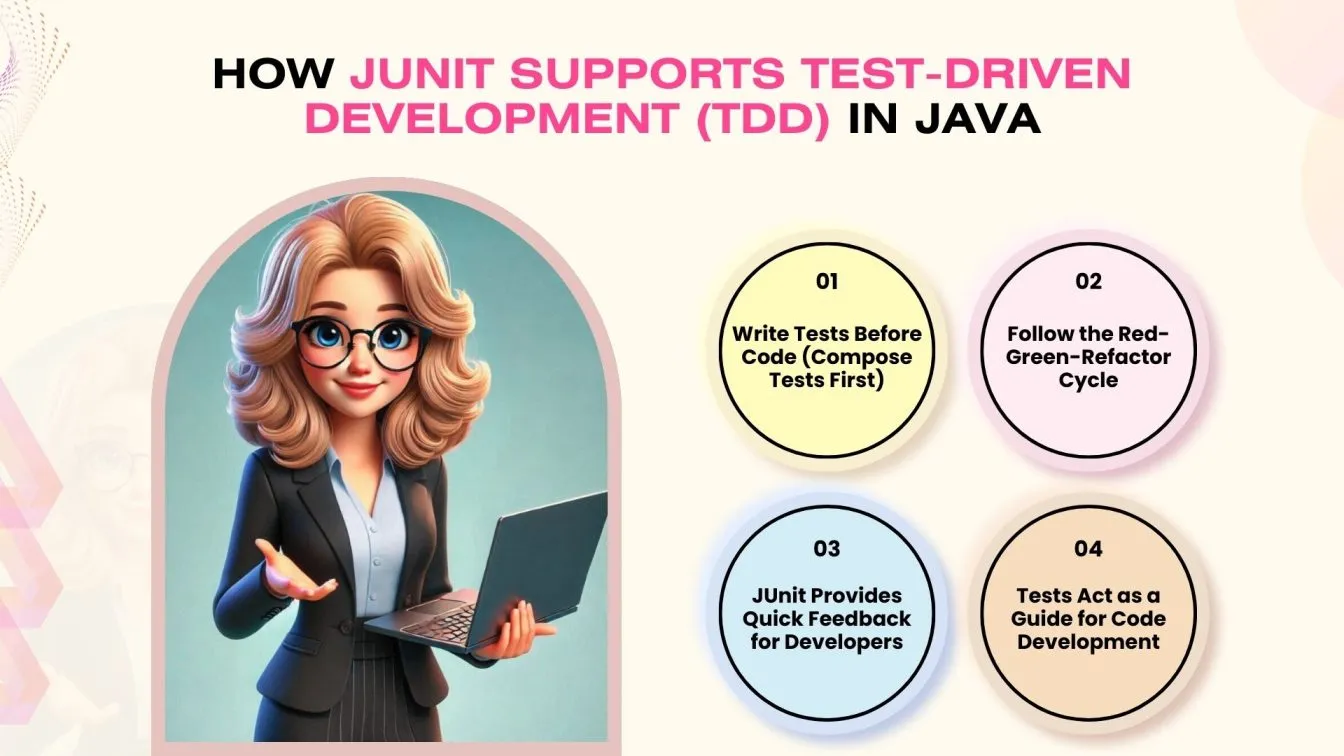
The software development methodology known as Test-Driven Development (TDD) involves engineers creating tests prior to developing the real code.
This technique aids in making sure that code is extensively tested and satisfies specifications right away. An important part of supporting TDD is JUnit, a popular testing framework in Java.
1. Composing Examinations Initially
Writing tests before code is a habit that JUnit promotes. Developers can create test cases that specify the intended behavior of a method or class by using annotations such as @Test. These tests serve as a guide that directs the code's development.
2. Red-Green-Refactor Cycle
TDD follows a three-step cycle known as "Red-Green-Refactor":
- Red: First, write a failing test (the test will be red since the code doesn't exist yet).
- Green: Then, write just enough code to make the test pass (the test will turn green).
- Refactor: Finally, refactor the code to improve its design while ensuring the test still passes.
JUnit's ease of use and integration into IDEs help developers quickly run tests, making it ideal for the TDD cycle. The quick feedback provided by JUnit ensures that the code meets the desired functionality and remains maintainable.
Conclusion
In conclusion, JUnit testing is crucial for Java developers, ensuring code quality, reliability, and maintainability. It automates tests, detects bugs early, and integrates well with tools like Maven and Gradle. JUnit’s features, such as annotations and assertions, simplify testing and support practices like TDD. By following best practices, developers can ensure robust, high-quality Java applications.
People also asked
👉What is mocking in unit testing?
Mocking in unit testing simulates the behavior of external dependencies to isolate and test specific units of code.
👉What is the difference between TestNG and JUnit?
TestNG offers more advanced features like parallel test execution and configuration annotations, while JUnit is simpler and widely used for unit testing in Java.
👉Is IntelliJ good for beginners?
Yes, IntelliJ IDEA offers an intuitive interface, powerful features, and excellent Java support, making it beginner-friendly.
👉Is JUnit used for performance testing?
No, JUnit is primarily used for unit testing, while tools like JMH (Java Microbenchmarking) are used for performance testing.
👉Why is IntelliJ preferred for Java?
IntelliJ IDEA is preferred for Java due to its advanced code assistance, debugging tools, and seamless integration with build systems and version control.

%201.webp)