GraphQL is a powerful and flexible query language for APIs that enables clients to request only the data they need, improving network efficiency and reducing overhead.
Unlike traditional REST APIs, which often require multiple requests to gather related data from different endpoints, GraphQL enables you to fetch all the required information in a single request body, greatly reducing the number of network requests and preventing over-fetching or under-fetching of data.
This makes GraphQL particularly advantageous for complex, data-driven applications, such as mobile apps and web applications, where performance and resource optimization are crucial.
Postman, a widely used API client, supports GraphQL queries and mutations, offering developers a comprehensive and intuitive platform for writing, testing, and automating GraphQL client requests.
Postman’s user-friendly GraphQL client interface allows developers to interact with GraphQL APIs easily by sending queries, validating responses, and organizing tests all in one place. It also provides advanced features, such as handling dynamic variables, creating automated tests, managing environments, and working with authentication, making it an essential tool for developers working with GraphQL.
In this step-by-step guide, we will take you through the entire process of setting up Postman to test GraphQL APIs.
🚀 Key Takeaways
📌 Introduction to GraphQL and Postman Basics - Understand the core concepts of GraphQL and how Postman serves as a powerful tool for API testing.
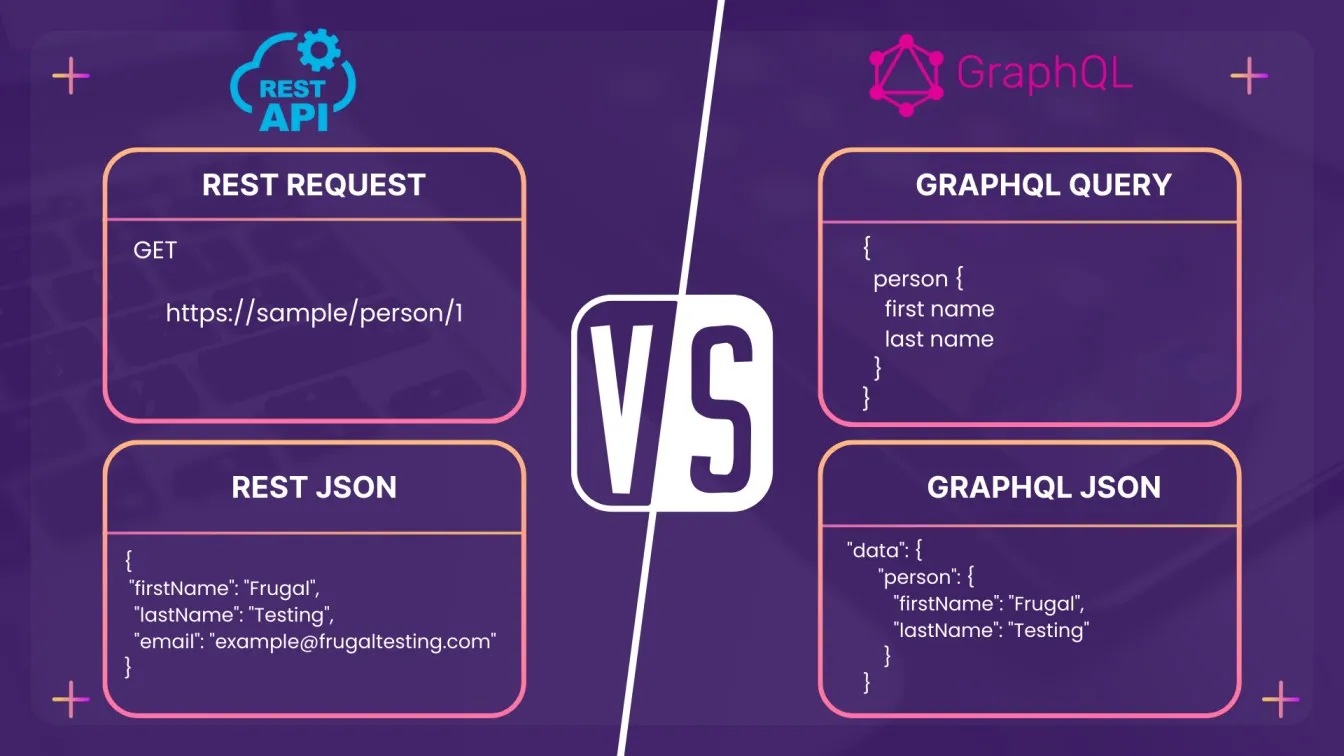
📌 GraphQL vs. REST - A detailed comparison of GraphQL and REST APIs, highlighting key differences in data retrieval, flexibility, and efficiency.
📌 Creating Your First GraphQL Request in Postman - Step-by-step instructions on setting up and sending queries and mutations.
📌 Using Variables - How to handle dynamic data efficiently with variables and environments in Postman.
📌 Automated Testing and Validation - Automate testing with assertions to verify data integrity and consistency.
📌 Organizing and Running Collections - Tips on using Postman Collections for better organization and automation of API tests.
📌 Authentication for Secure API Access - Implement and test authentication methods (e.g., Bearer Tokens, OAuth) in Postman.
📌 Debugging Errors - Leverage Postman's Console to troubleshoot common GraphQL errors and optimize API responses.
📌 Best Practices for GraphQL API Testing - Organize, validate, and optimize your testing workflow with Postman for reliable and efficient API testing.
A Technical Comparison Between GraphQL and REST APIs
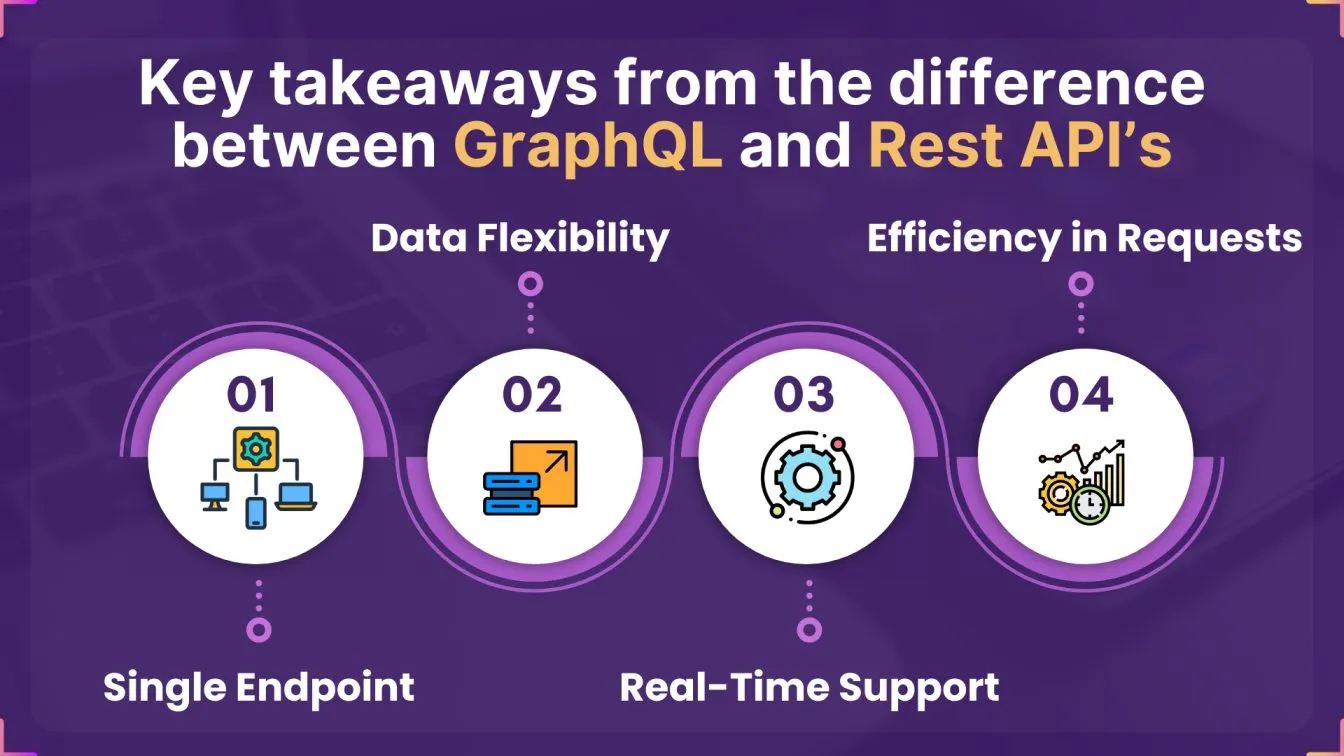
- Single Endpoint🌐: GraphQL uses one endpoint for all of its operations, thus simplifying the API architecture.
- Data Flexibility📊: GraphQL provides more flexibility by allowing clients to specify exactly what data they want, while REST might return excessive data, leading to inefficiency.
- Real-Time Support⏱️: GraphQL has built-in support for real-time updates, making it ideal for applications with dynamic, live data needs.
- Efficiency in Requests⚡: GraphQL reduces the need for multiple network requests by supporting nested data retrieval in one request, unlike REST, which may require multiple calls.
Understanding these differences will help you use GraphQL's unique features and make the most out of your API testing in Postman. Using GraphQL's flexibility and efficiency, you can streamline the testing process and create more responsive applications.
Getting Started with GraphQL in Postman
Now that you understand GraphQL’s basics, let’s explore how to set it up in Postman and send your first query.
Setting Up Your First GraphQL Request in Postman
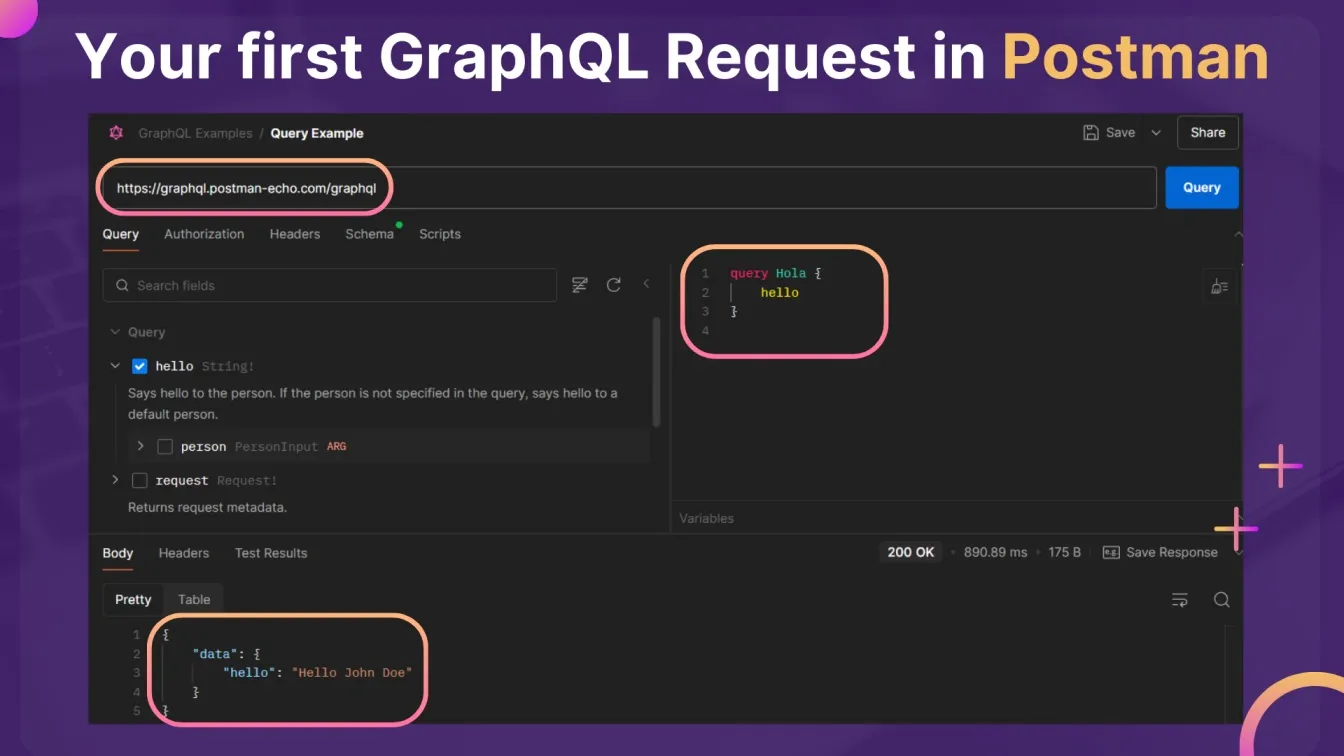
To set up and send your first GraphQL request in Postman, follow these steps:
- Click "New" > "Request" in Postman to create a new request. Provide a name for the request, choose the relevant workspace, and select a collection to store it in.
- To activate a GraphQL body, go to the "Body" tab in Postman and select the GraphQL option. This provides an editor tailored for writing GraphQL queries and mutations.
- Write a Simple Query: In the editor, enter a basic GraphQL query.
- Execute the Request: Click the "Query" button to submit the query and receive the response.
query Hola {
	hello
}
Understanding GraphQL Queries and Mutations in Postman
Queries in GraphQL are used to retrieve data, while Mutations modify server data (such as creating, updating, or deleting entries).
Example Query:
{ all_Posts { id title content } } This query retrieves all posts, including their ID, title, and content fields.
Example Mutation:
mutation AddPost($title: String!, $content: String!) {
  addPost(title: $title, content: $content) {
    id title content
  }
}
This mutation adds a new post with variables for the title and content.
In Postman, queries and mutations are written in the same GraphQL client interface. You can use variables to keep data dynamic and reusable, which we’ll cover in more detail below.
Sending GraphQL Requests with Postman: A Step-by-Step Guide
After setting up your request, you can execute it by clicking “Send.” To break down the process further:
- Build Your Query or Mutation 🔧: Use Postman's built-in GraphQL editor to construct your operation. some text
- Query: Designed to fetch specific data from the server. Example: Retrieving a list of users or details about a specific item.
- Mutation: Used for actions that modify data, such as creating, updating, or deleting records.
- Add Variables 🧩: For dynamic operations, you can use variables to pass values instead of hardcoding them into the query or mutation. some text
- State the variables in the JSON editor below the GraphQL query.
- Example: A query that retrieves a user by ID can use a variable for the ID to make it reusable.
- Send and Review the Response 📤: Once your operation is ready, click “Send” to execute it.
- Review the response in Postman’s console or response panel.
- Confirm that the returned data matches your expectations for queries or that mutations successfully modify data.
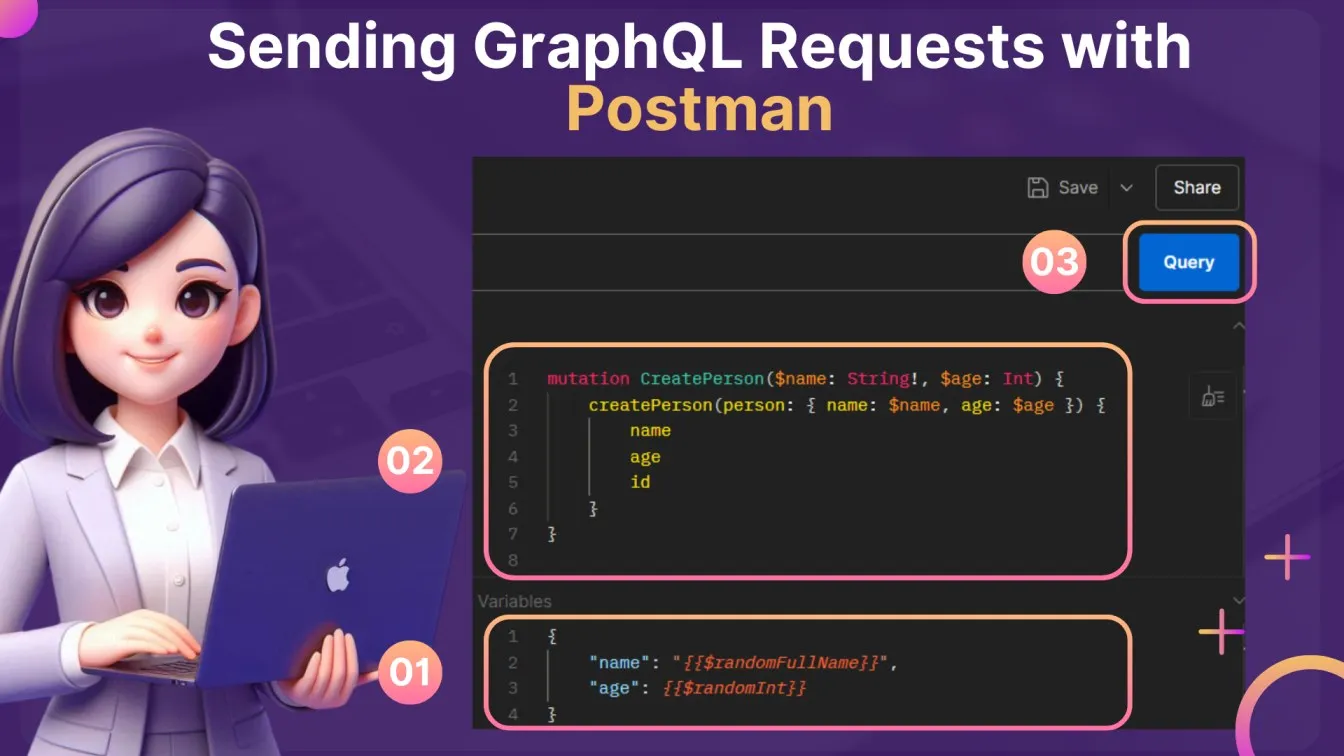
Handling GraphQL Variables in Postman
By using variables, you can pass dynamic values into your GraphQL operations.
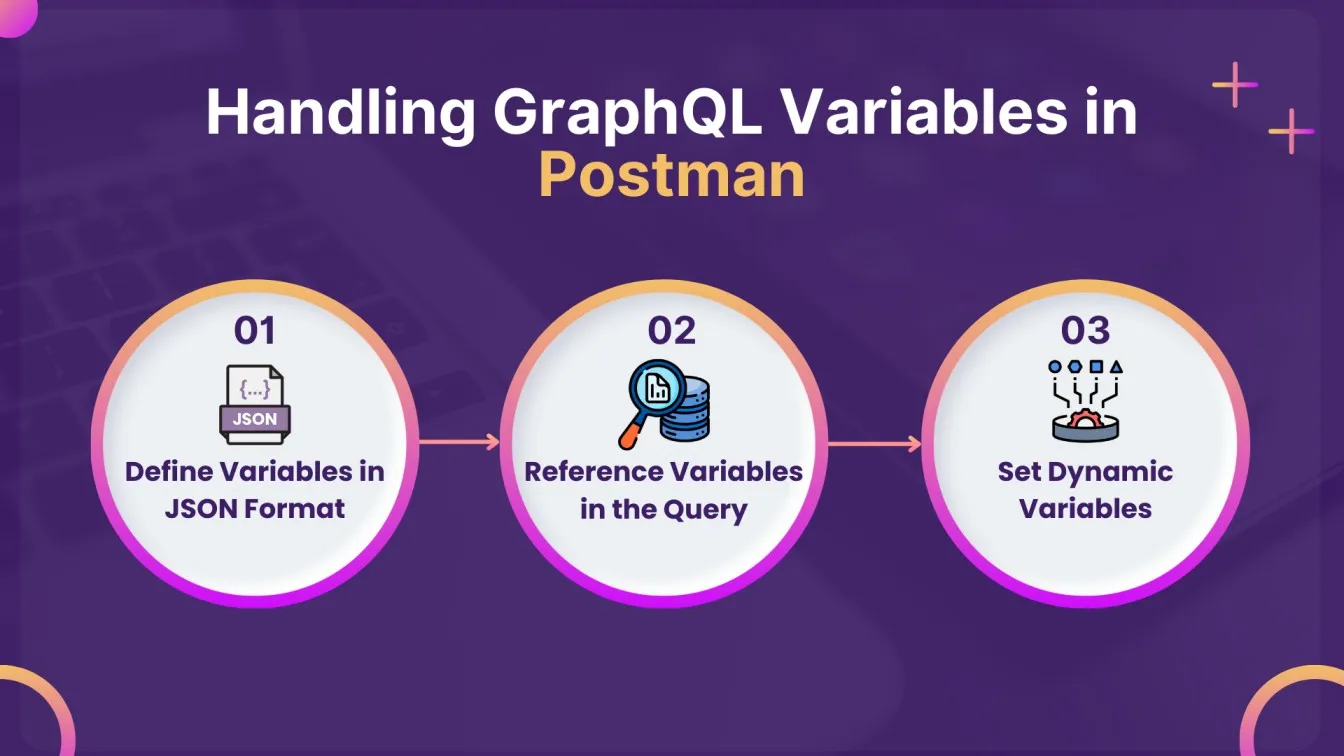
- Define Variables in JSON Format📄: Below the query editor, there’s a JSON editor for variables. Enter the variables here:
{
       "userId": "1",
       "post_Title": "GraphQL and Postman",
       "post_Content": "Example: Content"
}
- Reference Variables in the Query🔗: Reference these variables in your query by prefixing them with `$`.
query GetUser($userId: ID!) {
       user(id: $userId) {
         id
         name
       }
}- Set Dynamic Variables⚙️: Postman’s environment and global variables make it easier to use dynamic data across multiple requests.
Using variables keeps your GraphQL requests flexible, enabling you to test various scenarios efficiently without rewriting queries or mutations.
Using Postman Collections for Organizing GraphQL Requests
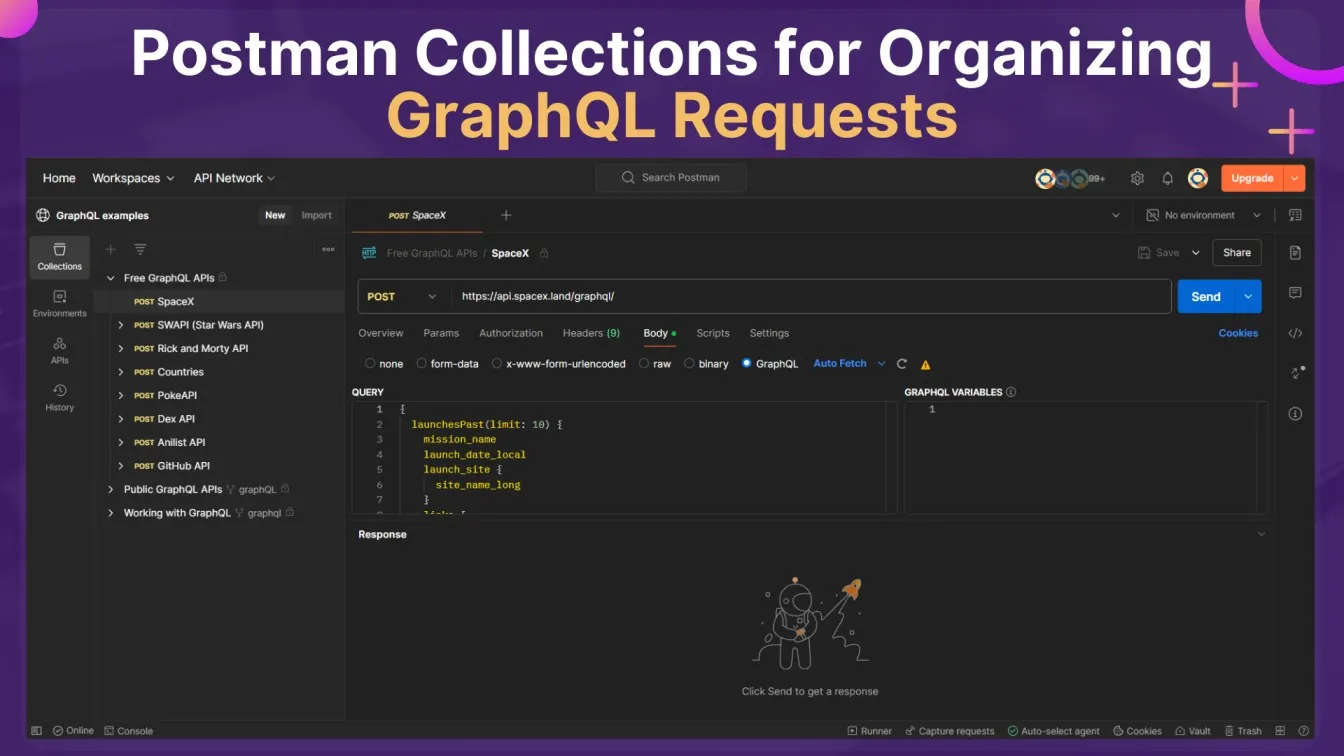
Collections in Postman help you organize requests logically, making it easier to test and manage GraphQL APIs. Here’s a quick guide:
- In order to create a collection, click on "New" > "Collection," enter a name, and optionally add a description.
- Add Requests:
- Save individual GraphQL queries and mutations in the collection.
- Use folders within the collection to organize requests by type, such as “User Queries,” “Post Mutations,” and “Auth Requests.”
- Run the Collection: Use the Collection Runner to execute all requests in a sequence, making it easy to automate your testing workflow.
Collections are valuable for organizing and scaling API testing, especially when dealing with multiple related operations.
Implementing Authentication for GraphQL APIs in Postman
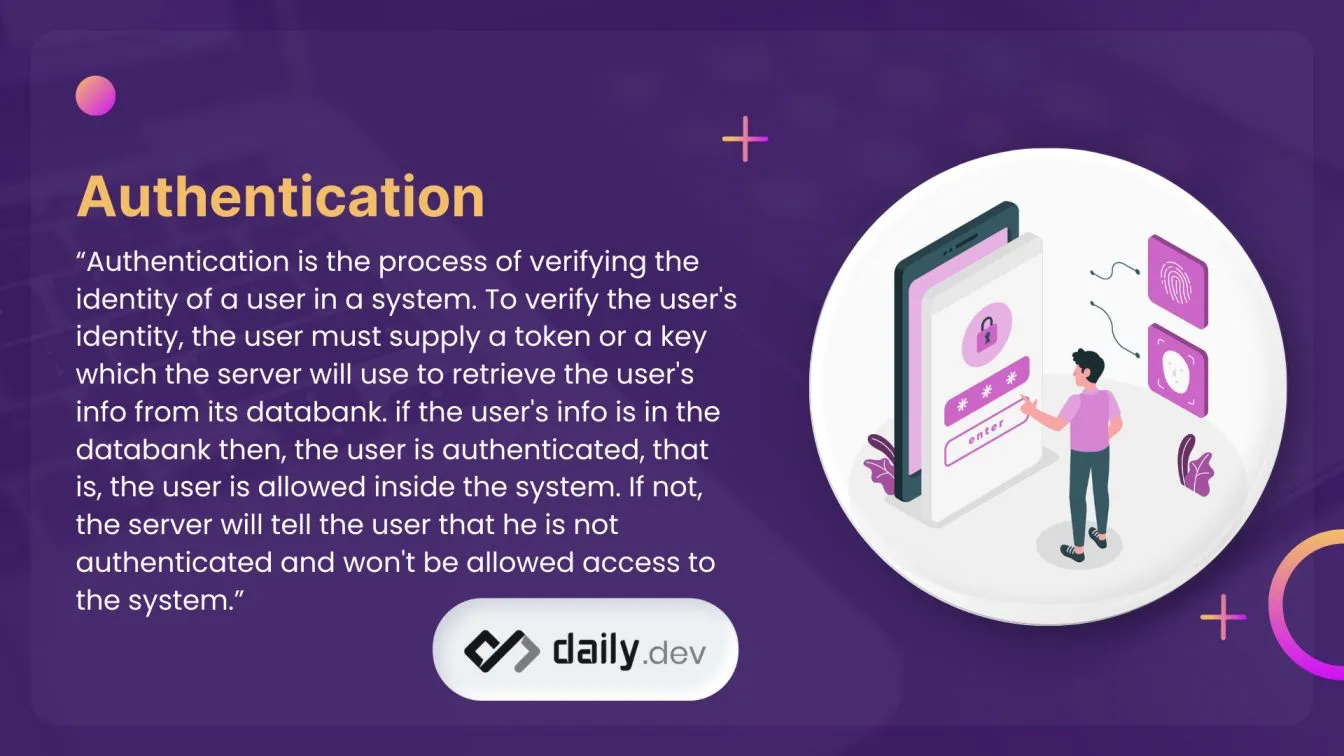
Most GraphQL APIs require some form of authentication. Postman supports various authentication types, including API keys, OAuth, and bearer tokens.
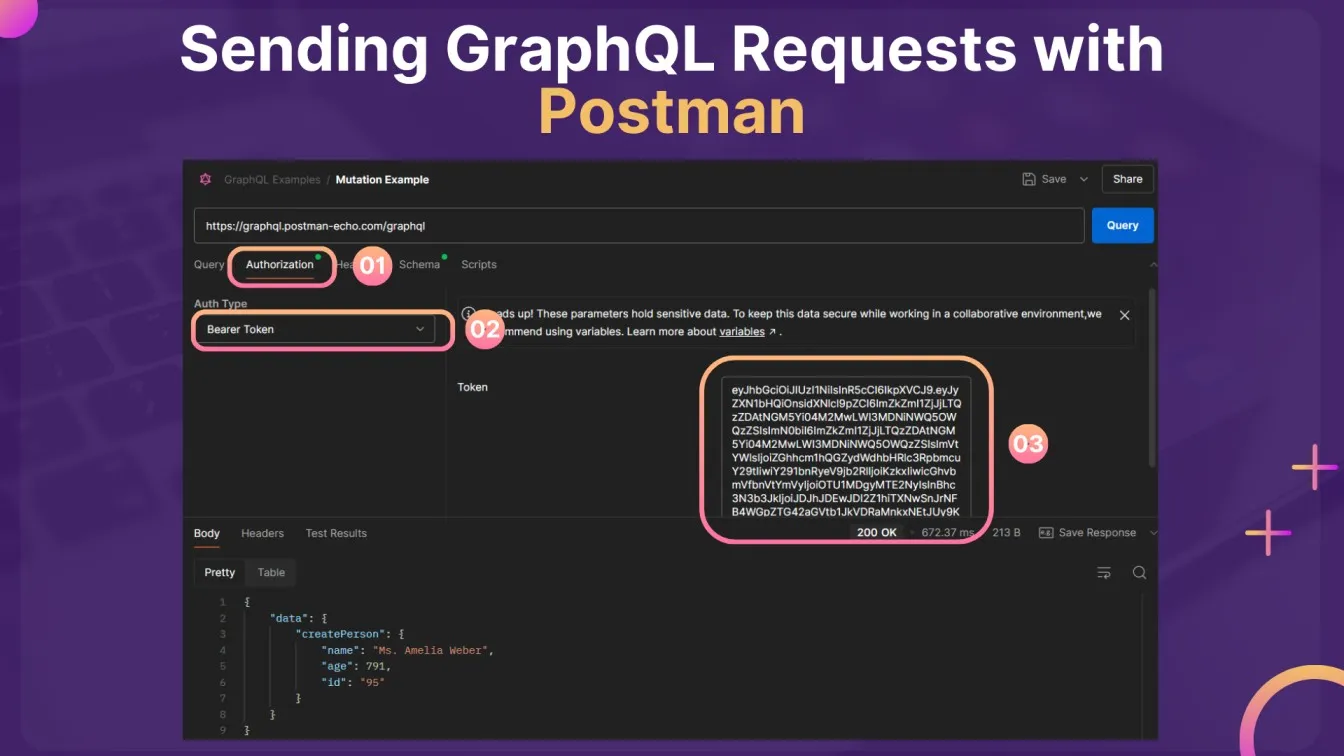
Navigate to the Authorization Tab:
- Open your API request in Postman.
- Locate the Authorization tab, situated just below the request URL field. This tab is dedicated to configuring the authentication mechanism for your API request.
Choose an Authentication Method:
- Postman supports multiple authentication types, which you can select from the dropdown menu in the Authorization tab.
- Popular options include:
- Bearer Token: Commonly used for APIs requiring token-based authentication.
- API Key: A static key provided by the server, often used for simple authentication scenarios.
Enter Credentials: After selecting the authentication method, enter the required credentials.
- For Bearer Token: Copy the token from your API provider or authentication system. Paste it into the designated field in the Authorization tab.
- For API Key: Specify the key's location (e.g., query parameter or header). Enter the API key value provided by the server.
Test Authentication: Click Query to execute your API request using the configured authentication.
Validating GraphQL Response Data in Postman
Data validation is crucial to ensure that the API delivers the expected results. In Postman, you can set up tests in JavaScript to verify response data:
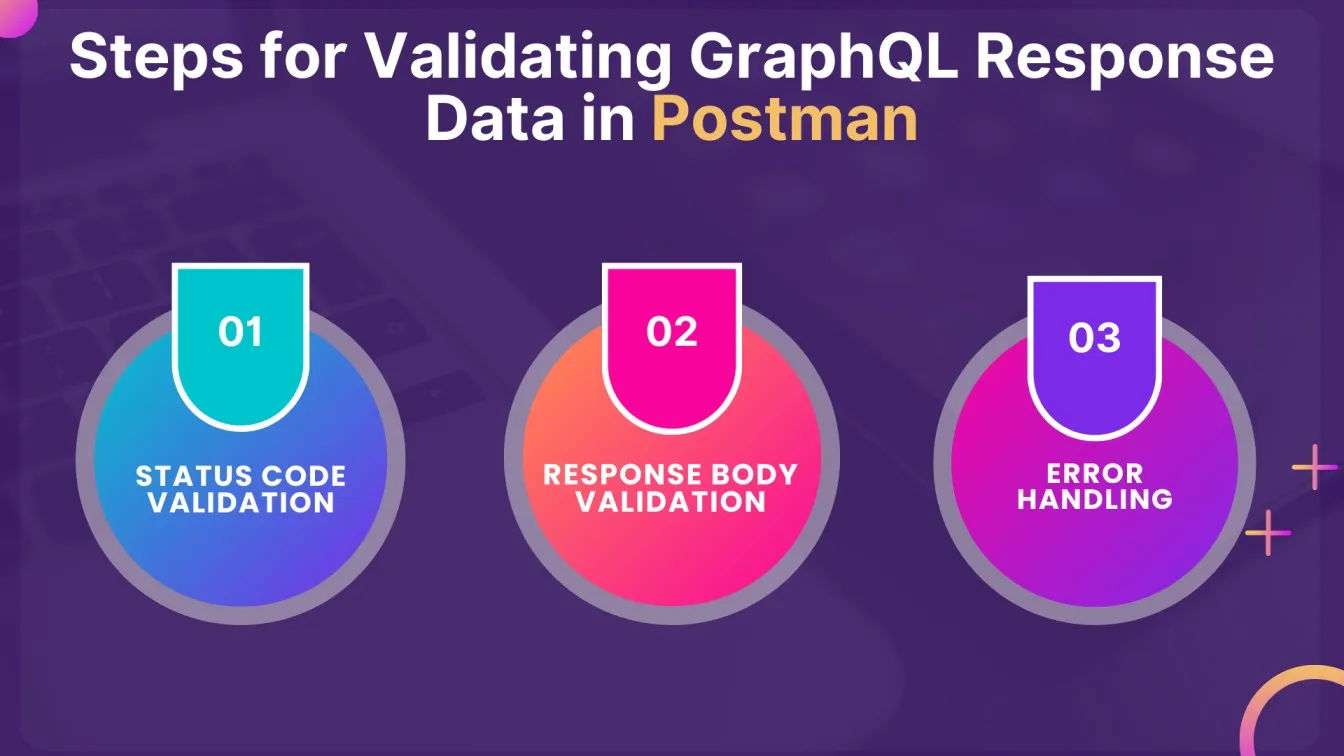
- Status Code Validation✅: You need to check the HTTP status code to confirm the request was successful.
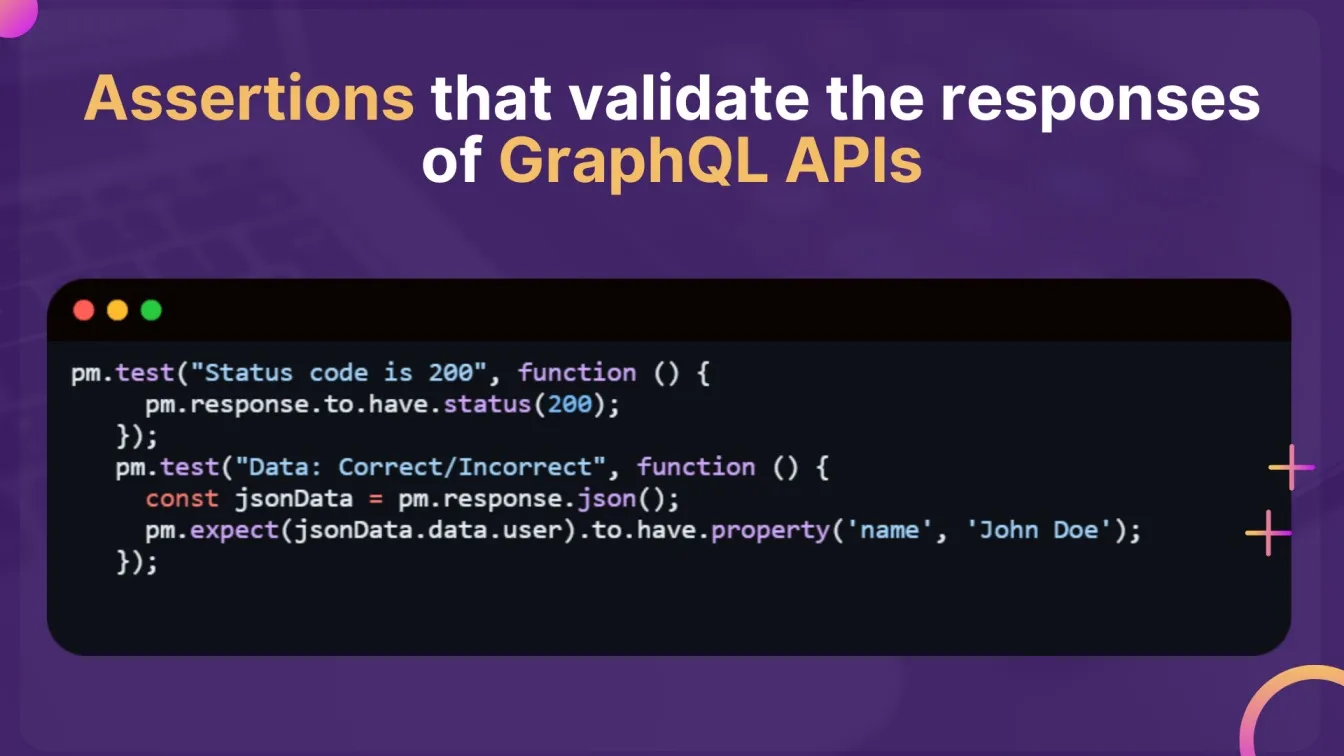
pm.test("Status code: 200", function () {
     pm.response.to.have.status(200);
});- Response Body Validation🔍: Check that response fields contain the correct data.
pm.test("Response must contain: id and name", function () {
     const jsonData = pm.response.json();
     pm.expect(jsonData.data.user).to.have.property('id');
     pm.expect(jsonData.data.user).to.have.property('name');
});- Error Handling⚠️: Validate error responses for specific scenarios, ensuring that the API provides clear feedback.
Validation helps catch issues early in the testing phase, ensuring reliability and correctness in your API.
Creating Automated Tests for GraphQL APIs in Postman
Automated tests reduce manual effort and provide consistent validation for your API. Here’s how to automate tests in Postman:
- First, navigate to the "Tests" tab within your request.
- Write Assertions: Use JavaScript to create assertions that validate the response:
- Execute Automated Tests with Collection Runner: Use the Collection Runner to run all tests within a collection, simplifying the testing process.
With automated tests, you can verify your GraphQL API's functionality quickly and consistently.
Using Postman’s Pre-Request Scripts for GraphQL
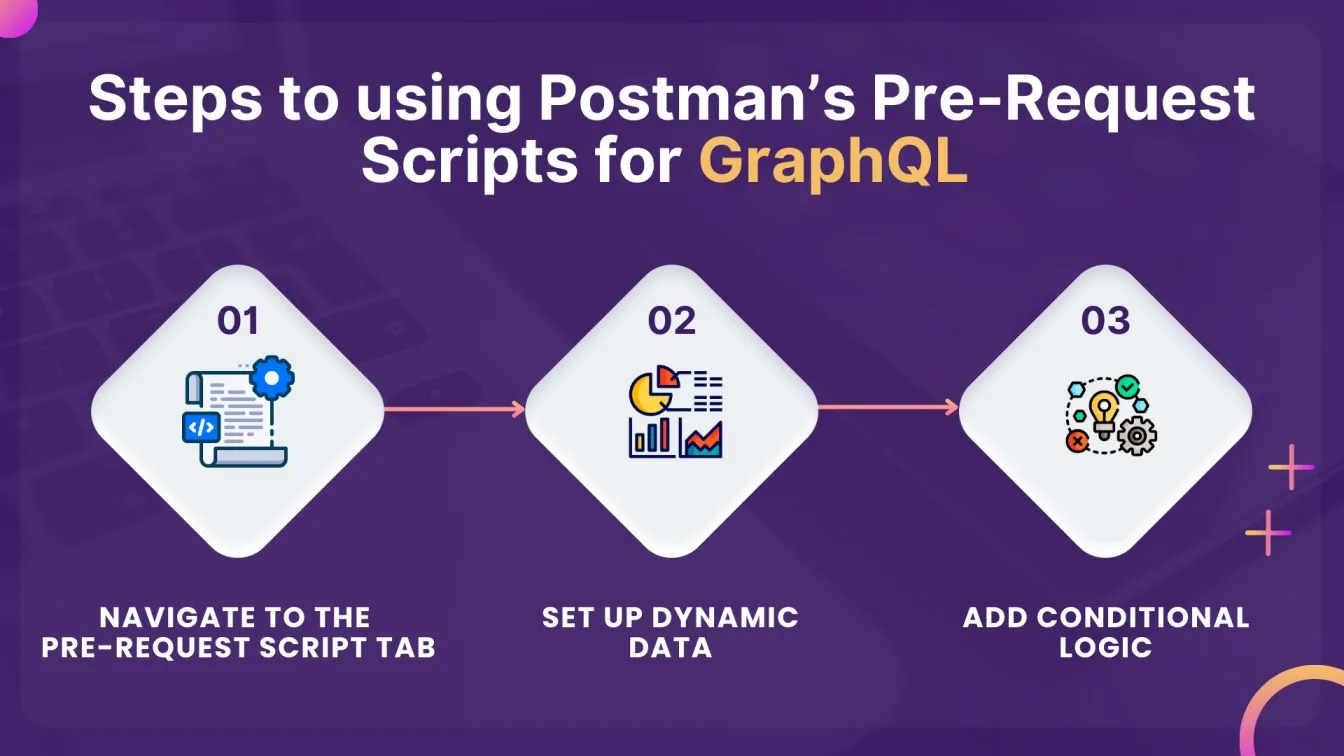
Pre-request scripts allow you to configure dynamic data or headers before each request:
- Firstly you have to navigate to the Pre-Request Script Tab: Go to the “Pre-Request Script” tab in your request.
- Set Up Dynamic Data: Write JavaScript to prepare data or modify headers as needed
pm.environment.set("timestamp", new Date().toISOString());- Add Conditional Logic: Adjust headers or variables based on conditions in your script.
Handling Dynamic GraphQL Variables and Headers in Postman
When testing APIs that use dynamic data, handling variables and headers in Postman is essential:
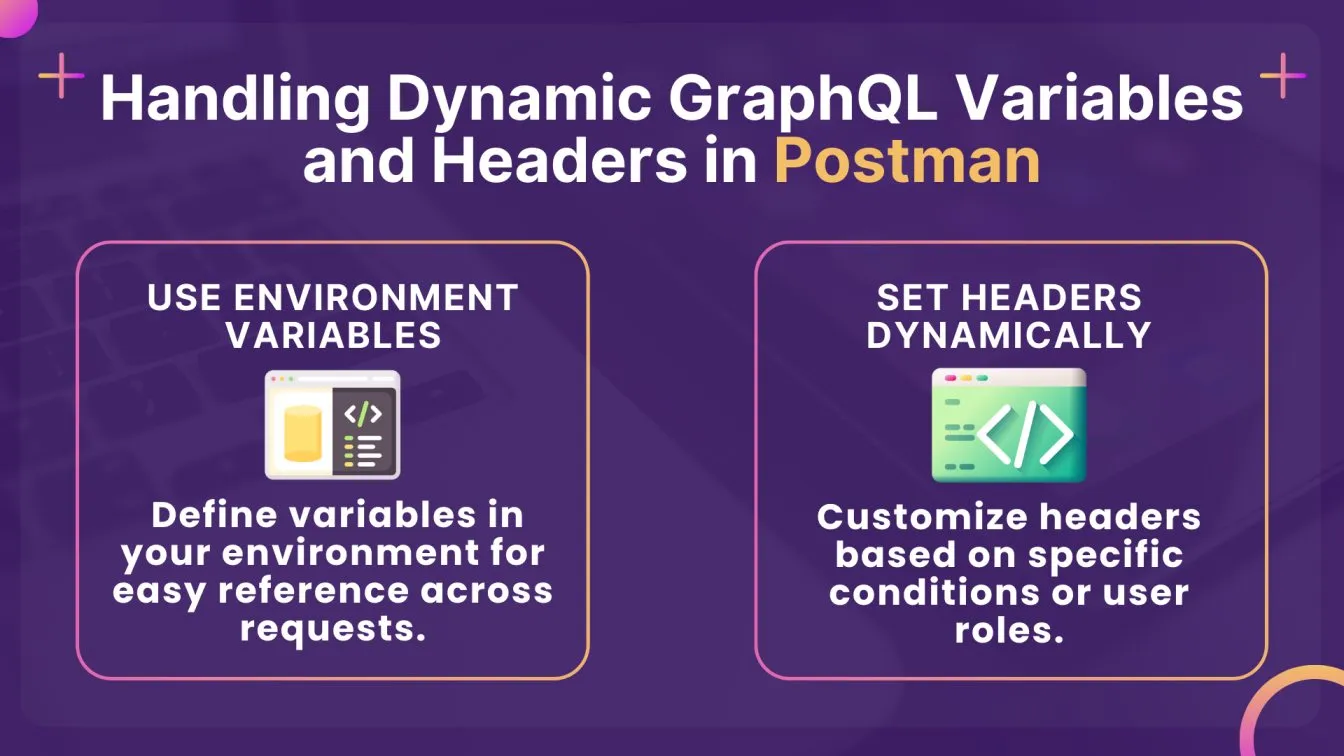
This feature is valuable for simulating different scenarios in your GraphQL testing.
Debugging GraphQL Responses and Errors in Postman
Debugging GraphQL responses and errors is an essential skill when working with APIs. Postman provides several tools to help you troubleshoot and resolve issues quickly.
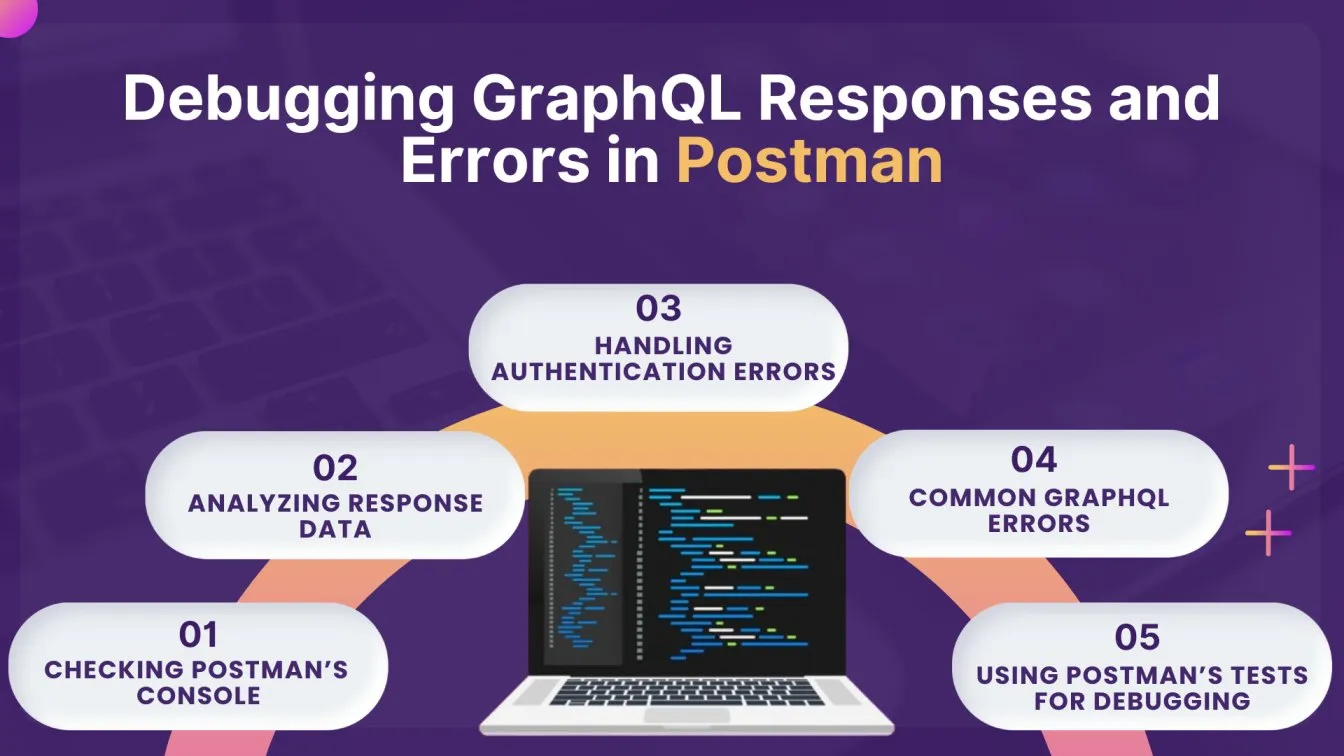
- Checking Postman’s Console🔍: The Console in Postman logs all requests and responses. It’s invaluable for tracing errors like malformed queries, wrong endpoints, or server issues.
- How to Use the Console :
- Open Postman’s console via View > Show Postman Console or ‘Ctrl + Alt + C’.
- After sending a request, view request details and response logs, including status codes and error messages.
- Example: Sending a query to retrieve user data.
- How to Use the Console :
query {
  user(id: "1234") {
    name
    email
  }
}
In the console, you’ll see request details and the response, such as:
Response: 200 OK
Body: {"data": {"user": {"name": "John", "email": "john@example.com"}}}
If there’s an issue (e.g., a field typo), the console will show error messages.
- Analyzing Response Data📊: After sending a request, it's crucial to analyze both the status code and response body for errors. Steps to Analyze:
- Check Status Code: A ‘200 OK’ means successful processing, but errors can still exist in the response body.
- Inspect Response Body: GraphQL responses often include a `data` object or an `errors` array. If a query is incorrect, the error array provides valuable insight.
Example: If you mistakenly request a non-existent field: graphql
query {
  user(id: "1234") {
    name
    emailAddress  # Incorrect field
  }
}
The response might show:
{
  "data": {
    "user": { "name": "John" }
  },
  "errors": [
    {
      "message": "Cannot query field 'emailAddress' on type 'User'."
    }
  ]
}
This indicates a typo, and the error message pinpoints the issue.
- Handling Authentication Errors🔐: Authentication issues are common when working with GraphQL APIs. A `401 Unauthorized` status usually indicates a missing or invalid authentication token. How to Debug:some text
- Check the Authorization Header: Ensure that the token is correctly passed in the headers.
- Verify the Token: If the token is expired or incorrect, a `401` error will occur.
- Example: some text
- Include the token in the Authorization header:
Authorization: Bearer <your-token>If the token is invalid, you might receive: json.
{
  "errors": [
    {
      "message": "Unauthorized"
    }
  ]
}- Common GraphQL Errors❌: Some of the most common errors in GraphQL include:some text
- Validation Errors: If a query asks for a non-existent field, the API will return an error message.
- Authorization Errors: A ‘401 Unauthorized’ message occurs if the token is missing or invalid.
- Server Errors: If something goes wrong on the server, a `500 Internal Server Error` might be returned.
- Example: A validation error might look like:
{
  "errors": [
    {
      "message": "Field 'email' is not defined on type 'User'."
    }
  ]
}
- Using Postman’s Tests for Debugging🖥️: Postman allows you to write test scripts to validate responses. Automated tests assist in identifying errors early and simplify the debugging process.
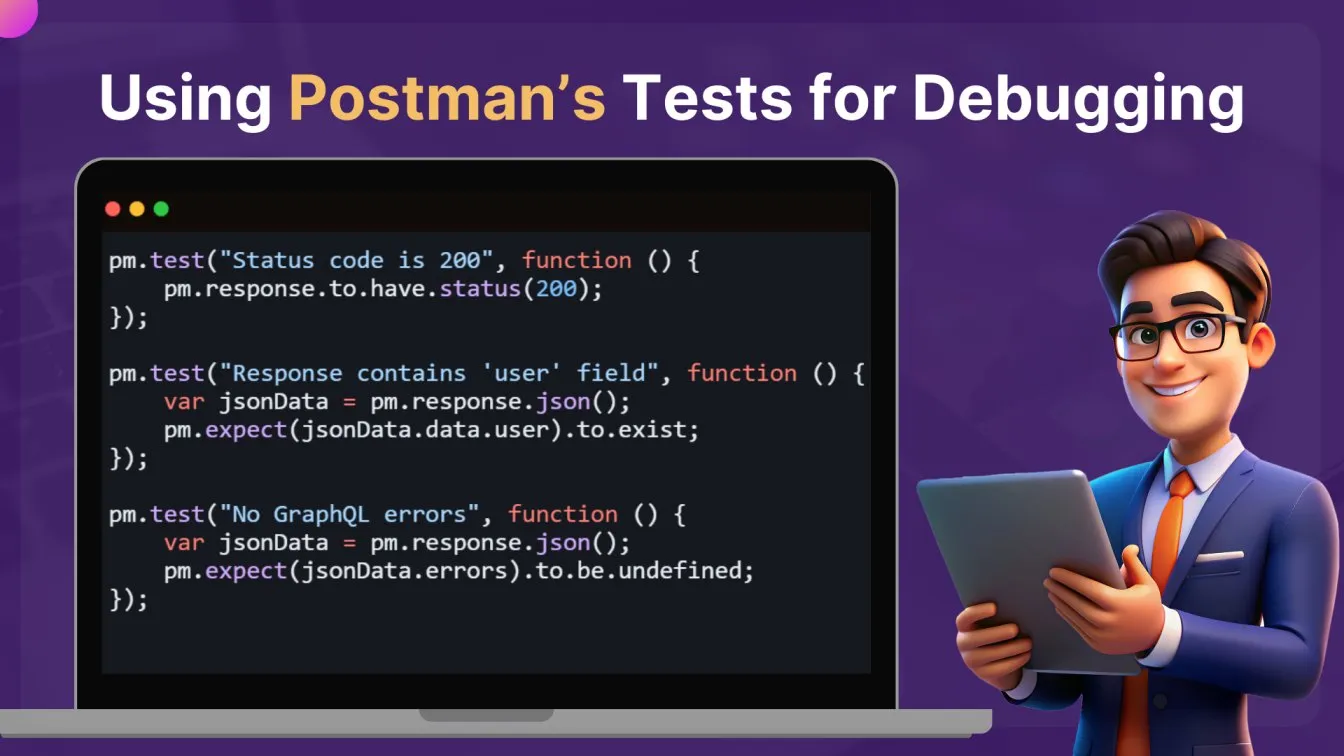
These tests check if the status is ‘200 OK’ if the ‘user’ field is present, and if there are no errors.
Best Practices for Testing GraphQL APIs with Postman
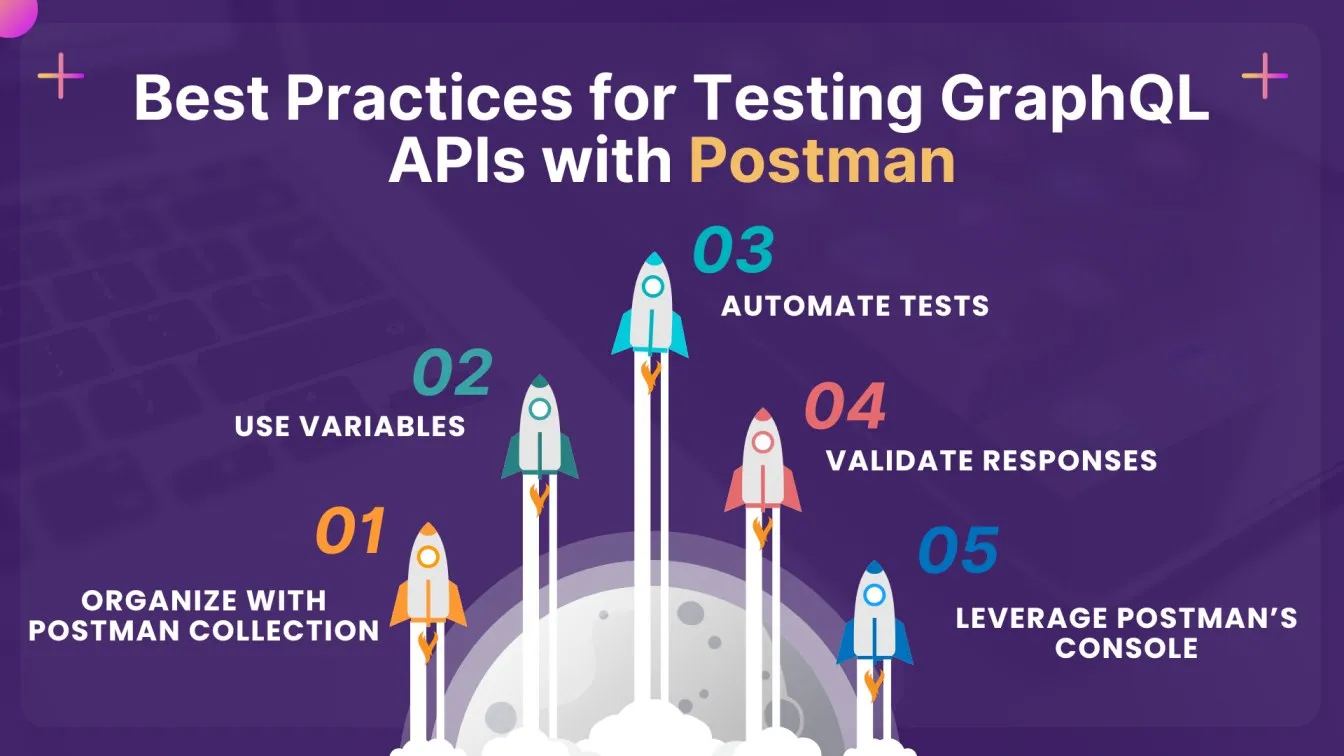
- Organize with Postman Collections📂: Group related queries and mutations into folders to maintain a clean structure, making it easier to manage and navigate your tests.
- Use Variables📐: Implement environment and collection variables for dynamic data like user IDs and authentication tokens. This makes tests flexible and reusable across different environments.
- Automate Tests🤖: Write assertions to validate response data, ensuring it matches expected values and adheres to the GraphQL schema. Use Collection Runner to automate test execution for regression testing.
- Validate Responses✅: Check that GraphQL queries return the correct data format, status codes, and error messages, preventing issues like over-fetching or under-fetching data.
- Leverage Postman’s Console🖥️: Use the console for debugging requests and inspecting response data. This enables swift identification and resolution of issues during testing.
Conclusion
Testing GraphQL APIs with Postman streamlines the process of ensuring your API’s reliability, efficiency, and security. By leveraging Postman’s robust features : such as its GraphQL client interface, environment variables, automated tests, and debugging tools—you can optimize your testing workflow and validate data effectively. Whether you're setting up your first GraphQL request or managing complex API testing, Postman provides an intuitive platform to simplify and enhance your testing process. Incorporating best practices like organizing requests into collections, automating tests, and validating responses ensures consistency and accuracy, making Postman an indispensable tool for developers working with GraphQL APIs.
People also asked
👉 How do you write unit test cases for GraphQL?
To write unit tests for GraphQL, mock the GraphQL resolvers and simulate queries using tools like Jest or Mocha.
👉 Does GraphQL use HTTP?
Yes, GraphQL commonly uses HTTP as its transport layer. Typically, all GraphQL operations—queries, mutations, and sometimes subscriptions—are handled through a single HTTP endpoint, usually with `POST` requests.
👉 How do I test my API performance?
Use Postman: Set up queries and mutations, then run them with Postman’s Collection Runner to measure response times and throughput.
👉 How do you test AWS REST API using Postman?
To test an AWS REST API using Postman, configure the request with the appropriate endpoint URL and HTTP method, then include the necessary authentication headers (e.g., AWS Signature, API Key).
👉 Is there a Postman-like tool in VS code?
Yes, there is a Postman-like tool in VS Code called Thunder Client.


%201.webp)
