API testing is essential for ensuring modern web applications operate seamlessly. REST Assured, a Java-based library simplifies REST API testing by offering a wide range of functionalities for handling HTTP requests, response bodies, and other aspects of REST web services. Paired with popular testing frameworks like TestNG and JUnit, you can automate tests efficiently, ensuring your APIs behave as expected. This guide provides a step-by-step tutorial on integrating REST Assured with both TestNG and JUnit for API automation testing.

Overview of REST Assured API Testing Tutorial 🚀
- 🔗 Learn REST Assured: Understand the basics of API automation testing with REST Assured.
- 🔧 TestNG & JUnit Setup: Step-by-step guide for integrating REST Assured with TestNG and JUnit.
- 📦 Project Configuration: Learn how to configure Maven dependencies for seamless testing.
- 🔍 API Test Automation: Write and execute tests for various HTTP methods, including GET, POST, PUT, PATCH, and DELETE.
- 🛠️ Hands-on Code Snippets: Get practical code examples for real-world API testing scenarios.
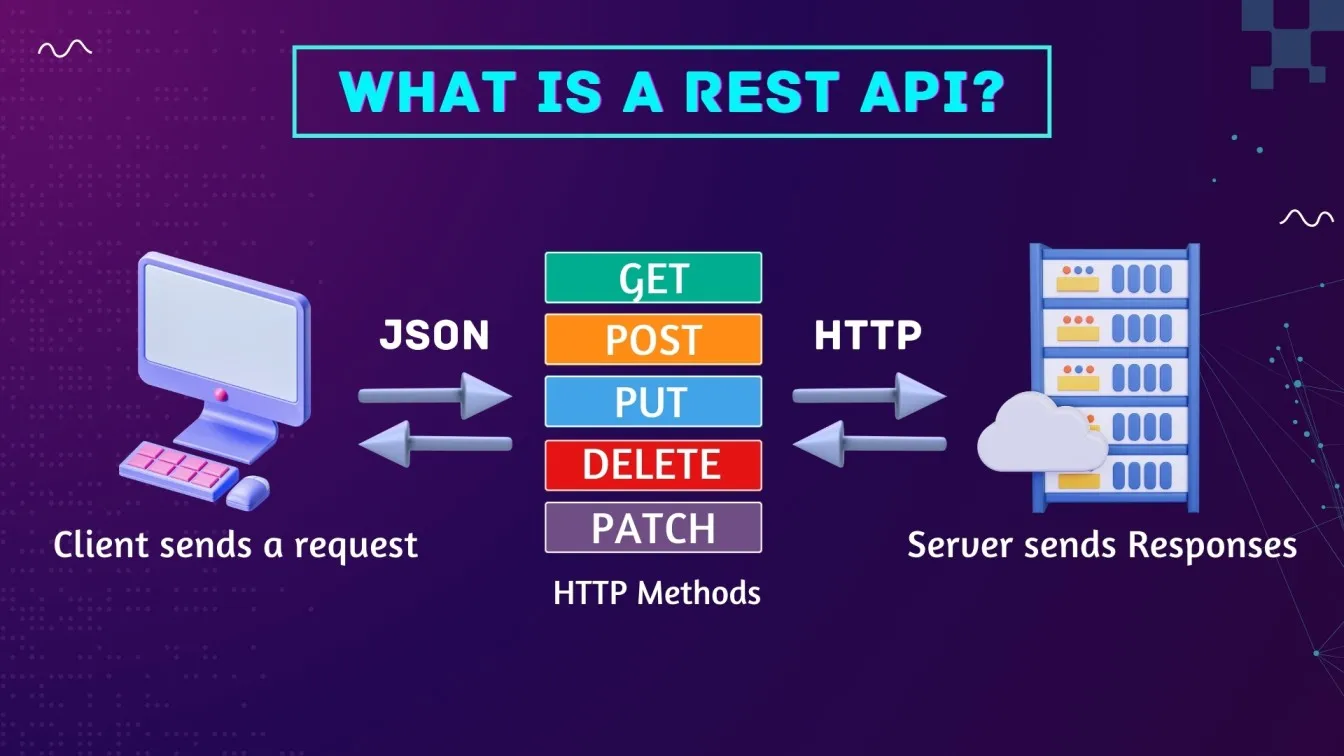
Introduction to REST Assured for API Testing
REST Assured is a domain-specific language (DSL) designed for testing RESTful APIs. It abstracts the complexities of handling HTTP requests and responses, making it easier for developers and software testing engineers to write automated API tests. REST Assured is particularly useful for testing RESTful web services, which are the backbone of many modern web applications.
Key features of REST Assured:
- Simplified HTTP requests: Easy to perform GET, POST, PUT, DELETE, and PATCH requests.
- Inbuilt methods for validation: Verifies response status codes, headers, and body content.
- Integration with testing frameworks: Works well with TestNG, JUnit, and other Java-based test frameworks.
- JSON/XML handling: Supports validation and parsing of JSON and XML responses.
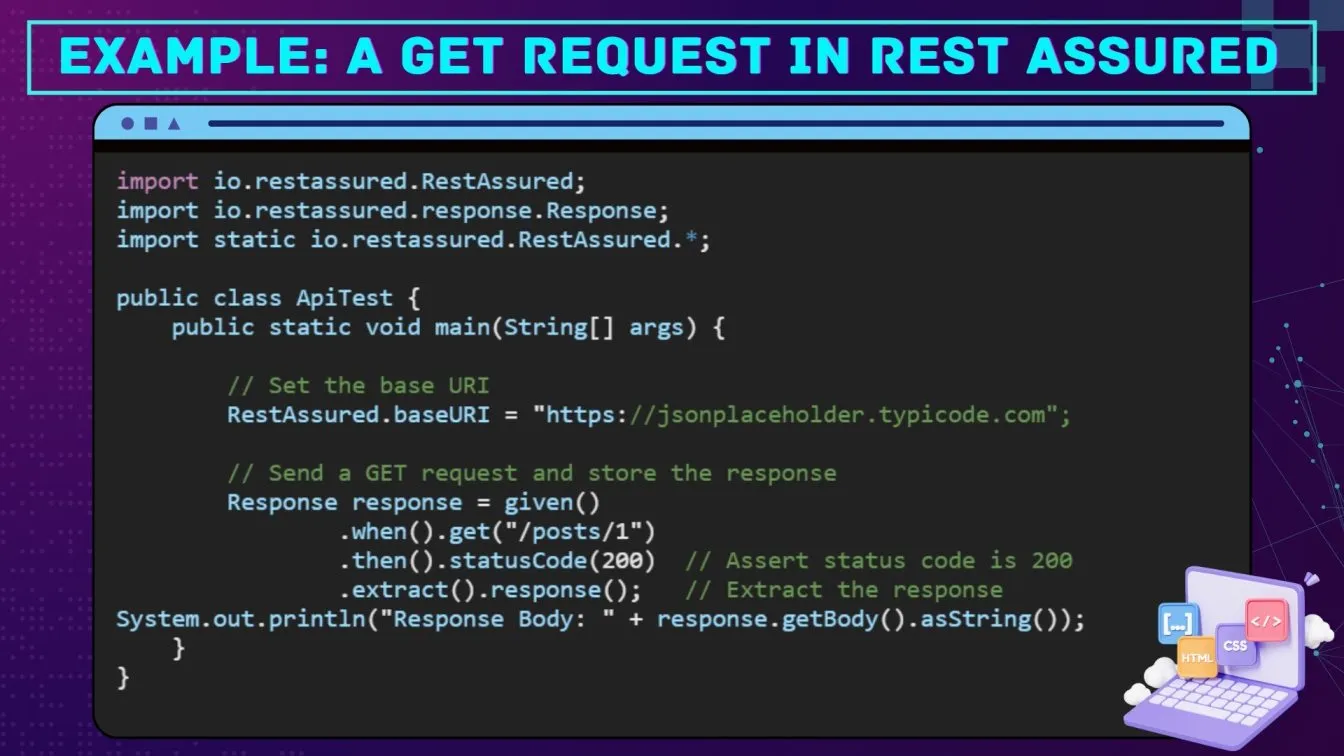
Why Use REST Assured for API Testing?
API testing is crucial for ensuring the reliability and scalability of applications, and REST Assured stands out for several reasons, making it a top choice for API test automation:
- Request Method Handling: Easily manage GET, POST, PUT, and DELETE requests.
- Response Validation: Simple assertions on status codes, response bodies, and headers.
- Integration with Testing Frameworks: Works seamlessly with TestNG, JUnit, and other popular testing frameworks.
- JSON and XML Parsing: Inbuilt capabilities to parse and validate JSON/XML response bodies.
- Authentication Support: Built-in methods for handling different types of authentication, such as Basic Authentication and OAuth.
- Error Handling: Ability to check error codes like 404, 500, and more.
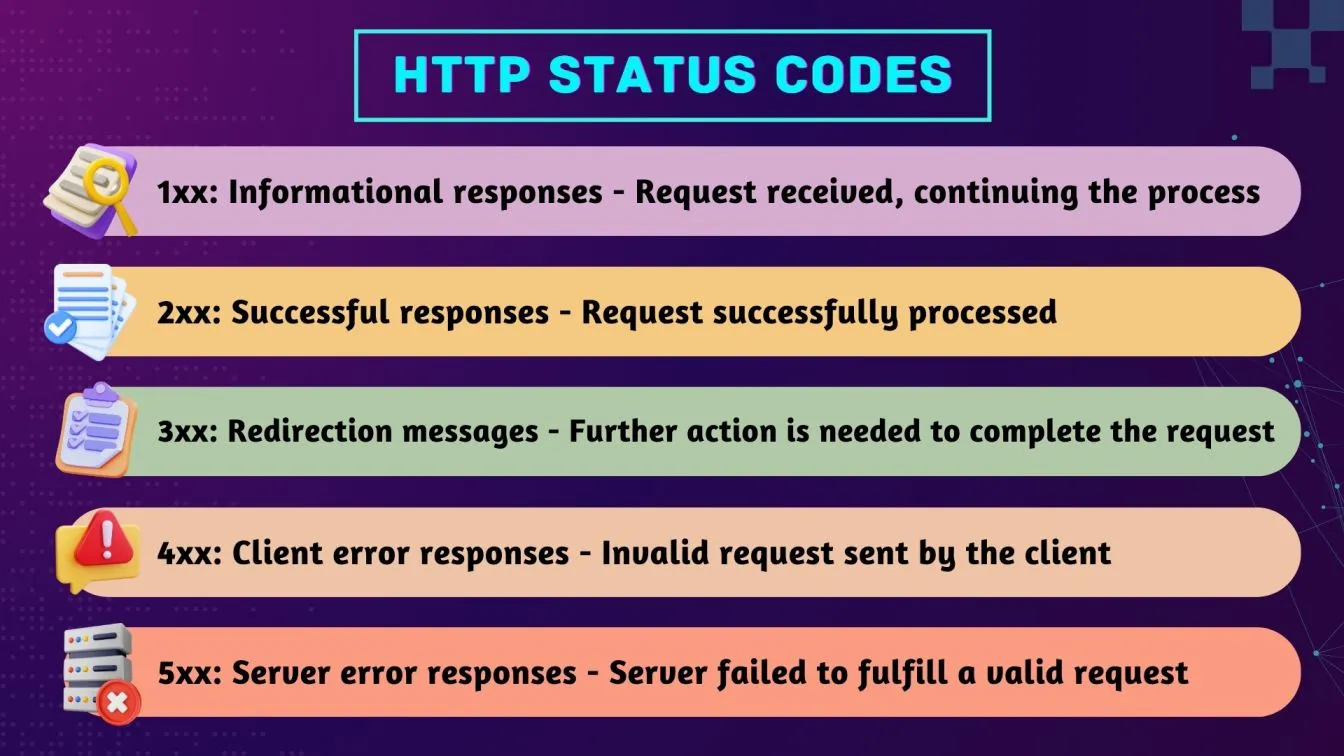
🚀 Advantages of REST Assured:
- Streamlines the testing of REST services.
- Supports a wide range of HTTP request methods, including GET, POST, PUT, and DELETE methods.
- Allows code reusability across multiple tests.
- Supports headless client testing for stateless services like REST APIs.
- The concise syntax allows you to write REST tests that are easy to read and maintain.
- REST Assured supports various HTTP methods and can handle complex JSON/XML responses.
- Seamlessly integrates with build tools like Maven and Gradle, and testing frameworks like TestNG and JUnit.
- REST Assured comes with built-in methods for the assertion of status code, response times, and body contents.
- As an open-source tool, REST Assured enjoys wide community support, frequent updates, and robust documentation.
Setting Up REST Assured in Your Project
Before you start writing REST tests, you need to set up REST Assured in your project. Here’s a step-by-step tutorial to begin.
Adding REST Assured Dependencies
First, add REST Assured dependencies to your Maven project. Here’s the required snippet for your pom.xml:
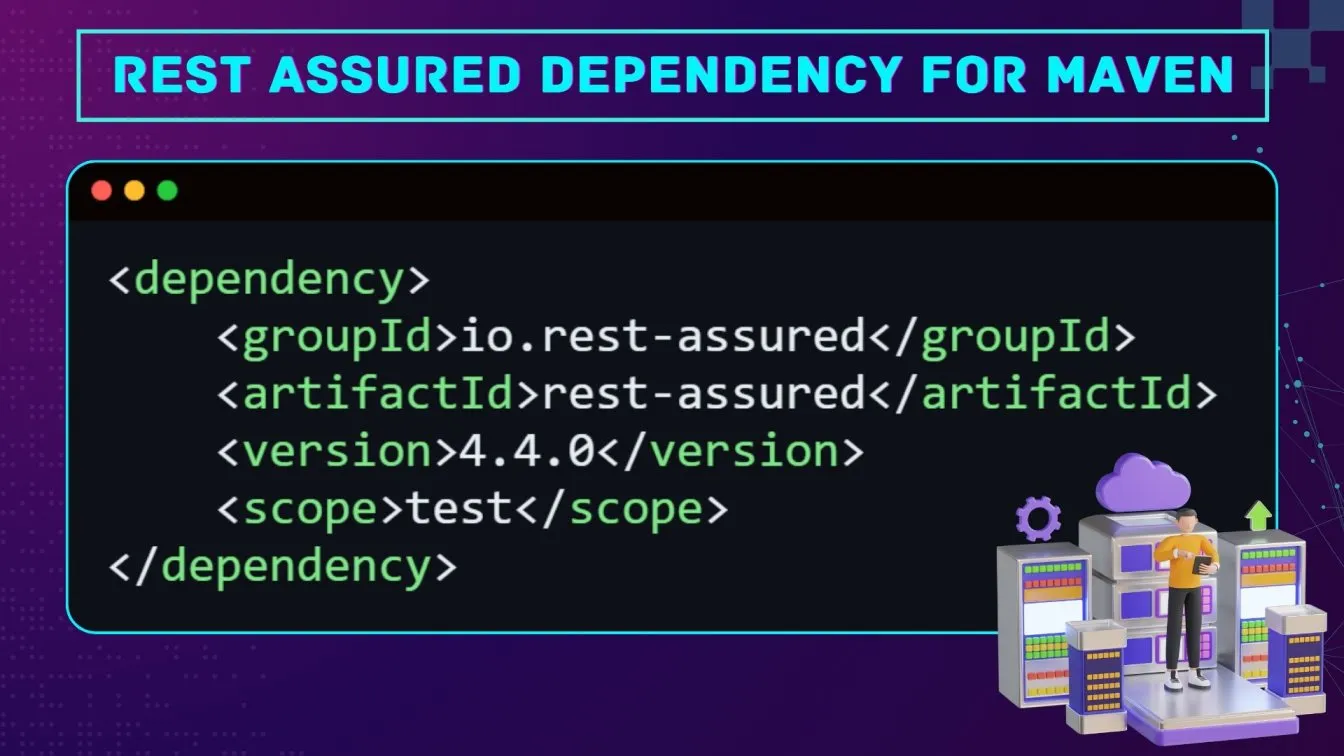
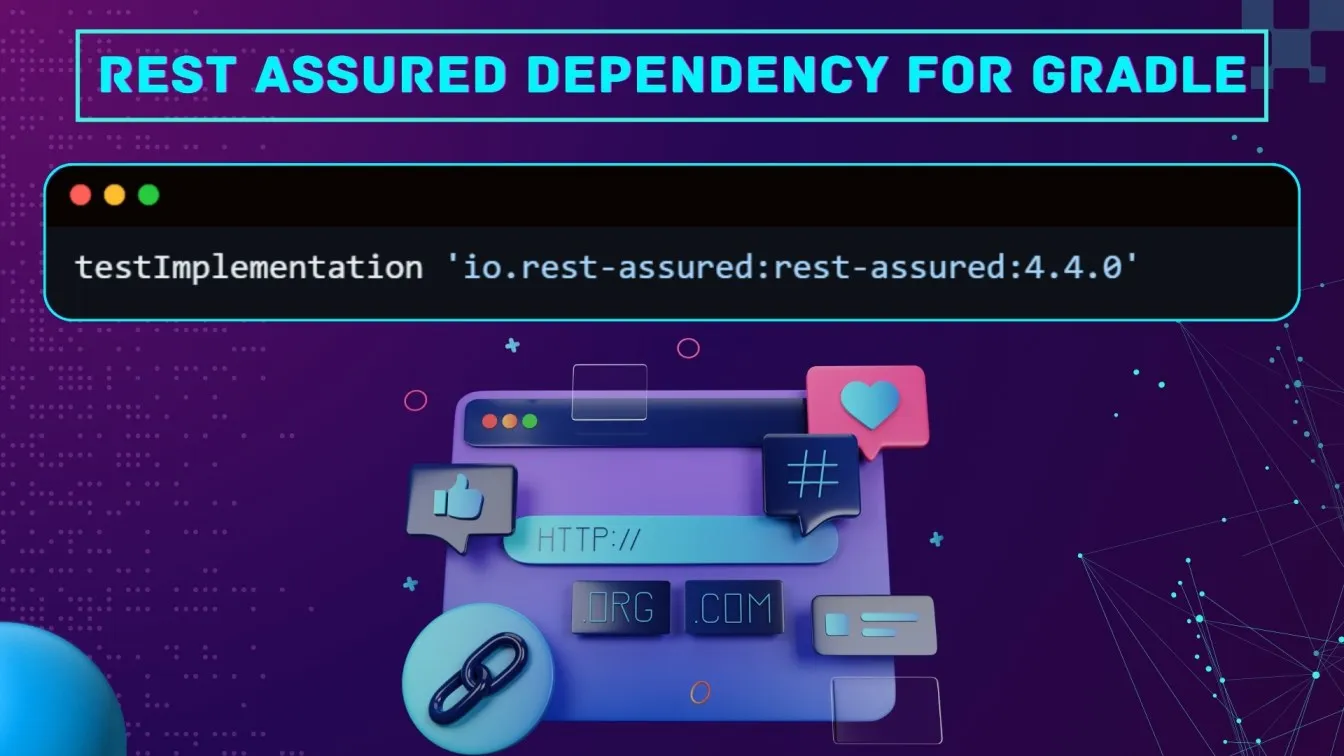
This allows your project to use REST Assured’s features for API test automation. You can also include dependencies for JSON Path and XML Path if you plan to work with complex response payloads.
Using REST Assured with TestNG
TestNG is one of the most popular testing frameworks for Java-based projects. It supports test configuration, data-driven testing, and parallel execution, making it a great companion to REST Assured for API automation testing.
Overview of TestNG for API Testing
TestNG provides a robust framework for defining, organizing, and running test cases. It supports features like test grouping, parallel execution, and parameterization, making it ideal for large test suites.
TestNG simplifies API test automation by providing:
- Annotations: Supports flexible test case creation with annotations like @Test, @BeforeMethod, and @AfterMethod.

- Test Data: Supports data-driven testing using Data Providers.
- Parallel Testing: Allows concurrent execution of tests, reducing test execution time.
TestNG works well with REST assured’s domain-specific language to validate the behavior of RESTful APIs.
Writing Your First API Test with TestNG
Let’s begin by writing a basic API test using REST Assured and TestNG to perform a GET request. Here’s a simple example:
import io.restassured.RestAssured;
import io.restassured.response.Response;
import org.testng.Assert;
import org.testng.annotations.Test;
public class ApiTestWithTestNG {
@Test
public void validateGetRequest() {
// Set base URI
RestAssured.baseURI = "https://jsonplaceholder.typicode.com";
// Send GET request and store the response
Response response = given()
.when().get("/posts/1")
.then().statusCode(200) // Assert status code is 200
.extract().response(); // Extract the response
// Extract values using JSON path
int userId = response.jsonPath().getInt("userId");
String title = response.jsonPath().getString("title");
// Assertions for validation using extracted values
Assert.assertEquals(userId, 1, "User ID does not match the expected value");
// Assertion to check if the title is not empty
Assert.assertTrue(!title.isEmpty(), "Title should not be empty");
// Print the response body at the end
System.out.println("Response Body: " + response.getBody().asString());
}
}
In this example, the @Test annotation from TestNG marks the method as a test case. The test makes a GET request to an API endpoint and verifies that the response has a status code of 200. Here, Assert.assertEquals() is used to verify the userID value, and Assert.assertTrue() checks the presence of specific fields in the response body.
Using Data Providers in TestNG for Dynamic API Tests
TestNG’s @DataProvider allows you to run the same test multiple times with different data. This is particularly useful for API testing, where you might want to validate the same API against multiple inputs.
Here’s an example of using REST Assured and TestNG to perform a POST request:
import io.restassured.RestAssured;

import io.restassured.response.Response;

import org.testng.Assert;

import org.testng.annotations.DataProvider;

import org.testng.annotations.Test;

public class DynamicApiTests {

    @DataProvider(name = "postIds")

    public Object[][] createPostIds() {

        return new Object[][] { { 1 }, { 2 }, { 3 } };

    }

    @Test(dataProvider = "postIds")

    public void testMultipleGetRequests(int postId) {

        // Set the base URI

        RestAssured.baseURI = "https://jsonplaceholder.typicode.com";

        // Send GET request and extract the response

        Response response = given()

            .when().get("/posts/" + postId)

            .then().statusCode(200)  // Assert status code

            .extract().response();   // Extract the response

        // Use JSON path to assert the presence of 'id' and validate the specific postId

        int actualId = response.jsonPath().getInt("id");

        Assert.assertTrue(actualId > 0, "The ID in the response should be greater than 0 but found: " + actualId);

        Assert.assertEquals(actualId, postId, "Expected post ID (" + postId + ") does not match actual ID (" + actualId + ")");

    }

}
In this example, we are sending a POST request with a JSON payload or request body. By using a Data Provider, you can reuse the same test code and run it multiple times with different inputs, checking the response body for expected values. This makes your tests more efficient and maintainable.
Executing Parallel API Tests with TestNG
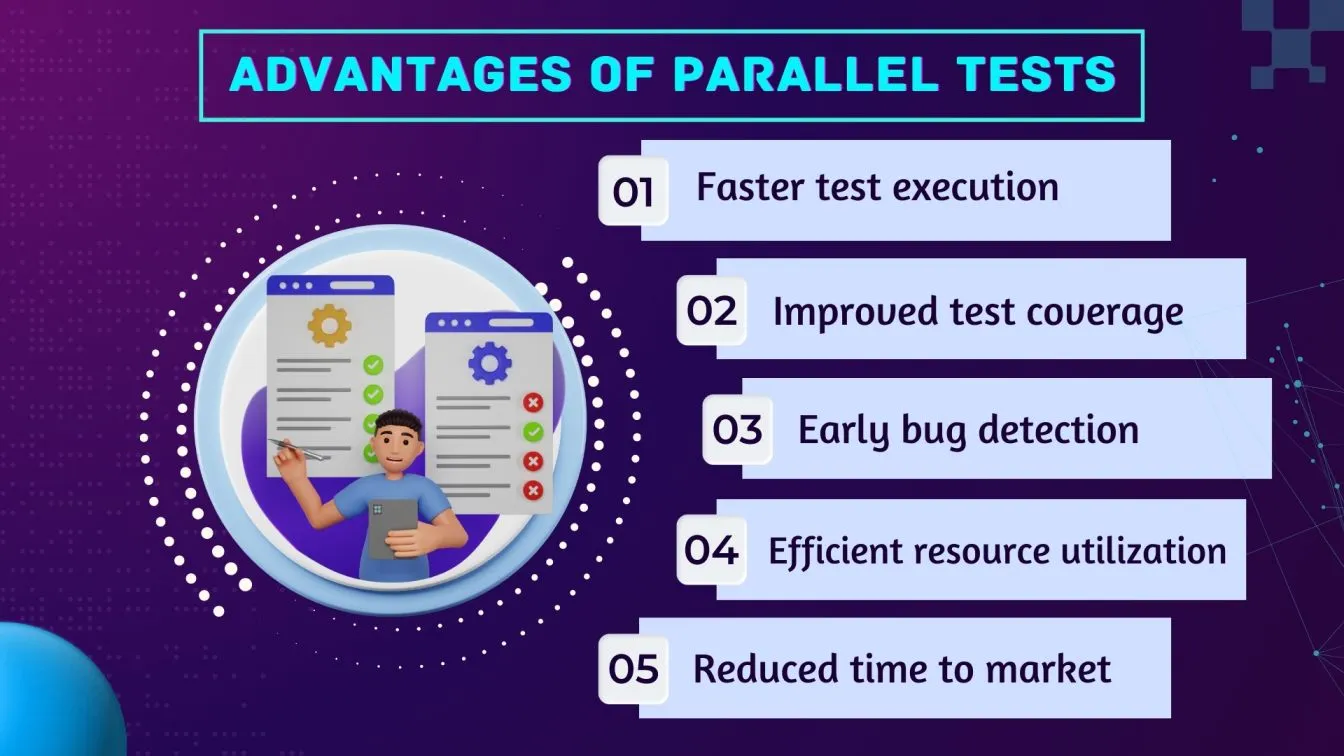
TestNG supports parallel execution, allowing you to run multiple API tests simultaneously. This reduces execution time, making it ideal for large test suites.
You can enable parallel execution by adding the following to your testng.xml configuration file:
<suite name="API Tests" parallel="tests" thread-count="4">

    <test name="Test1">

        <classes>

            <class name="com.example.tests.ApiTestWithTestNG" />

        </classes>

    </test>

    <test name="Test2">

        <classes>

            <class name="com.example.tests.DynamicApiTests" />

        </classes>

    </test>

</suite>
With parallel="tests", TestNG will run your tests in parallel, utilizing multiple threads for faster execution, making it ideal for large-scale API automation projects.
Generating API Test Reports with TestNG
TestNG automatically generates HTML reports, providing valuable insights into test results, failures, and execution times.
To further enhance reporting, you can integrate Allure for more detailed and interactive reports. Add the following Maven dependencies to the project:
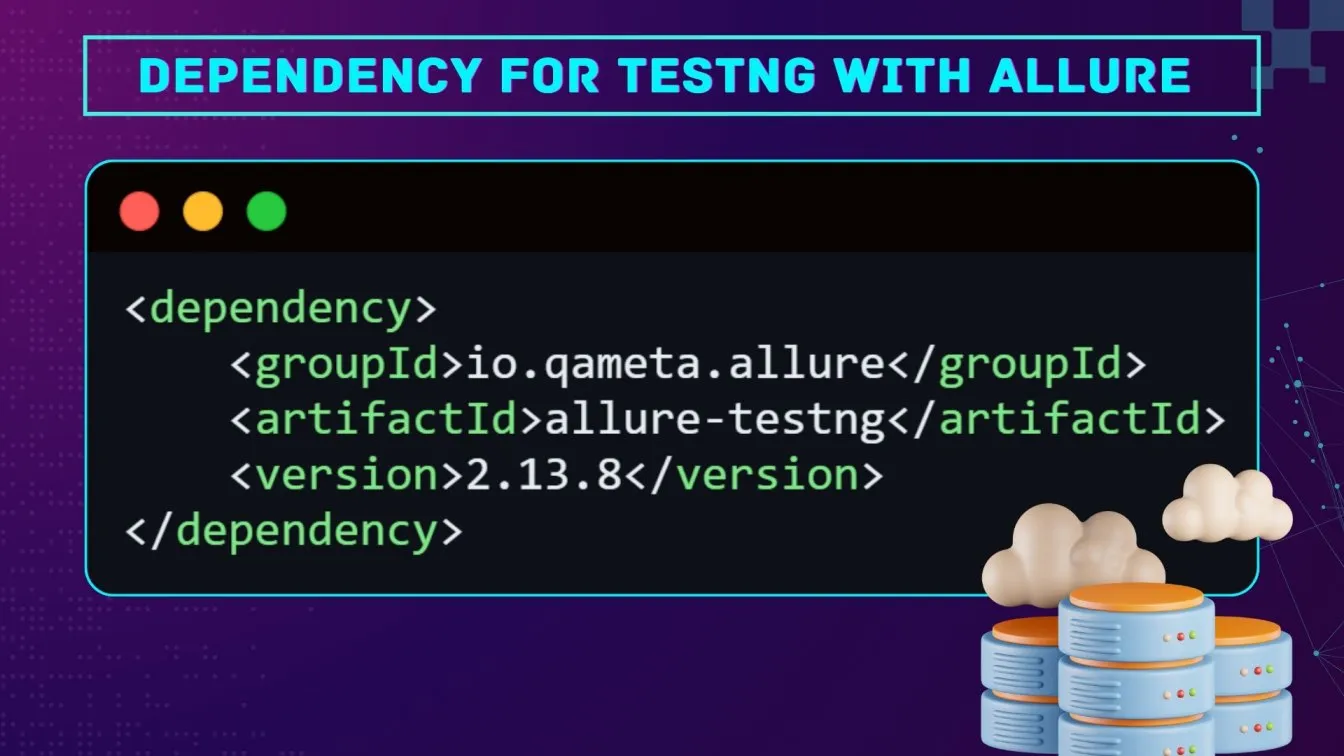
After running your tests, you can generate an Allure report to visualize your API test results.
Using REST Assured with JUnit
JUnit is another widely used testing framework for Java that focuses on simplicity and ease of use. REST Assured integrates seamlessly with JUnit, offering flexible API testing and API test management.
Overview of JUnit for API Testing
JUnit is lightweight and is a good choice for smaller projects where simplicity is key. It is easy to set up and provides a clear structure for writing unit and API tests.
Key features of using JUnit with REST Assured:
- Annotations: Annotations like @Test, @Before, and @After make test case management intuitive.
- JUnit 5: The latest version, JUnit 5, introduces features like parameterized tests, making it even more powerful for API testing.
Writing Your First API Test with JUnit
Here’s an example of a basic GET request using JUnit 5:
import io.restassured.RestAssured;

import io.restassured.response.Response;

import org.junit.jupiter.api.Assertions;

import org.junit.jupiter.api.Test;

public class ApiTestWithJUnit {

    @Test

    public void validateGetRequest() {

        // Set the base URI

        RestAssured.baseURI = "https://jsonplaceholder.typicode.com";

        // Send GET request and extract the response

        Response response = RestAssured

            .given()

            .when().get("/posts/1")

            .then().statusCode(200) // Assert status code

            .extract().response();   // Extract the response

        // Use JSON path to assert the presence of 'id'

        int actualId = response.jsonPath().getInt("id");

        Assertions.assertEquals(1, actualId, "Expected post ID (1) does not match actual ID (" + actualId + ")");

    }

}
JUnit’s @Test annotation marks the method as a test case, and this test makes a GET request and verifies that the response code is 200, indicating a successful API request. The base URI is the foundational part of the API's URL, defining the server or host address to which all requests will be sent.
Parameterizing Tests with JUnit 5
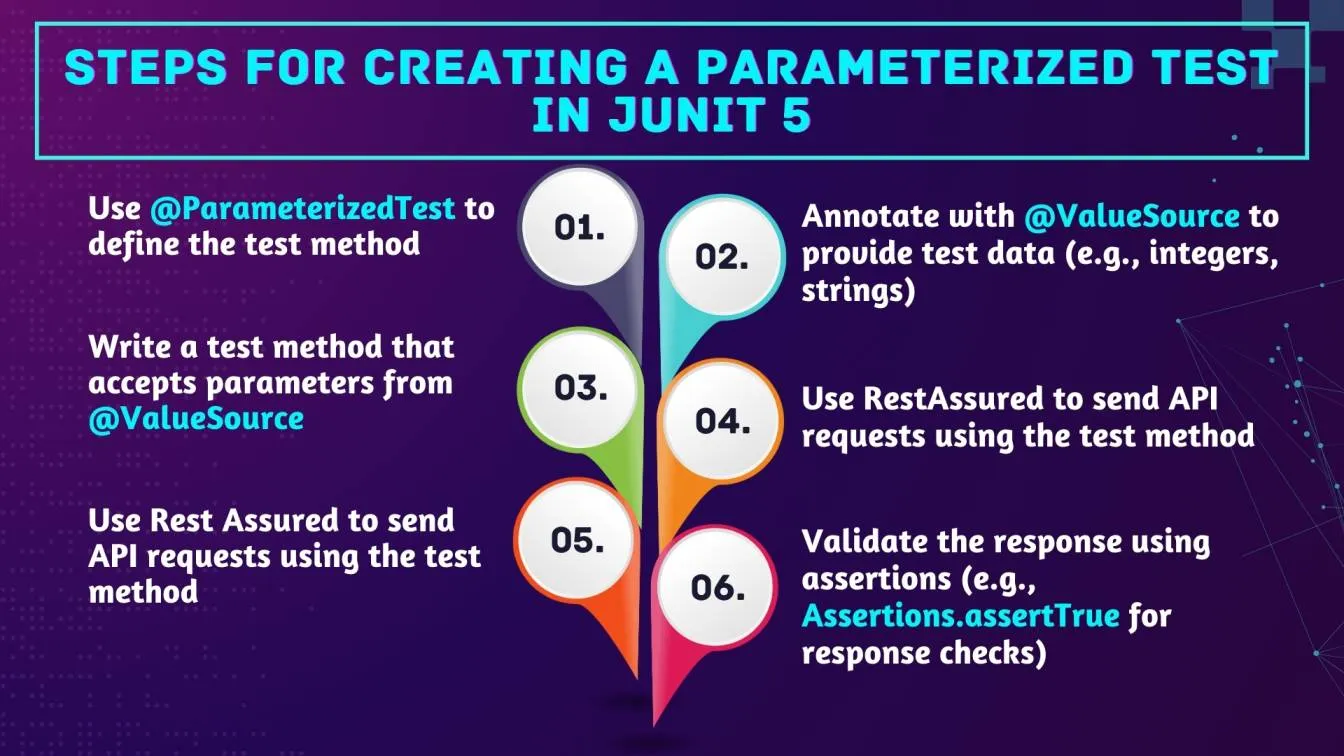
JUnit 5 supports parameterized tests, allowing you to pass different input values to the same test case. Here’s an example of how to parameterize your API tests:
import io.restassured.RestAssured;

import io.restassured.response.Response;

import org.junit.jupiter.api.Assertions;

import org.junit.jupiter.params.ParameterizedTest;

import org.junit.jupiter.params.provider.ValueSource;

public class ParameterizedApiTest {

    @ParameterizedTest

    @ValueSource(ints = { 1, 2, 3, 4 })

    public void testMultipleGetRequests(int postId) {

        // Send GET request and extract the response

        Response response = RestAssured

            .given()

            .when().get("https://jsonplaceholder.typicode.com/posts/" + postId)

            .then().statusCode(200) // Assert status code

            .extract().response();   // Extract the response

        // Assert that 'title' is not empty

        String title = response.jsonPath().getString("title");

        Assertions.assertFalse(title.isEmpty(), "The title should not be empty for post ID " + postId);

    }

}
In this example, the test runs multiple times with different postId values, ensuring the API handles various inputs correctly.
Handling Test Life Cycle with @Before and @After in JUnit
JUnit’s @BeforeAll, @BeforeEach, @AfterAll, and @AfterEach annotations allow you to manage setup and teardown logic for your tests. This is particularly useful for initializing variables, setting up configurations, and cleaning up after tests.
Here’s an example:
import io.restassured.RestAssured;

import org.junit.jupiter.api.AfterEach;

import org.junit.jupiter.api.BeforeEach;

import org.junit.jupiter.api.Test;

import static io.restassured.RestAssured.*;

public class ApiTestWithLifeCycle {

    @BeforeEach

    public void setup() {

        RestAssured.baseURI = "https://jsonplaceholder.typicode.com";

    }

    @Test

    public void validateGetRequest() {

        given()

            .when().get("/posts/1")

            .then().statusCode(200)

            .log().all();

    }

    @AfterEach

    public void teardown() {

        System.out.println("Test completed.");

    }

}
Generating API Test Reports with JUnit
Like TestNG, JUnit also supports report generation. You can integrate Allure for detailed and interactive reports.
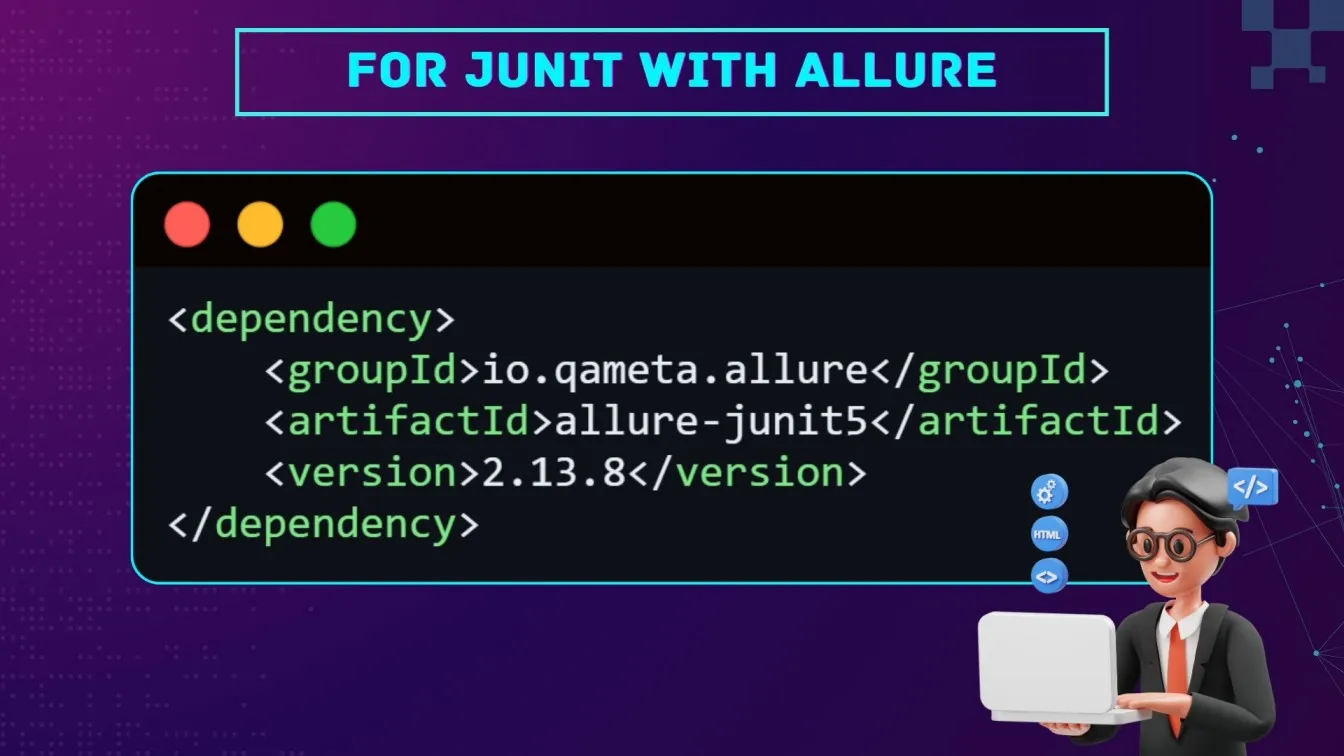
This lets you visualize the test execution and failure analysis in a detailed report.
Choosing Between TestNG and JUnit for API Testing
When deciding between TestNG and JUnit for API test automation with REST Assured, your choice depends on your project’s requirements and complexity:

- TestNG: Ideal for large, complex projects requiring parallel execution, data-driven testing, and advanced reporting features. If your API tests need to scale with a wide variety of inputs, TestNG’s Data Provider feature makes this seamless.
- JUnit: Best suited for smaller projects or those that prefer simplicity and ease of use. It’s an excellent choice when your focus is on writing clean, concise tests without much configuration overhead.
Here’s a quick comparison to summarize:
Ultimately, both frameworks can work efficiently with REST Assured. Your decision should be guided by factors such as the size of your project, the need for parallel execution, and the complexity of the test suite.
Conclusion
In this tutorial, we explored how to integrate REST Assured with TestNG and JUnit for API testing. Both frameworks offer powerful features for automating API tests, and REST Assured simplifies the process of sending requests and validating responses. Whether you choose TestNG for its advanced features like parallel execution and data-driven testing, or JUnit for its simplicity, REST Assured makes API test automation more accessible.
For any software engineer, mastering API testing with REST Assured is an invaluable skill. The advantages of REST Assured include its easy-to-use DSL, support for various API request methods, and compatibility with both TestNG and JUnit, making it a versatile tool in the world of API testing.
Happy testing! 😎
People also asked
👉What benefits does TestNG have over JUnit?
TestNG offers more advanced features like parallel test execution, flexible test configurations, and built-in reporting. It also supports data-driven testing with @DataProvider, making it ideal for larger and more complex test suites.
👉What features are applicable for both JUnit and TestNG?
Both frameworks support test automation, assertions, and annotations for managing the test lifecycle (@Before, @After). They can be integrated with REST Assured for API testing. They also generate test reports and work seamlessly with Maven.
👉Can you convert JUnit test scripts to TestNG?
Yes, JUnit test scripts can be converted to TestNG by modifying annotations (e.g., @Test remains the same, but lifecycle annotations like @BeforeEach change to @BeforeMethod). The core logic remains the same in most cases.
👉Should I use JUnit or TestNG?
Use TestNG for larger projects needing parallel execution, better reporting, and complex test setups. JUnit, due to its lightweight nature, is a good choice for simpler, smaller projects with straightforward requirements.
👉Can I use TestNG and JUnit together?
Technically, you can use both frameworks in the same project by separating them into different test classes. However, it can lead to complexity in test management, so it's best to stick to one framework per project for consistency.


%201.webp)

