

Appium is an open-source test automation tool that allows you to write functional tests to automate iOS and Android mobile applications. One big advantage of Appium over other test automation tools is that Appium tests can be written in any language that has the Selenium Client Library including Python, Ruby, Node.js.
Appium supports native, hybrid and web application testing and also supports testing on emulators, simulators and real devices.
It supports cross-platform application testing i.e. single API works for both Android and iOS platform test scripts.
Part 1: Getting environment setup with Appium and TestNG.
Part 2: Writing your Test Cases.
The most difficult part of getting automated mobile testing, is to determine the correct set of tools to use, which version to use and how to install everything correctly so that it works seamlessly together. Sadly, it is not that easy, not a job of just a few clicks to install everything you need.
In this tutorial, we have discussed the recommended tools, that we will be using to show how to automate an Android app. But, there are plenty of other variations also. Below is a comprehensive list of all the tools, which we will be discussing one by one in detail.
- Chocolatey
- Node & NPM
- JDK
- Android Studio and Android SDK
- Appium
- Appium Doctor
- Gradle
- Maven
- Eclipse
- TestNG
Steps to install Chocolatey
Chocolatey is simply a package management software that makes it easier for us to install and manage other software.
1. Go to the link.
2. Open command prompt or powershell using administrative privileges.
3. From the start menu search command to open a command prompt and search power to open powershell.
4. For both the cases right click and select “Run as administrator” option.

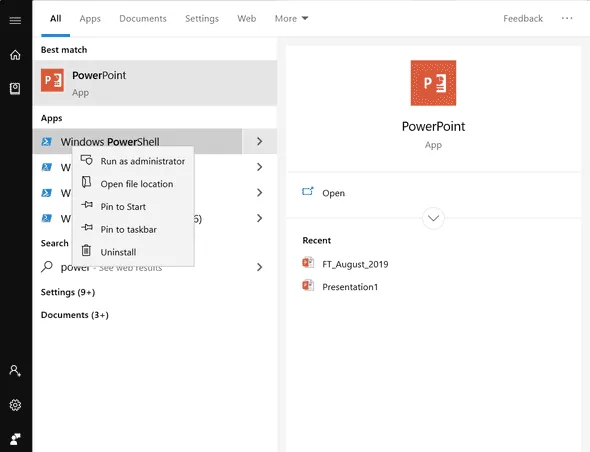
5. Click on “Yes” button in the dialog that appears.
6. In case of command prompt enter the following command to install chocolatey.
.webp)
7. In case of powershell enter following command to install chocolatey.
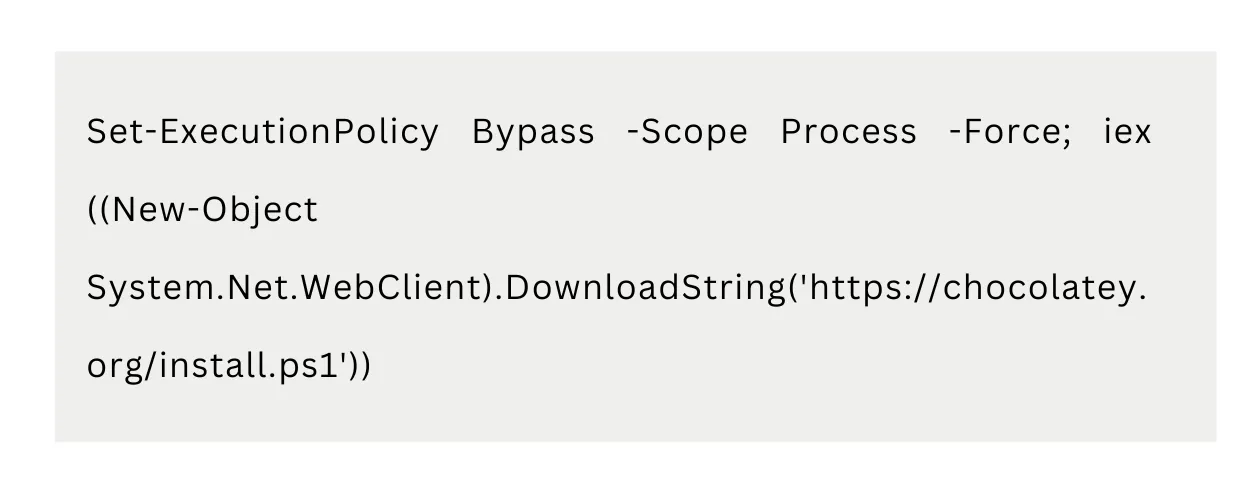
Steps to Install Node and NPM:
Node is a javascript run-time environment and npm is the node package manager. And why we need these? Because Appium is a node application.
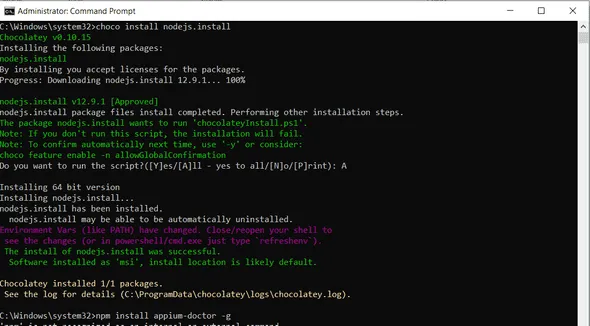
- Use chocolatey to install Node. NPM comes installed with Node. SO, you don’t need to install it separately.
- Use command:
- choco install nodejs.install
Steps to install JDK and set JAVA_HOME
Since our tests will be written using Java language, so we will be requiring JDK- Java Development Kit.
- Go to the link and Download JDK.
- Double click the JDK and follow the installation steps.
- Next step is to setup the Path variable in System Variables.
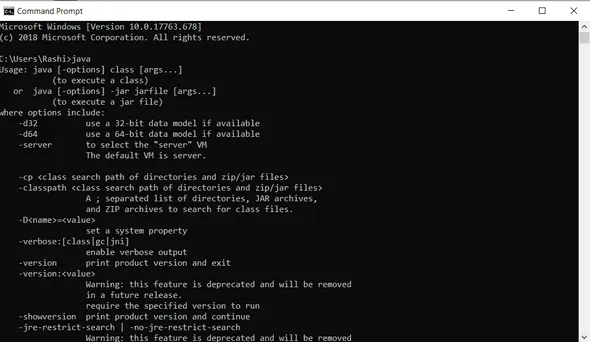
- Set Path variable to the path of bin folder in jdk directory like “C:\Program Files\Java\jdk-12.0.2\bin”
NOTE: Replace this with path of bin folder in your jdk directory. This is for illustration purpose only. - Open a command prompt and type java. If you can see some output, it means the path is set correctly and now jdk ready for use.
Steps to install Android Studio and Android SDK
We need Android Studio to write and run tests on Android Apps and Devices.
- Go to the link and Download Android Studio.
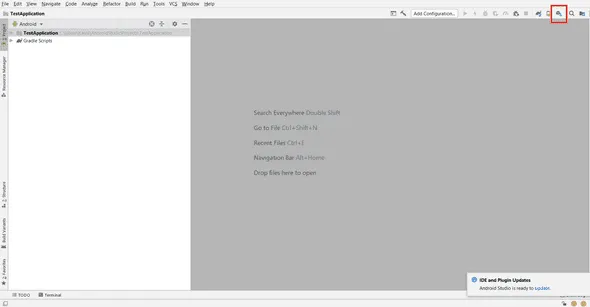
- Launch Android Studio and complete the setup process until you reach the welcome page.
- You can find the SDK Manager icon from the top rightmost menu.
- From the “SDK Tools”, ensure following options are selected:
a. Android SDK Build-Tools
b. Android SDK Platform-Tools
c. Android SDK Tools
d. Intel x86 Emulator Accelerator (HAXM installer)
e. Android Support Repository
f. Google Repository - Click “OK” and install if there are any additions.
- Edit the Path Variable under the System Variables to add path of Sdk folder under Android directory “C:\Users\Rashi\AppData\Local\Android\Sdk\”
Steps to install Appium
Appium is an open-source test automation framework and the hero of today’s tutorial.
- Open the Node.js command prompt from the start menu.
- Type the following command in the terminal:
- npm install -g appium@1.7.2
- Successful installation of appium can be checked by entering the command- appium in command prompt. If no error message is displayed, it means appium is successfully installed.
Steps to install Appium Doctor:
Appium Doctor is the mini software, whose job is to check whether all of the preconditions for the execution of appium are true or not.
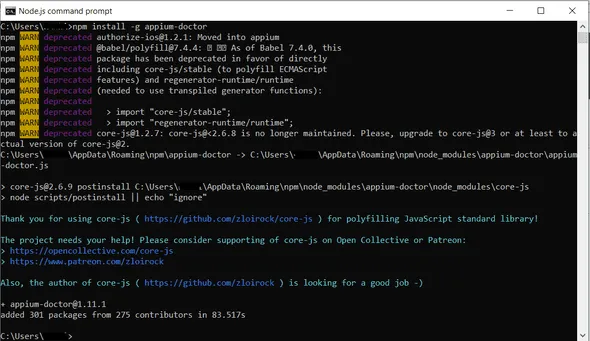
- Open the Node.js command prompt.
- Type the following command in the terminal
- npm install -g appium-doctor
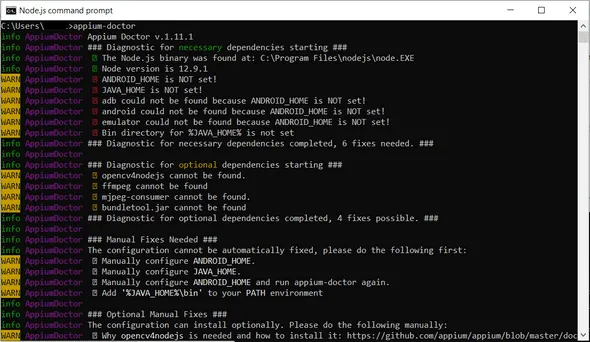
- To check the successful install, type the command: appium-doctor in the terminal.
- The output will be like this:
Steps to install Gradle
Gradle is used to create apk and jar files. It is an open-source build automation system.
1. Open the command prompt.
2. Type the following command:
3. Install gradle
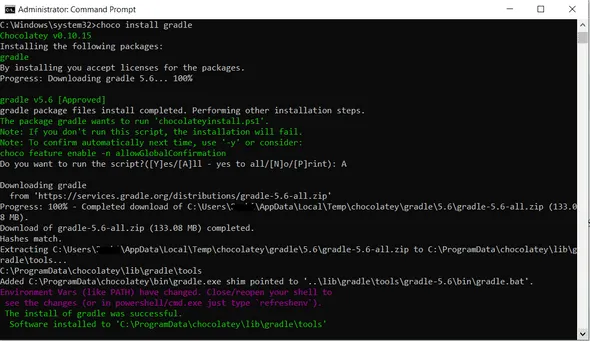
4. This command will automatically edit the Path variable under Environment Variable to add Gradle Path.
Steps to install Maven
Maven is a tool used to build and manage Java based projects.
- Open the command prompt.
- Type the following command:
- Choco install maven
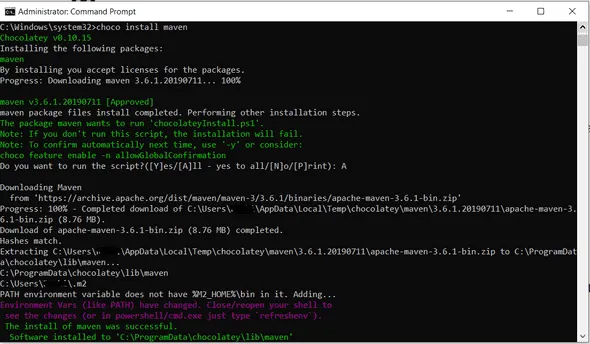
- This command will automatically edit the Path variable under Environment variable to add path of Maven.
Steps to install Eclipse
Eclipse is an Integrated Development Environment (IDE). We are going to use eclipse to write, compile and run test scripts.
- Go to the link and Download the Eclipse.
- Double click the downloaded file and follow the steps to install eclipse.
Steps to install TestNG:
- Open the Eclipse.
- Go to the Help option in the top main horizontal menu.
- Select Install New Software from the list.
- Paste “http://beust.com/eclipse” in the “Work with” field and press enter on the keyboard.
- Eclipse will show the name of the relevant package.
- Select the checkbox next to “TestNG” and click on Next.
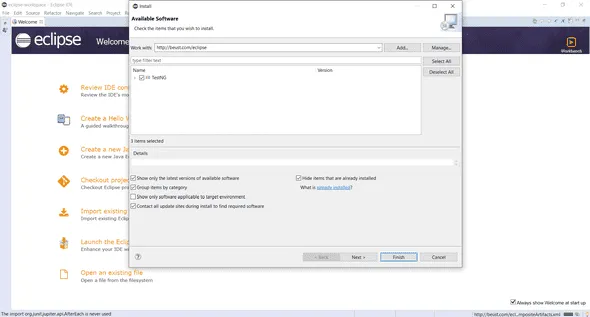
- Eclipse will take a while to download and install TestNG. You will see a prompt to restart the Eclipse.
- Restart Eclipse and now you are ready for the actual coding.
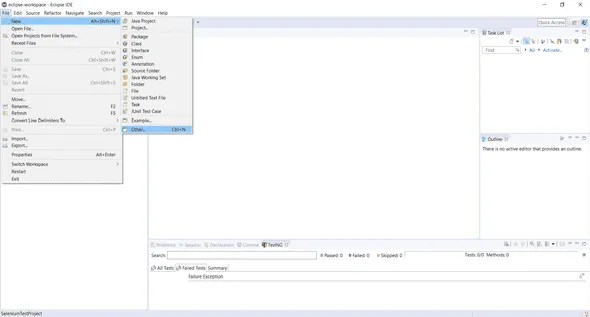
Setting up the project
- Launch Eclipse. Create a New Maven Project by Clicking on File->New->Maven Project. If Maven Project option is not available in the list, you can find this option by clicking on the others option in the list.
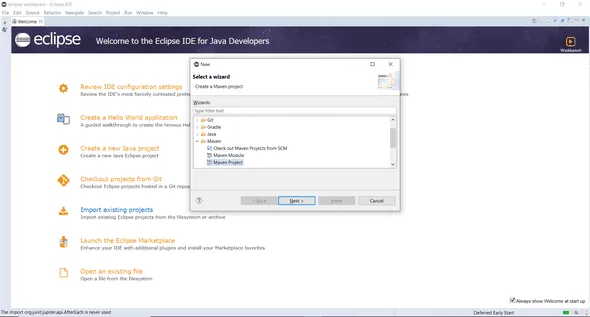
2. On clicking next, you can find 2 fields Group Id and Artifact Id. Group Id is an identifier that uniquely identifies your project among all other projects in the workspace and Artifact Id is the name of the jar file without version. I have set Group Id as com.frugaltesting.appium and Artifact Id as sampleproject (for Artifact Id I am setting the name of the project). 3. Next step is to add the required JAR Files to the project. Double click pom.xml file and edit the block.
.webp)
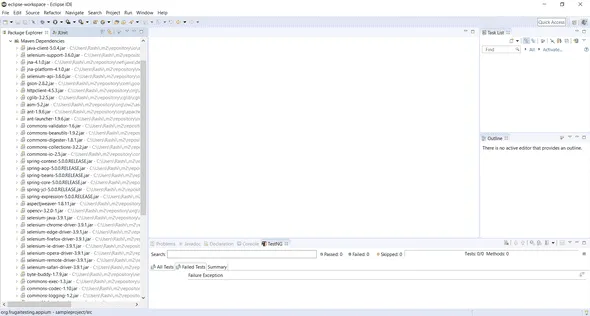
- In order to download the dependencies, you need to update the project. Right Click on the project-> Maven-> Update Project.
- This will start downloading the dependencies as mentioned in the pom.xml file. Upon successful completion you will be able to see a lot more .jar files in the Maven Dependencies dropdown.
This defines dependencies for Maven to download in this Project.
Writing a basic Test Case:
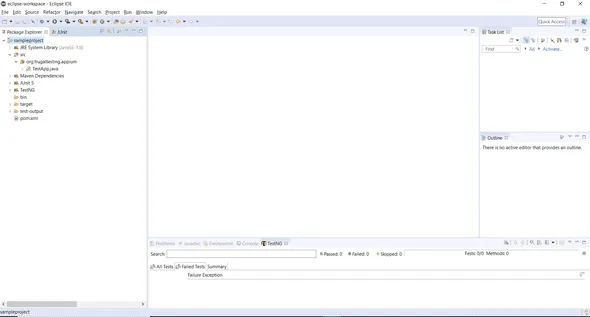
- Open the .java file under the src directory. Expand the src directory, you will see the package org.frugaltesting.appium, under which you will find the .java file TestApp.java.
- Copy Paste the following code:
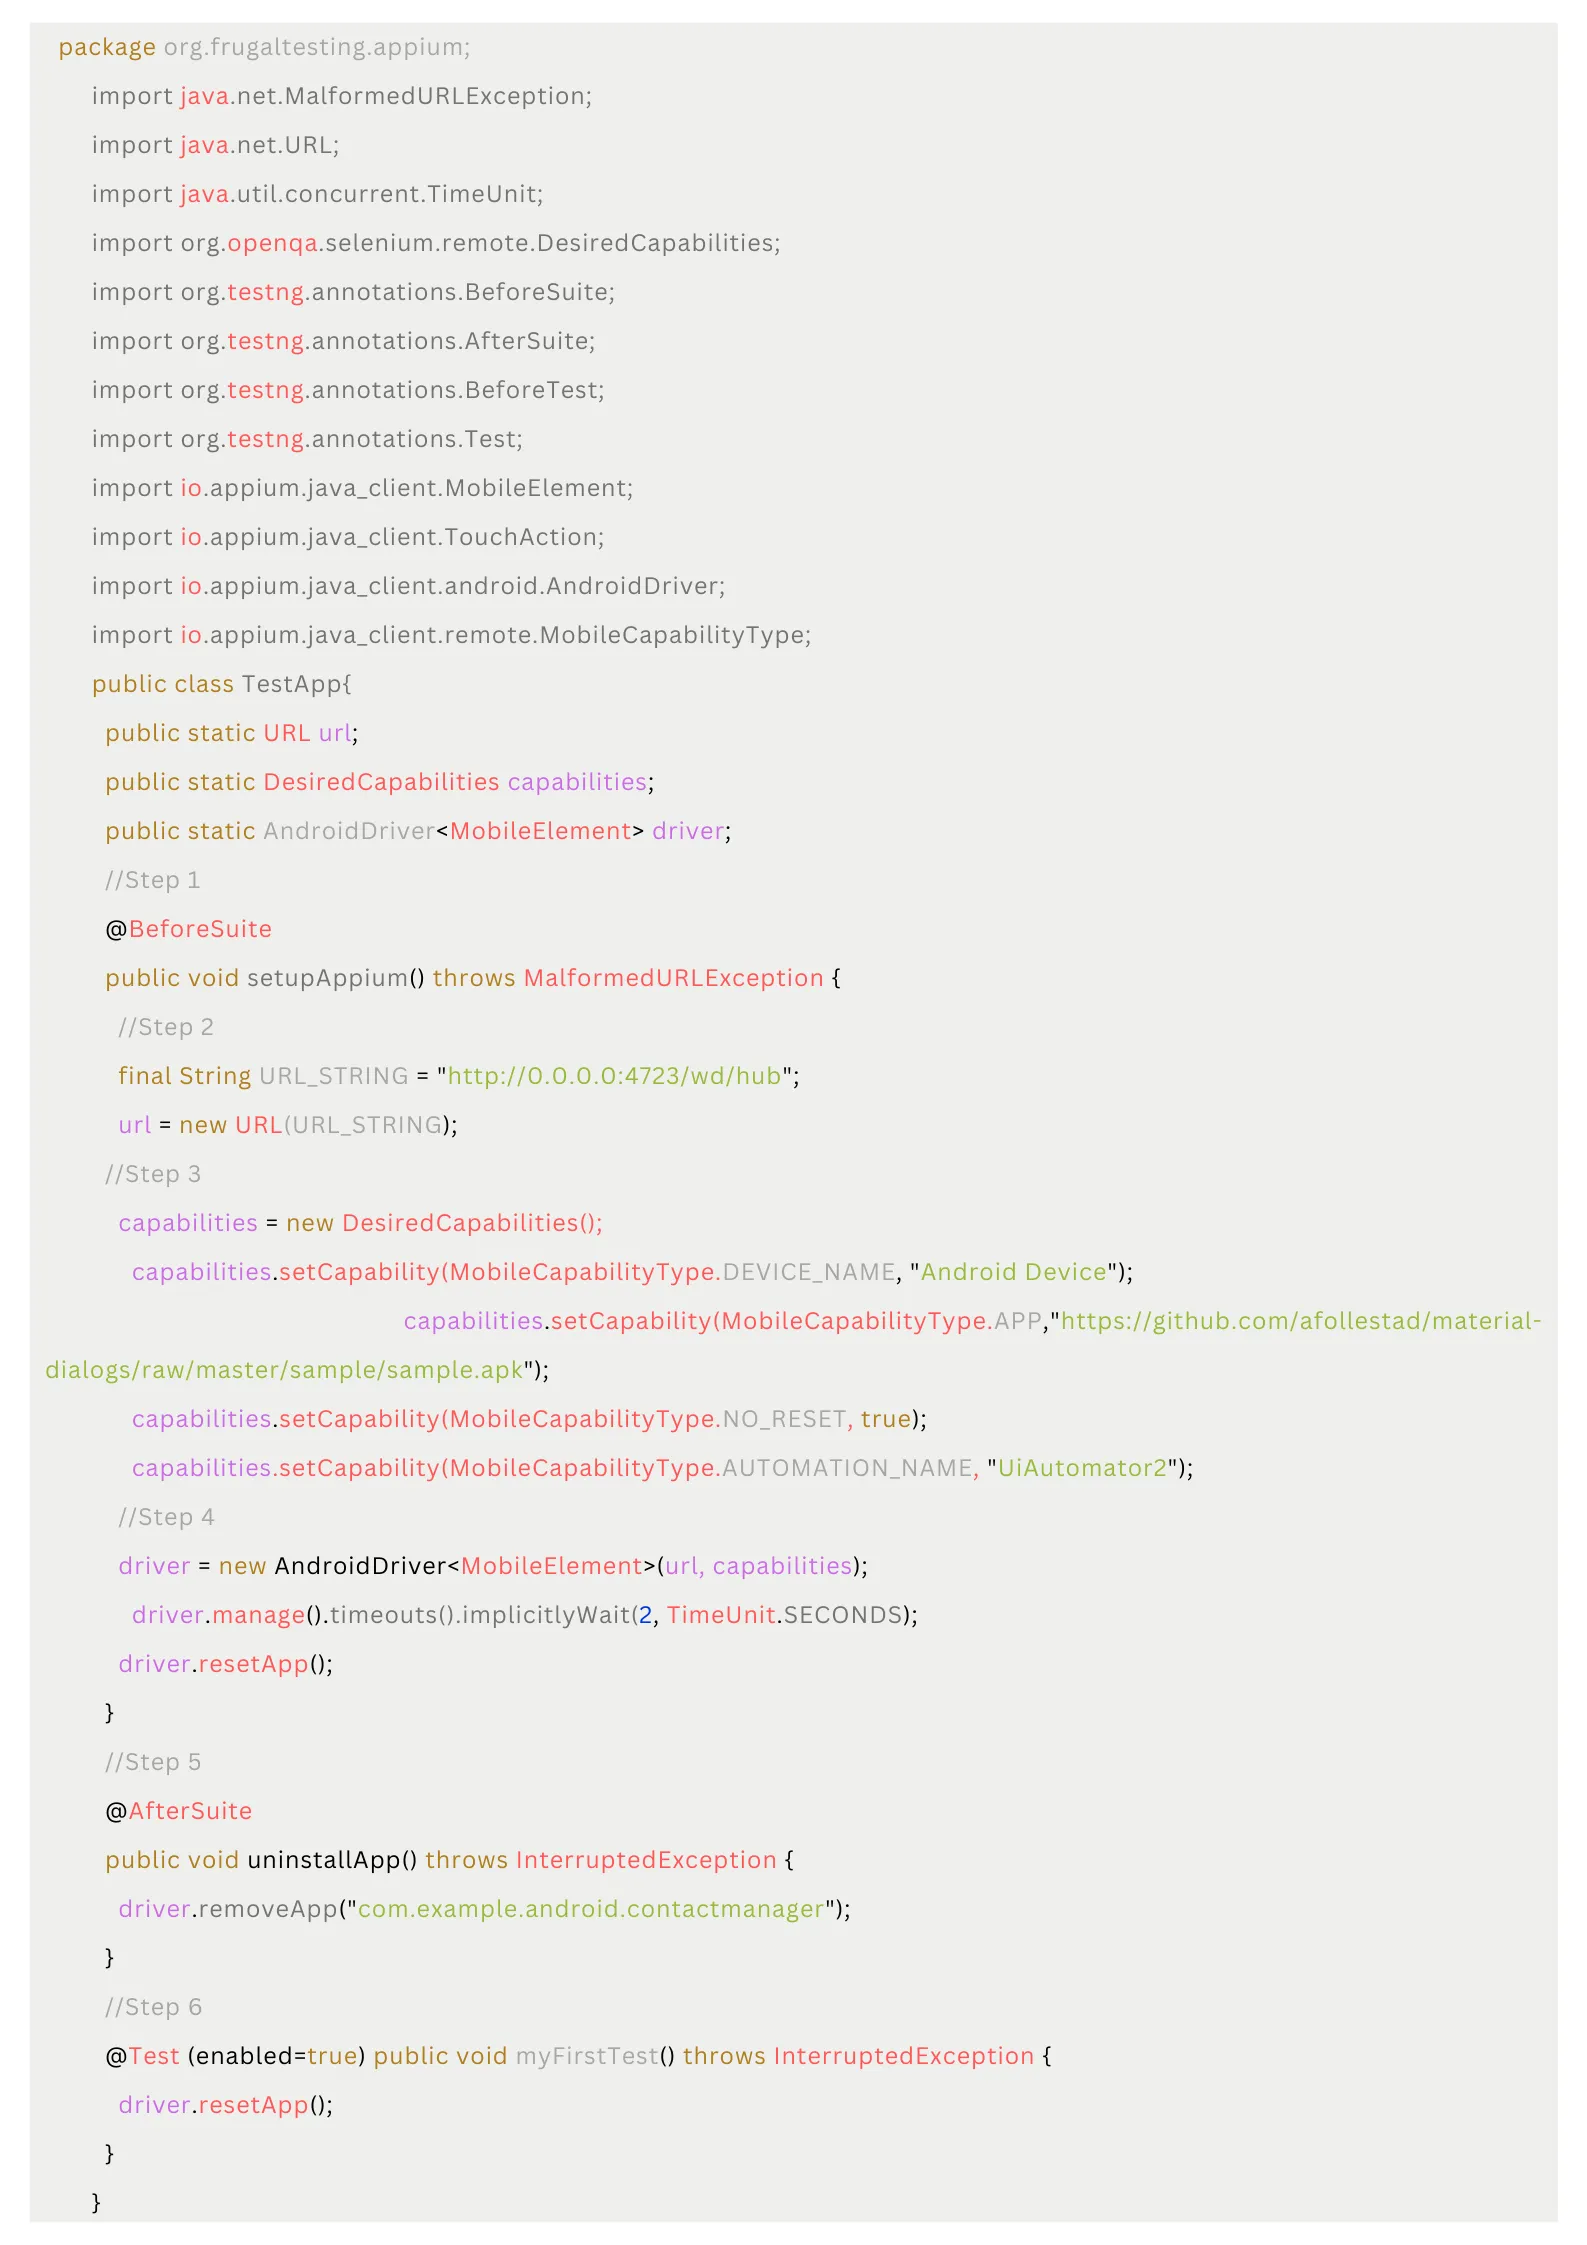
Let’s understand this code, so that you can edit it as per your software attributes.
- Step 1: @BeforeSuite functions will be executed before every test suite run. Such a function can be used to setup the environment before the individual test cases run.
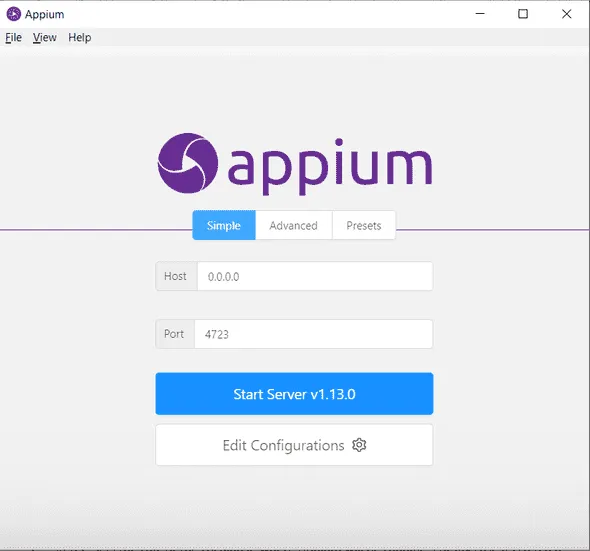
- Step 2: sets the URL of the Localhost, where Appium will be running. For my case it is 0.0.0.0 and Port No. is 4723.
NOTE: You can find the Host and Port by Launching the Appium. You will see the Host and Port on the main screen.
- Step 3: This is the most important step. As in this step, we will be creating the object to hold the Appium capabilities.
- Step 4: Here, we are initializing the driver object with url and capabilities object. This driver will be the main hero who will be interacting with device.
- Step 5: functions with @AfterSuite annotation will be executed after every test suite run. This will help to do the cleanup task before any new test suite run.
- Step 6: Function with @Test will be identified as TestNG Test. You can enable or disable the Test by Toggling the (enabled=True) value.
Running your basic tests on real devices
- Connect your Android device to the computer. You will need to enable the USB Debugging on your Android device.
- Launch Command Prompt.
- Type the following command
adb devices - You will see the list of devices attached to the computer. In this case, I have only one device attached, you will see only one device in the list of adb devices.
- Now start the Appium by typing the command in the command prompt
appium
- Return to the Eclipse Project. Right Click on the .java file->Run As->1 TestNG Test.
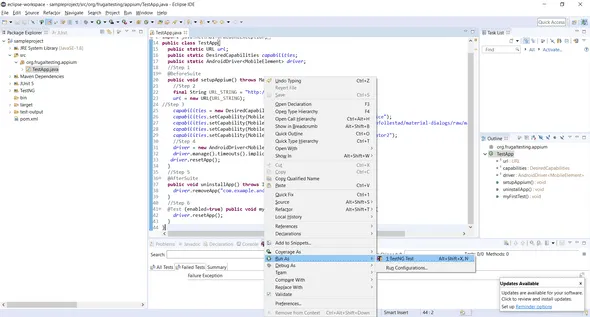
- You will see a successful test run with no errors in the console. This test case is basically installing and uninstalling the application in the device. So, you will be seeing the flickering in the device. With this we are done with installation and running a first test case.

%201.webp)