-p-500.webp)
.webp)
Getting started with webdriver's java binding is very easy- all you need to know how to put different pieces together, just like a puzzle.
Component’s you will need
- Eclipse.
- A Test Framework- We will be using JUnit 5.
- Wedriver’s Java Code Library.
- A Browser Driver- We will use Chrome Driver. You can use Safari Driver, Firefox Driver.
- A Dependency Manager- We will use Maven. Common Dependency Managers are Maven and Graddle. You can use either any of these two or you can use any other dependency manager.
Getting Eclipse
Eclipse is an open-source project maintained by Eclipse foundation and one of the most popular IDE for Java. It has a large marketplace for add-ons, tools and support.
You can download the latest version of Eclipse here.
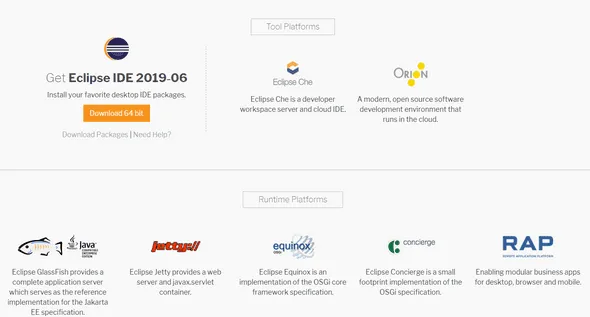
The downloader will save the executable file (.exe) to the browser's “download” directory or to the local drive on your computer. All you need to do is to Download and run it. You will see a list of options.
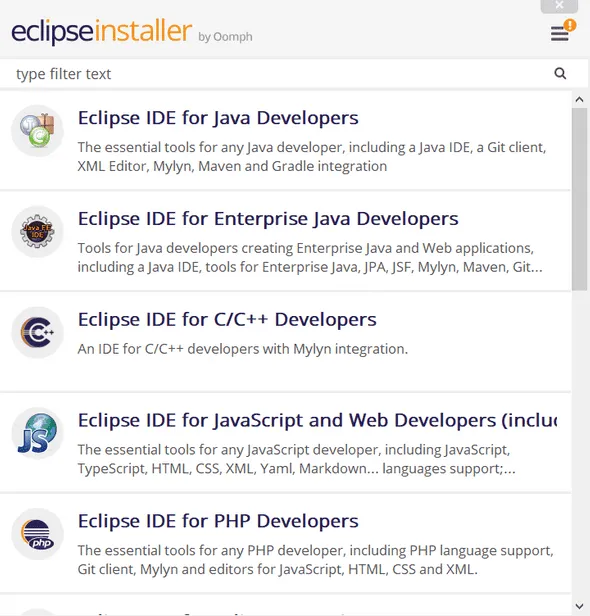
For this example I have selected Eclipse IDE for Java.
Creating The Project
Eclipse IDE works on the principle of folders and spaces. Different companies and Different teams follow different approaches for workspaces and project structures. Use whatever you are more comfortable with.
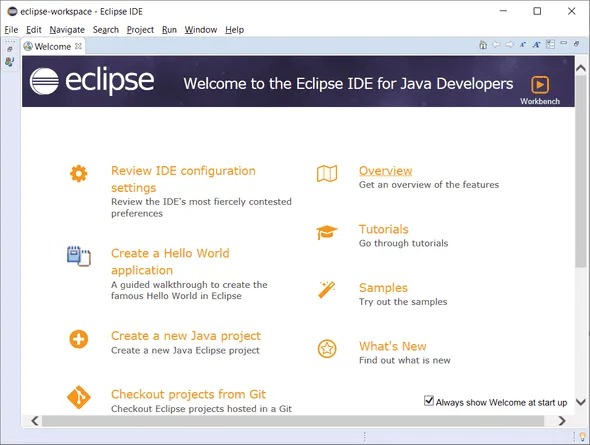
In this example we will create a new Java Project by simply clicking on “Create New Java Project” from the opening screen.
Complete the basic information in the form and then click finish to proceed.
NOTE: Please make sure that Java version is 1.8 or higher.
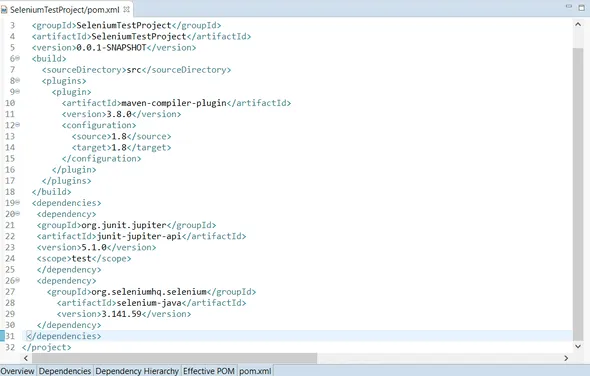
Add Dependency Manager- MAVEN
Maven is a dependency registration and management service that frees you of the task to download and install all dependencies by hand.
Right Click on the Project→Configure→Convert to Maven Project.

Add Dependencies
In the bottom left of the package explorer you will see the pom.xml file.
We will add reference to the JUnit Jupiter and Webdriver into the POM, by adding dependencies xml fragment.
Dependencies are added below build and before </project>.
Here is the snippet that you need to add to the pom.xml file.
.webp)
Adding Webdriver to Eclipse
Before delving into the details on how to add a webdriver in an eclipse project. We first need to see the list of web drivers that are available.
The Browser Driver
It is the webdriver’s lowest component responsible for manipulating browser directly through it’s automation interface. This is the actual program that libraries will call. There a variety of browser driver’s that are available- ChromeDriver for Google Chrome, Geckodriver for Firefox, Internet Explorer Driver for Internet Explorer and Safari Driver for Safari.
Place the browser driver directly in the directory that is part of your System Environment Path variable or you can place it anywhere and mention the exact path to the browser driver in the test case inside the System.setProperty() method.
We will pick webdriver automatically by adding it to the pom.xml file.
Language Bindings
Language bindings are also known as client drivers. These bindings enable you to write test scripts in any language that you are comfortable with. Official bindings are available for Java, Python, Ruby, C#, JavaScript(Node) and many more.
If you are running your tests on one local machine then you need language binding but if you are running tests on many machines then you need a server component.
Selenium Server is a server component when running tests on many machines. This will act as a central hub in grid configuration.
Writing First test case
We will be using JUnit to write test case because of the 2 reasons:
- It comes installed with Eclipse
- It is very Popular
Right Click on the Eclipse Project-New-JUnit Test Case

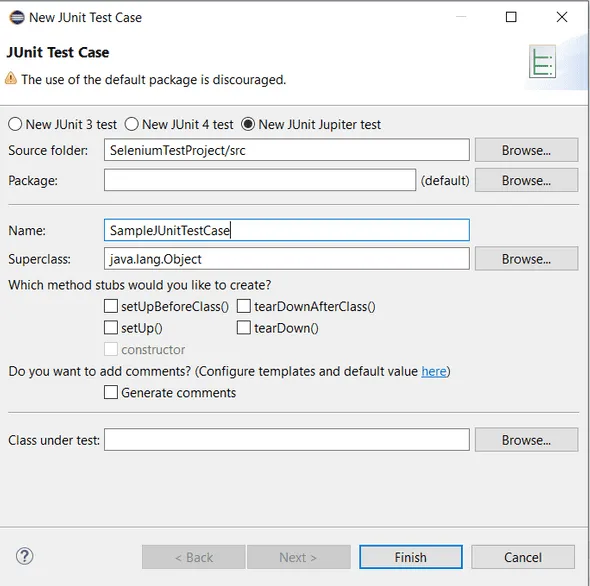
Give your test case a good name following the naming practice that is followed by your team in your organization.
Now it’s time to do the actual coding and write the test case.
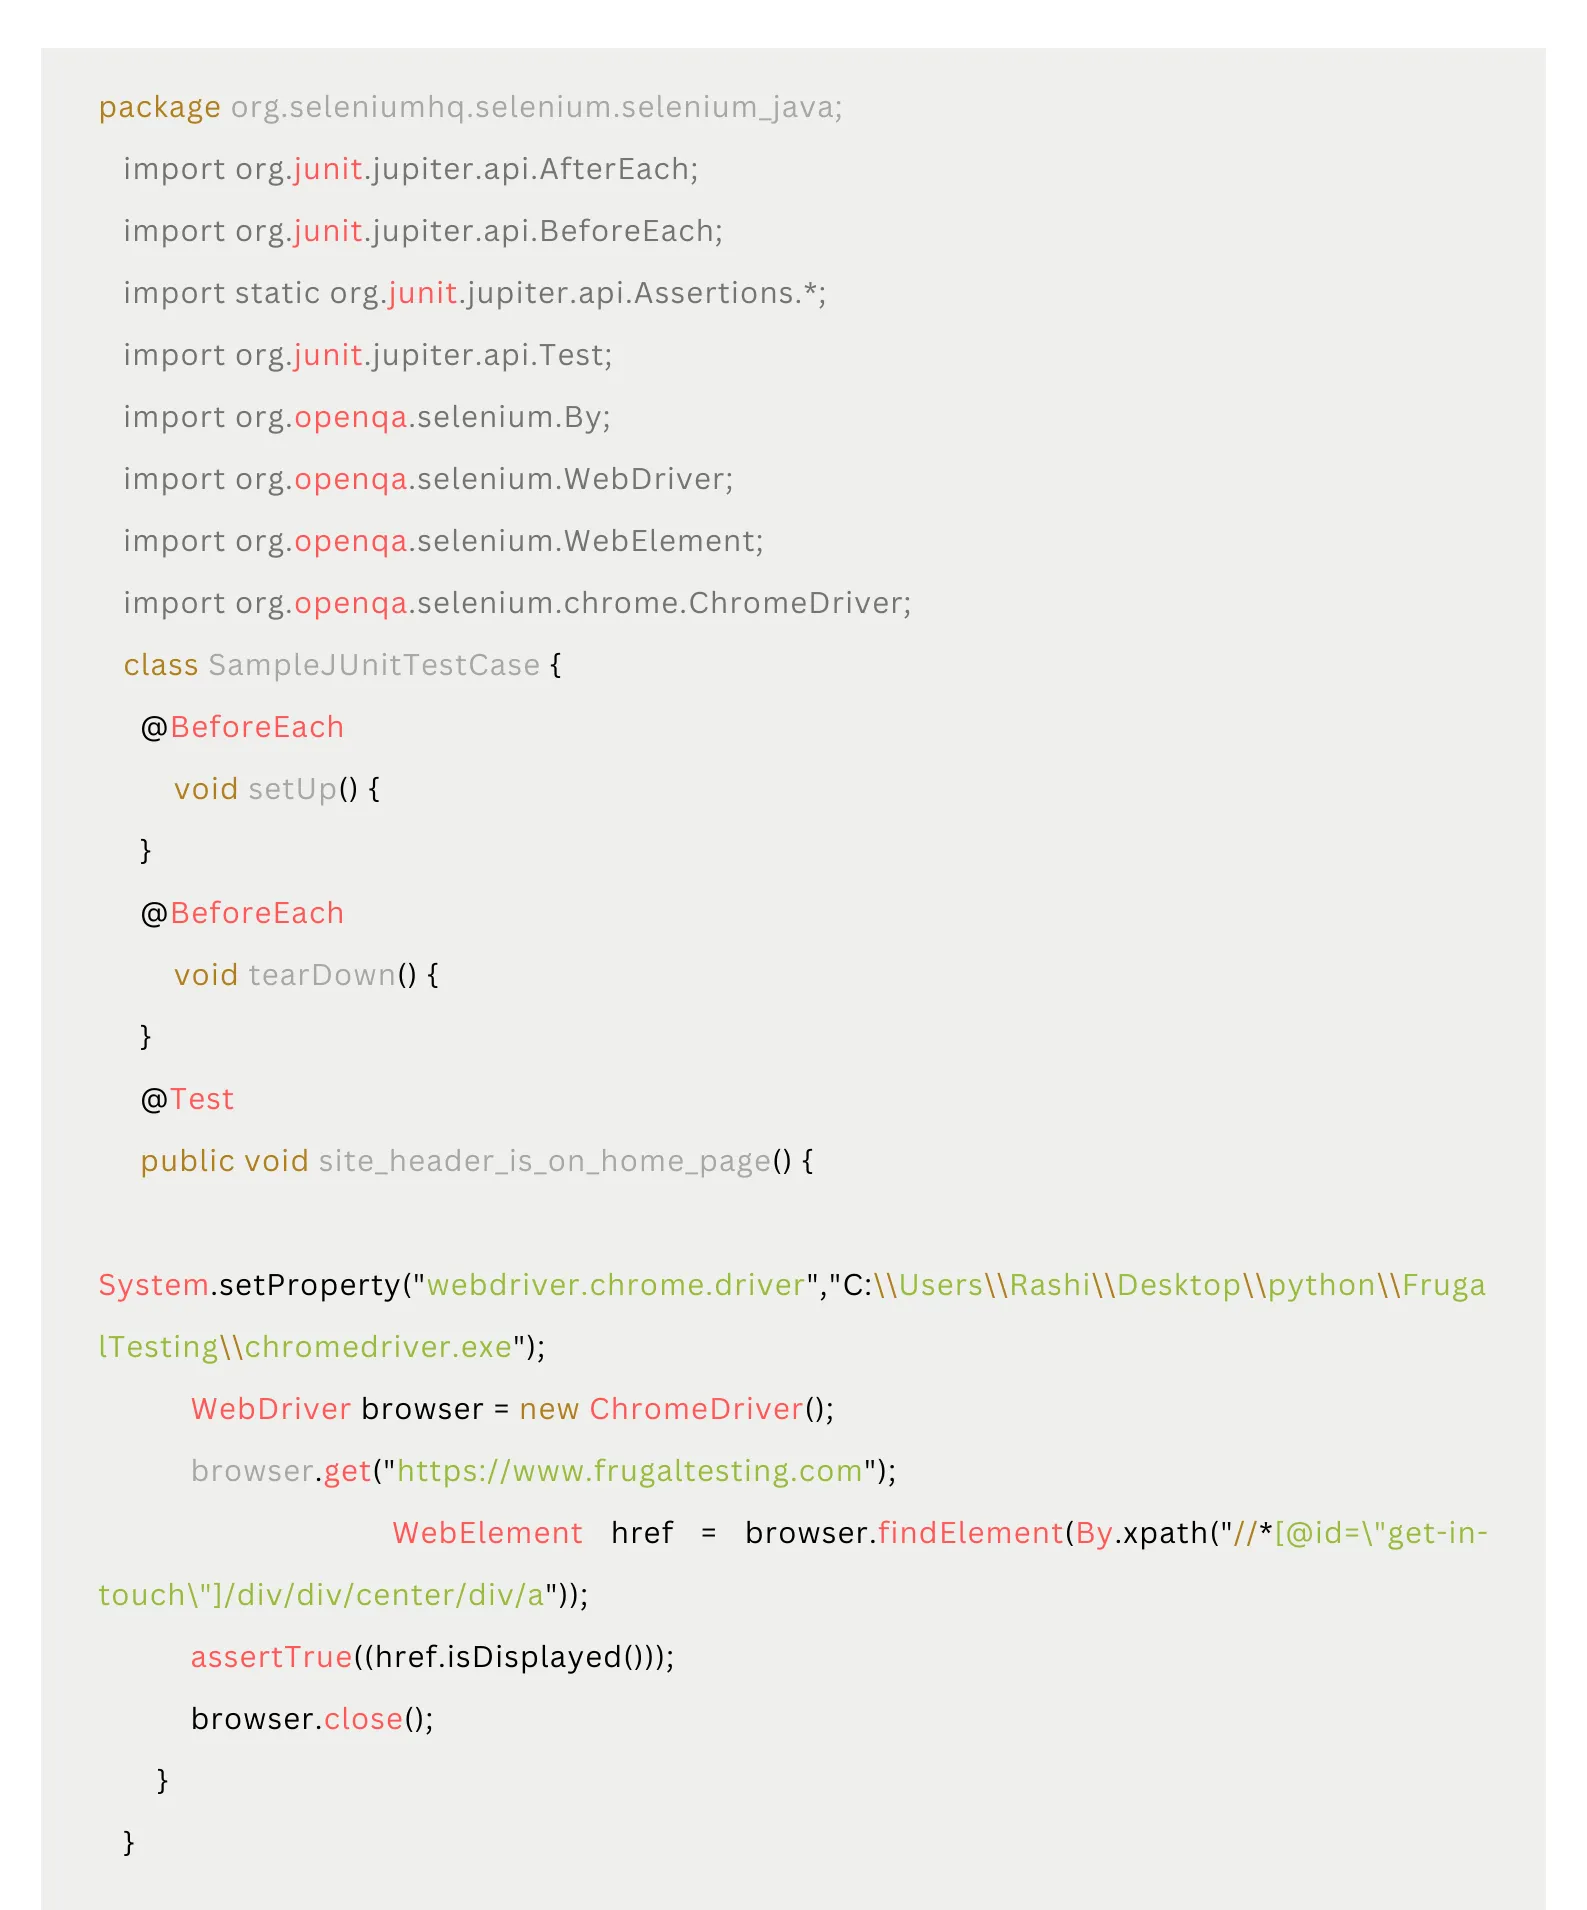
Here we are opening the homepage of FrugalTesting and closing the browser instance. NOTE: You can either set the exact path of the webdriver-chromedriver in this case inside the System.setProperty() method parameter list or you can set it as Environment variable so that system will automatically pick this webdriver.
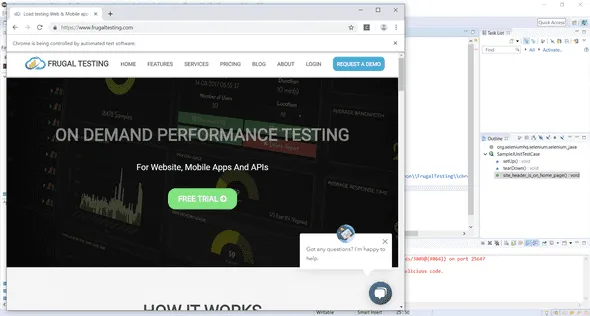
Run the test by Right Clicking in the body of the test case and then selecting Run Configurations options.You will see the JUnit5 Option in the left hand side of the dialog box that appears.

%201.webp)