API testing is at the heart of modern software applications, ensuring that various services and components communicate effectively. While many testers may lean towards REST API testing, the world of SOAP APIs is equally vital, particularly in systems that require high security, complex transactions, and stateful operations.
This blog will walk you through how to perform effective API testing with SoapUI, covering everything from creating your first SOAP and REST projects to mastering assertions, data-driven testing, and even performance testing.
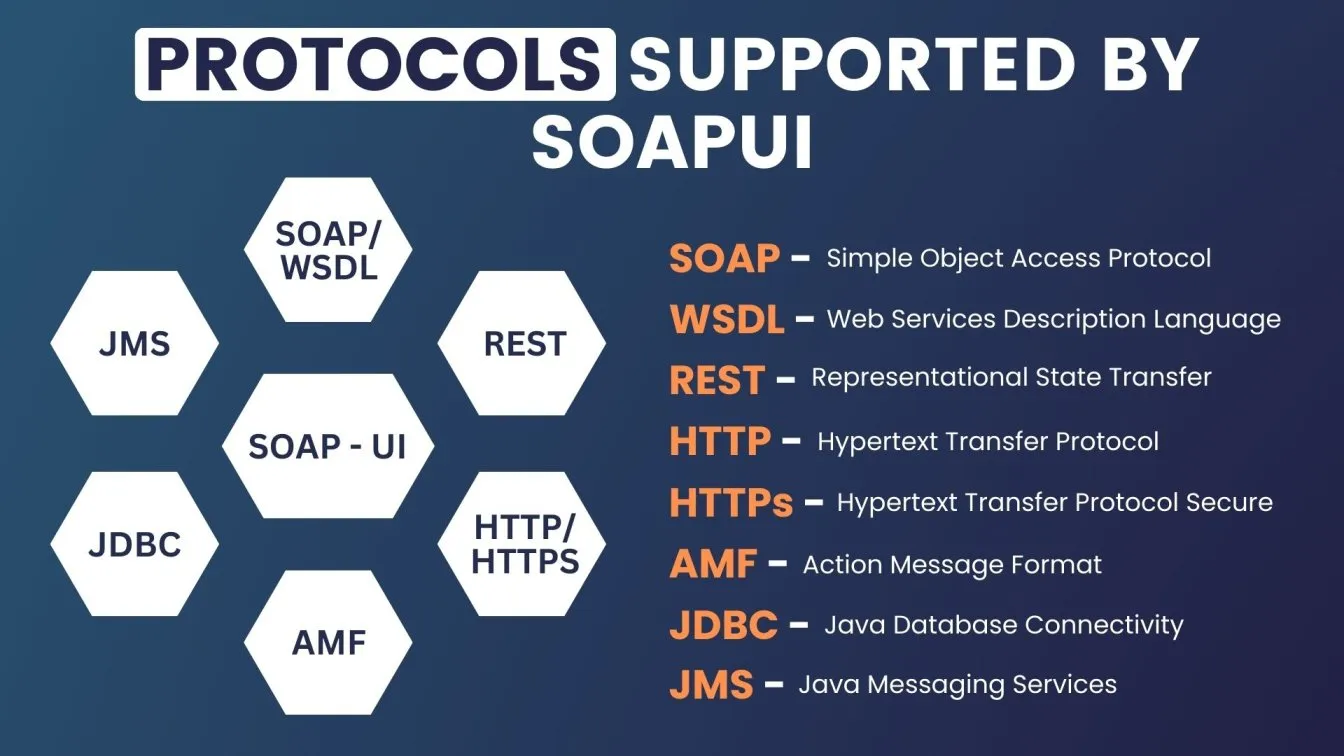
By understanding key differences between SOAP and REST, learning best practices, and comparing SoapUI with Postman, you’ll gain a comprehensive toolkit to excel in API testing.
For starting your journey in API testing or for an experienced tester, this blog will provide practical insights into using SoapUI to ensure reliable and high-quality APIs for your applications.
Key Points
📌 SOAP vs. REST: Understand the unique strengths and use cases for each protocol to make the best choice for your project.
📌 API Testing Basics: Discover how mastering API testing ensures seamless integration, reliability, and efficiency in communication between services.
📌 Assertions for Response Validation: Explore how assertions improve test accuracy by verifying expected responses, helping catch issues early in the process.
📌 Performance Testing with SoapUI: Gain insights on performance testing, from setup to analyzing results, to ensure your APIs can handle real-world traffic.
📌 Automation for Continuous Testing: See how SoapUI’s automation features streamline your API testing within CI/CD workflows, saving time and boosting accuracy.
📌 SoapUI vs. Postman: Compare these popular tools and understand which best suits different API testing needs, from functionality to usability.
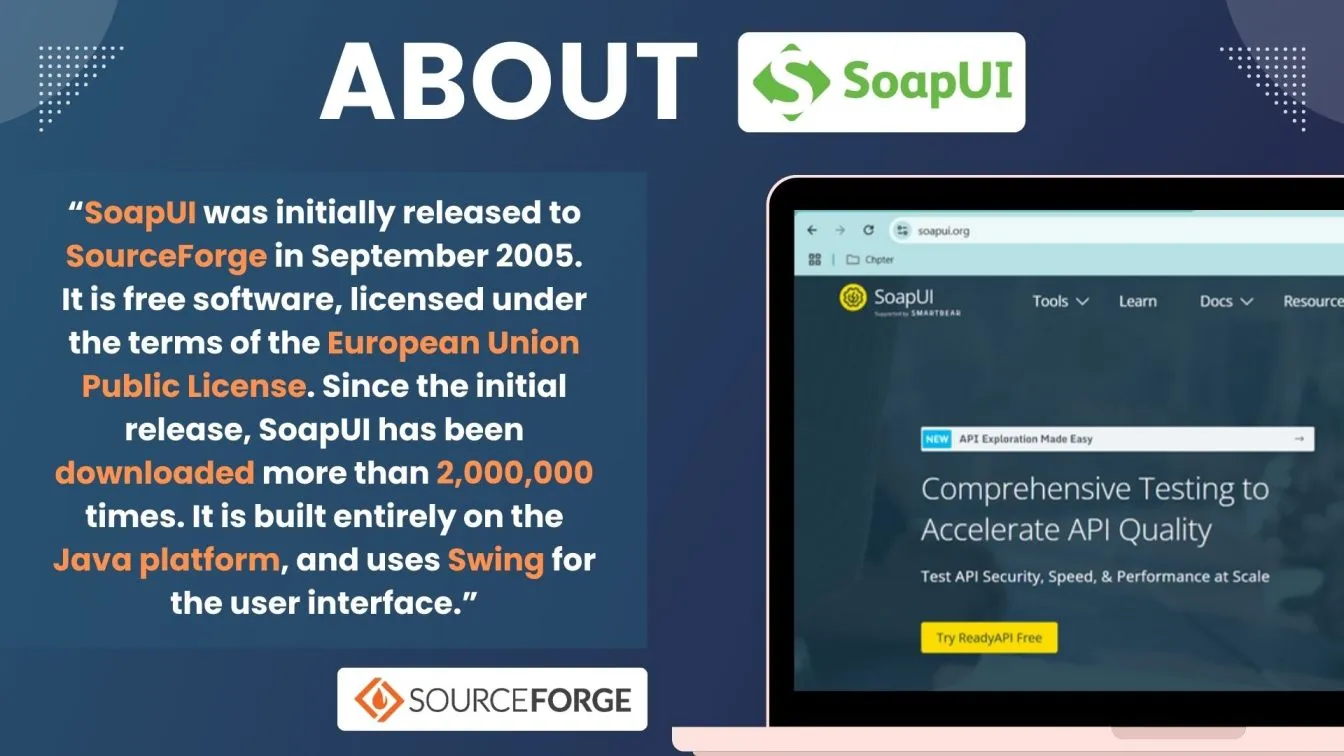
Why SoapUI Stands Out?
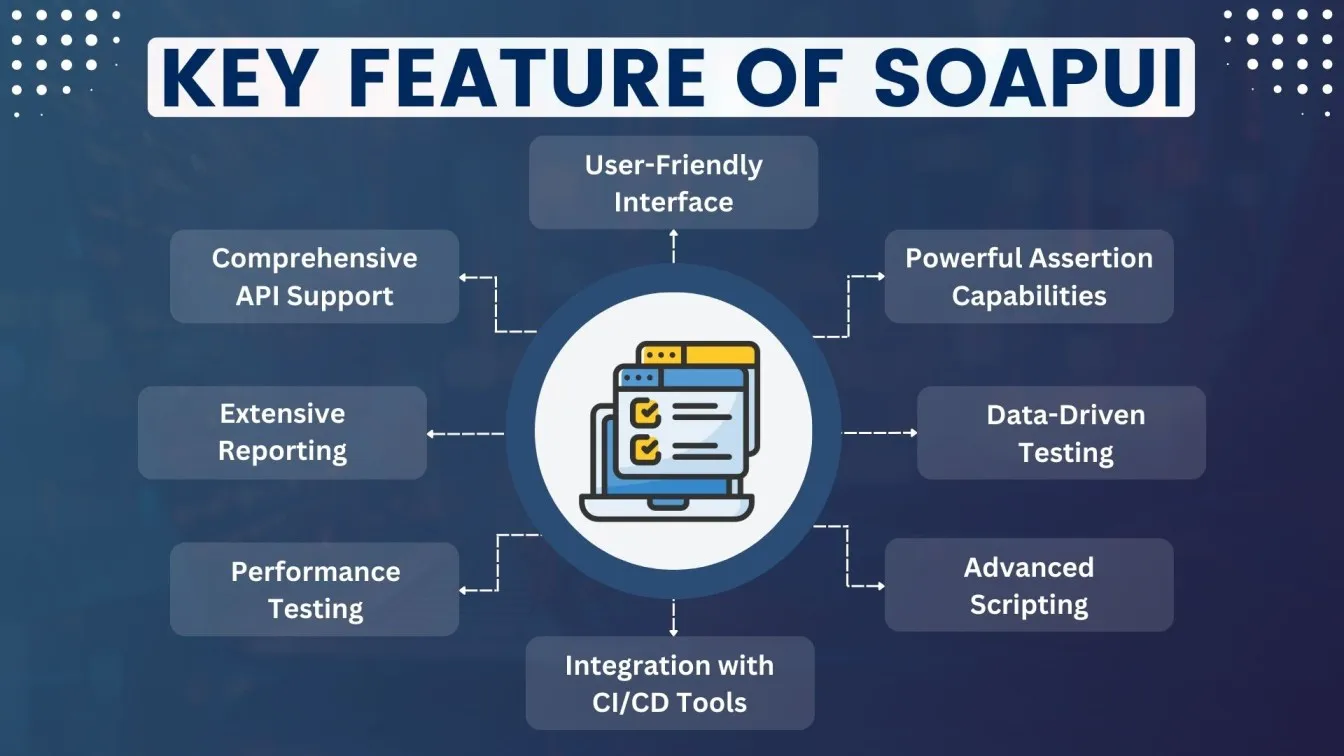
SoapUI is recognized as one of the leading tools in the API testing space due to its extensive range of features. Here are some key reasons why SoapUI stands out among its competitors:
1. Comprehensive API Support
SoapUI provides robust support for both SOAP and REST APIs, allowing testers to use a single tool for various testing scenarios. This dual support makes it a versatile choice for teams working with different API types.
2. User-Friendly Interface
The graphical user interface (GUI) of SoapUI is intuitive and user-friendly, which significantly reduces the learning curve for new users. Testers can create and execute tests without needing extensive programming knowledge.
3. Powerful Assertion Capabilities
SoapUI offers a wide array of assertion options, enabling testers to validate responses easily. Assertions can check for status codes, response times, and specific data values in the response body, ensuring that the API behaves as expected.
4. Data-Driven Testing
With SoapUI, you can implement data-driven testing effortlessly. This feature allows you to run the same test with multiple sets of data, increasing test coverage and reliability.
5. Advanced Scripting
SoapUI supports Groovy scripting, which allows testers to write custom scripts for complex testing scenarios. This feature enables dynamic data handling and advanced validations that go beyond standard testing practices.
6. Integration with CI/CD Tools
SoapUI integrates seamlessly with Continuous Integration and Continuous Delivery (CI/CD) tools, facilitating automated testing in DevOps environments. This integration ensures that API tests are executed as part of the build process, promoting faster feedback cycles.
7. Performance Testing
In addition to functional testing, SoapUI provides tools for performance testing. You can simulate high loads and analyze how your API performs under stress, helping to identify potential bottlenecks.
8. Extensive Reporting
SoapUI includes robust reporting features that generate detailed test reports, allowing teams to analyze results and track testing progress effectively. This functionality is crucial for maintaining transparency and accountability within development teams.
These features make SoapUI an invaluable tool for organizations aiming to enhance their API testing processes and ensure high-quality software delivery.
Get Started with SoapUI: Quick Download and Installation Guide
Getting started with SoapUI is a straightforward process. Here are the steps to download and install the tool:
Step 1: Download SoapUI
- Go to the SoapUI download page.
- Select the version for your operating system (Windows, macOS, or Linux) and click the download link.
Step 2: Run the Installer
- Find the downloaded installer file and double-click on it to begin the installation.
- Follow the prompts to complete the installation; Windows users may need to grant administrative permissions.
Step 3: Launch SoapUI
- Open SoapUI from your applications menu or desktop shortcut.
Step 4: Create a New Workspace
- In SoapUI, go to the “File” menu and select “New Workspace.”
- Name your workspace and click “OK” to organize your projects.
%2520(1).webp)
With SoapUI installed and your workspace created, you are now ready to begin your journey into API testing.
SOAP vs. REST: Which API Should You Be Testing?
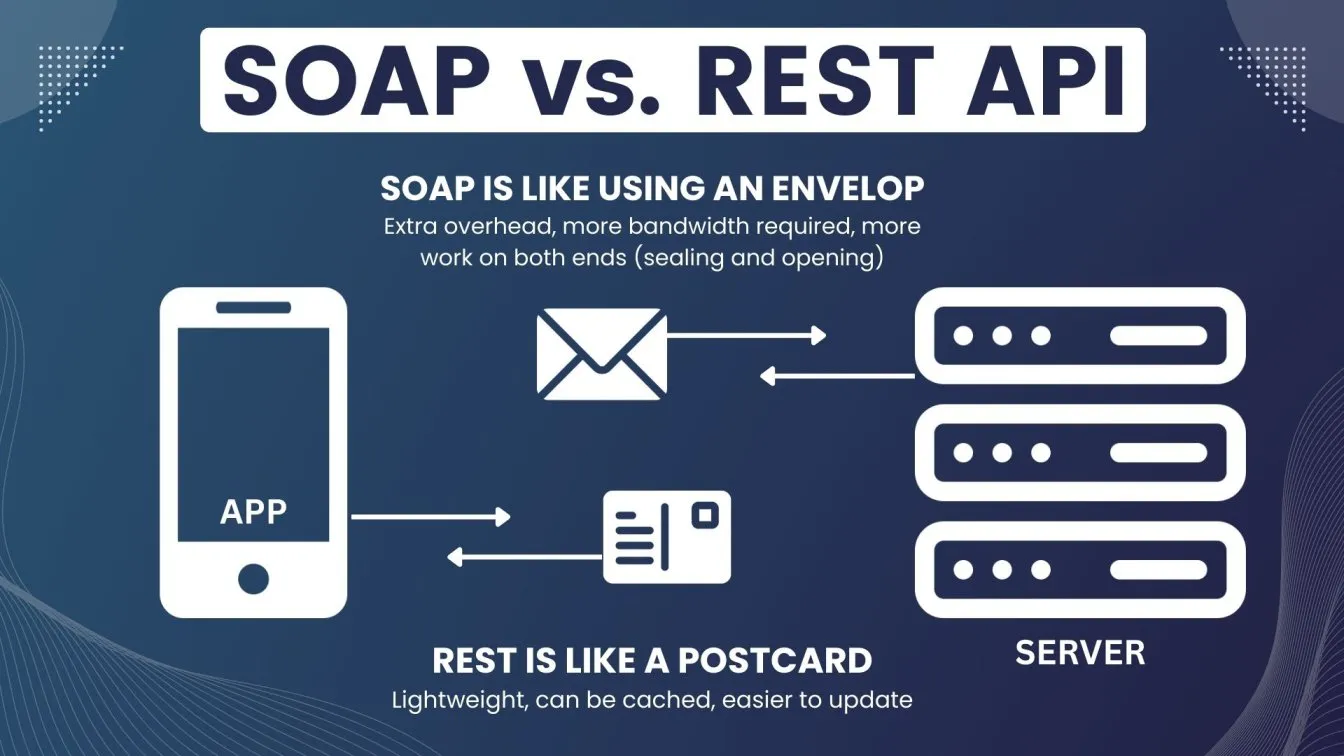
When it comes to API testing, understanding the fundamental differences between SOAP and REST is essential for making informed decisions. Here’s a brief overview of both API types:
Which One to Choose?
The choice between SOAP and REST depends on the specific requirements of your application. If you need strict security, complex transactions, and a standardized approach, SOAP may be the better option. On the other hand, if you prefer a lightweight and flexible solution that is easier to work with, REST would be a more suitable choice.
Creating Your First SoapUI Project: A Step-by-Step Guide
Now that you understand the basics of SOAP and REST, let’s create your first SoapUI project. Follow these steps for a successful setup:
Step 1: Create a New SOAP Project
- Open SoapUI, click “File,” and select “New SOAP Project.”
- Enter your project name and the WSDL URL, then click “OK.”
Step 2: Explore the Project Structure
- Familiarize yourself with the tree structure in the left panel, which includes your project, operations, and requests.
Step 3: Add a Test Suite
- Right-click your project name, select “Add TestSuite,” name it, and click “OK.”
Step 4: Add Test Cases
- Right-click the test suite, select “Add TestCase,” name it, and click “OK.”
Step 5: Add a Test Step
- Right-click the test case, select “Add Step” > “SOAP Request,” name it, and click “OK.” The request editor will open.
Step 6: Edit the Request
- Modify the request body based on the operation you want to test, using the WSDL structure.
Step 7: Send the Request
- Click the green play button to send the request. The response will display in the lower panel.
Step 8: Analyze the Response
- Review the response to ensure it meets expectations and use assertions to validate the response structure and values.

Mastering SOAP Requests: How to Build and Test Effectively
Building and testing SOAP API requests effectively requires an understanding of the SOAP protocol and its components. SoapUI provides code generation features that allow you to automatically generate client-side code in various programming languages, making it easier to integrate API calls into your projects. Here are some tips to master the process and ensure your API services perform as expected, including performing security testing to ensure the safety of data and interactions:
1. Understand the SOAP Envelope Structure
A SOAP API message consists of an envelope that contains a header and a body. Familiarize yourself with the typical structure of a SOAP envelope:

2. Utilize WSDL for Guidance
The WSDL file describes the available operations and data types of your API services. Use it as a reference while building your requests to ensure they conform to the required structure.
3. Parameterize Requests
If you need to run the same SOAP API request with different data, consider parameterizing the request. You can use properties to store values that can be dynamically replaced during test execution.
4. Validate Responses with Assertions
Always validate the responses you receive from the API. Use assertions to check for expected values, status codes, and response times. This practice helps catch errors early and ensures the API behaves as intended, leading to a more reliable API.
5. Debugging Tools
If you encounter issues, use the built-in debugging tools in SoapUI. The logs will provide detailed information about the request and response, helping you identify and fix problems quickly.
By mastering these techniques, including using code snippets for common request structures, you can build and test SOAP requests effectively, ensuring your APIs meet the required standards.
REST API Requests in SoapUI: Make Your First Call in Minutes
Testing RESTful APIs in SoapUI is equally straightforward. Here’s how to make your first RESTful API call:
Step 1: Create a New REST Project
- Open SoapUI and click on “File,” then select “New REST Project.”
- Enter the project name and the initial endpoint URL, then click “OK.”

Step 2: Add a REST Service
- Once the project is created, right-click on the project name and select “Add REST Service.”
- Enter the service name and the base URL of your REST API.
Step 3: Create a REST Request
- Right-click on the service you created and select “Add Resource.”
- Specify the resource name and the endpoint path.
- Right-click on the resource and select “Add Method” to define the HTTP method (GET, POST, PUT, DELETE) for your request.

Step 4: Configure the Request
In the request editor, set the necessary headers (e.g., Content-Type, Authorization) and the request body if applicable.
Step 5: Send the Request
Click the green play button to send the request. SoapUI will display the response in the lower panel.
Step 6: Validate the Response
Use assertions to validate the response code, response body, and other relevant aspects
By following these steps, you can quickly make your first REST API call using SoapUI.
Data-Driven Testing Made Easy with SoapUI
Data-driven testing is an essential technique for validating APIs against multiple datasets. SoapUI makes it easy to implement a data-driven approach through property transfers and data sources. Here’s how to set it up:
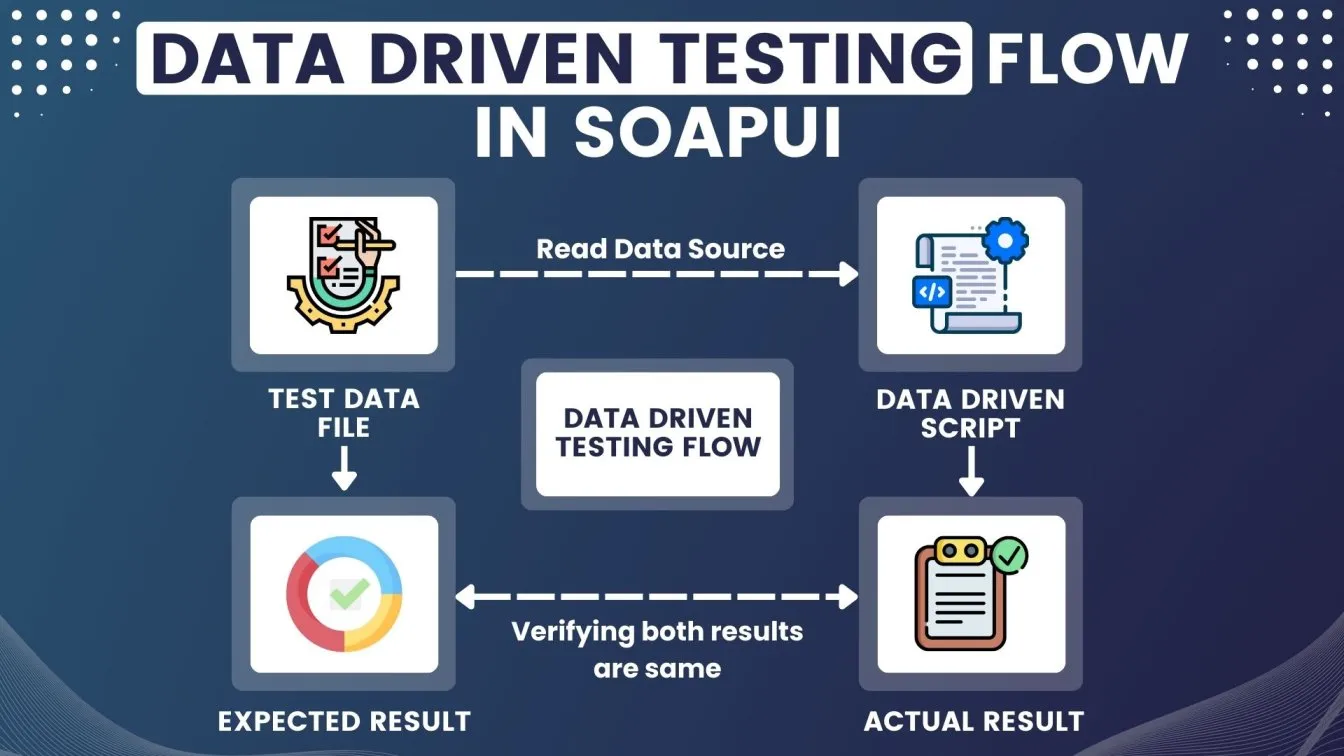
Step 1: Create a Data Source
- Right-click on your test case and select “Add Step” > “DataSource.”
- Choose the type of data source (Excel, CSV, JDBC, etc.) and configure it with the necessary file path or connection details.
Step 2: Add a Data Source Loop
- Right-click on the test case and select “Add Step” > “DataSource Loop.”
- Connect the loop to your data source to iterate through the dataset.
Step 3: Map Data to Requests
- In your request steps, use property expansions to refer to the data fields from the data source.
- This will dynamically replace the values in the request with those from the data source during execution.
Step 4: Execute the Test Case
Run your test case to see how it handles multiple datasets. SoapUI will iterate through the data source and execute the requests accordingly.
By implementing data-driven testing, you can enhance your testing coverage and validate how your API handles various input scenarios.
Automate Your API Tests in SoapUI: Save Time, Boost Accuracy
Automation is a key aspect of modern software development, and SoapUI makes it easy to automate your REST testing scripts. With its robust testing capabilities, SoapUI allows you to create and manage complex test scenarios for a wide range of APIs, ensuring accurate and reliable results. Here’s how to set up automation in SoapUI:
Step 1: Create Test Suites and Test Cases
Organize your tests into test suites and test cases, as previously discussed. This structure will help you manage your automated tests efficiently and enhance software quality.
Step 2: Use Groovy Scripting
Utilize Groovy scripting to enhance your automation capabilities. You can create scripts for:
- Pre-processing requests
- Post-processing responses
- Conditional execution of test steps based on results
- Utilizing advanced features of SoapUI for more complex scenarios
Step 3: Schedule Test Execution
Use SoapUI’s command-line interface (CLI) to execute tests at scheduled intervals. This allows for continuous testing and integration with CI/CD pipelines. Additionally, consider integrating with third-party tools for more advanced scheduling and reporting capabilities.
Step 4: Monitor Test Results
After executing your tests, review the results generated by SoapUI. The built-in reporting features provide insights into test performance and coverage. Regular execution of automated tests is essential for regression testing, ensuring that new code changes do not adversely affect existing functionalities.
By automating your API tests, you save time, reduce manual effort, and improve accuracy, allowing your team to focus on more complex testing scenarios.
Boosting Test Quality: Using Assertions to Verify API Responses
Assertions are a fundamental part of API testing, enabling you to validate the responses received from your API. While assertions help in automating test validation, there are instances where manual testing is necessary to perform in-depth analysis of complex responses or unexpected behavior:
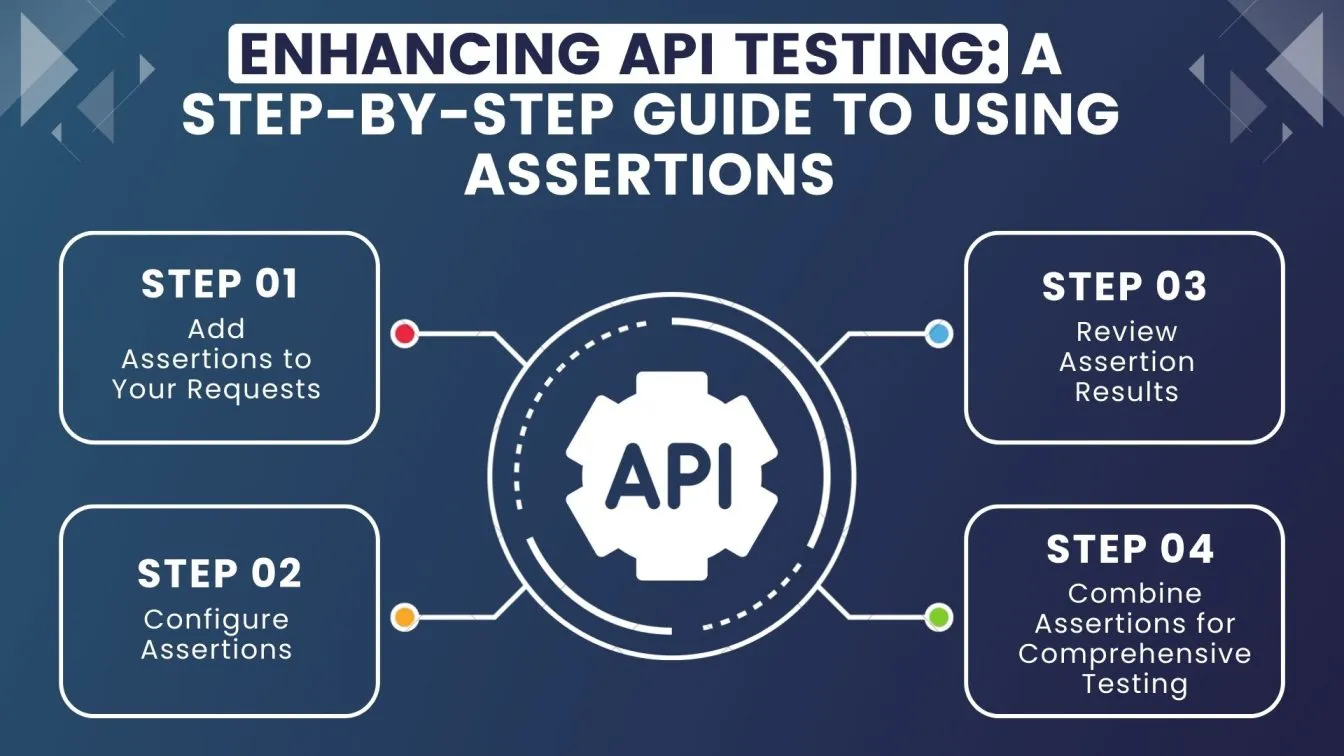
Step 1: Add Assertions to Your Requests
1.In the request editor, navigate to the “Assertions” tab.
Click on the “Add Assertion” button to choose from various assertion types, such as:
- Response Status: Check if the response code is as expected (e.g., 200 OK).
- XPath Match: Validate specific XML data using XPath expressions.
- JSONPath Match: Validate JSON data using JSONPath expressions.
- Contains: Verify if the response contains specific text.
Step 2: Configure Assertions
After selecting an assertion type, configure it with the appropriate parameters. For instance, if you are validating a response status, specify the expected status code.
Step 3: Review Assertion Results
After running your test, review the assertion results to see if they passed or failed. This feedback helps identify issues early in the testing process, especially if you encounter unexpected error messages.
Step 4: Combine Assertions for Comprehensive Testing
Use multiple assertions in a single test request to validate various aspects of the response. This approach ensures comprehensive coverage and increases confidence in your API’s reliability.
By effectively using assertions, you can boost the quality of your API tests and ensure that your services meet the expected standards.
Putting Your API to the Test: Performance Testing with SoapUI
Performance testing is essential for ensuring that your application programming interfaces (APIs) can handle expected loads and provide a seamless user experience. Here’s how to conduct load testing using SoapUI:
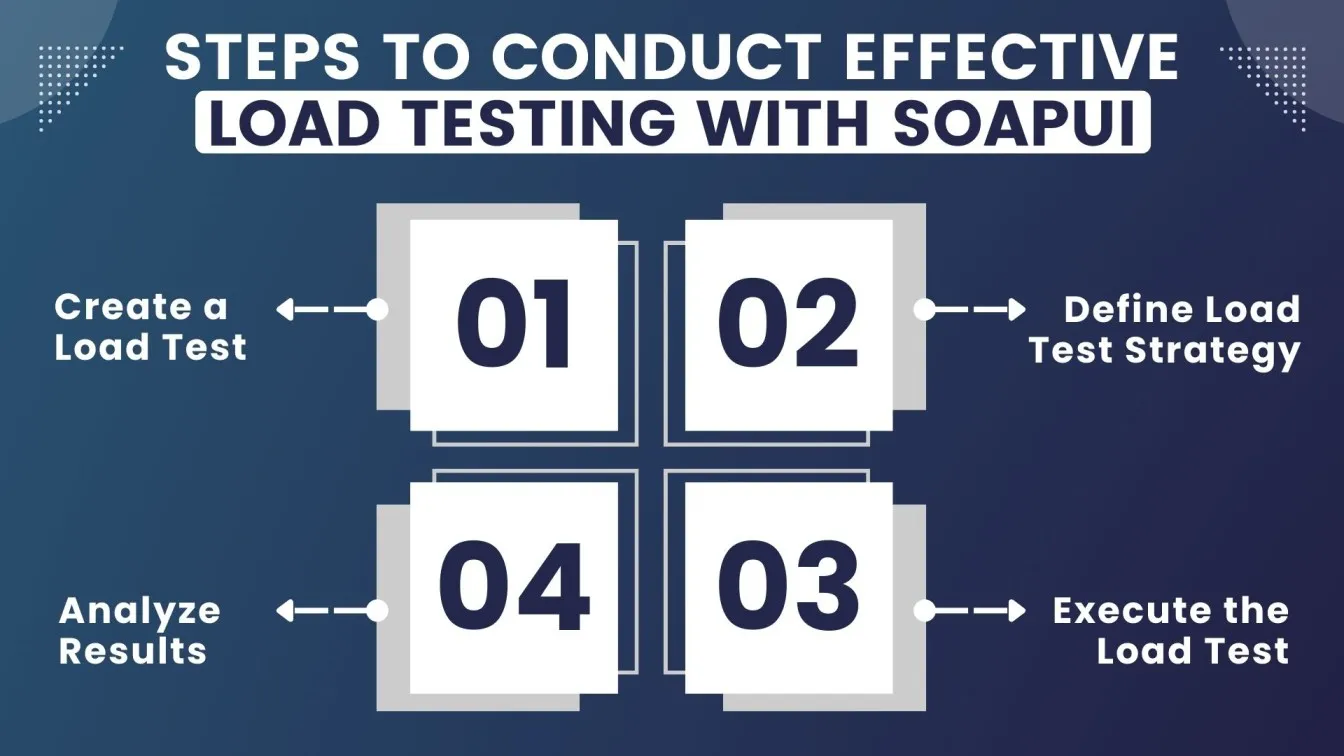
Step 1: Create a Load Test
1. Right-click on your test case and select “Add Load Test.”
2. Configure the load test settings, such as the number of users, ramp-up time, and test duration.
Step 2: Define Load Test Strategy
Determine your load test strategy based on your application’s requirements. Common strategies include:
- Concurrent Users: Simulate multiple users accessing the API simultaneously.
- Ramp-Up: Gradually increase the load over time to observe how the API responds.
- Stress Testing: Push the API beyond its limits to identify breaking points.
Step 3: Execute the Load Test
Run the load test and monitor the performance metrics, including response times, throughput, and error rates. SoapUI provides real-time graphs and reports to visualize the test results.
Step 4: Analyze Results
After completing the load test, analyze the results to identify performance bottlenecks and areas for improvement. Use this data to optimize your API and enhance its performance, ensuring that your software application can handle real-world usage scenarios effectively.
By incorporating performance testing into your strategy for testing APIs, you can ensure that your services can handle real-world usage scenarios effectively.
SoapUI vs. Postman: Choosing the Right Tool for API Testing
When working with APIs, it’s essential to understand the types of APIs you are testing. When it comes to popular API testing tools, SoapUI and Postman are two of the most popular tools available. Here’s a comparison to help you choose the right tool for your testing needs:

The choice between SoapUI and Postman depends on your specific needs and testing requirements. If you need a robust tool that supports both SOAP and REST APIs with advanced testing features, SoapUI may be the better option. SoapUI stands out as a comprehensive API testing tool that supports both SOAP and REST APIs. However, if you are primarily focused on REST APIs and prefer a user-friendly interface, Postman might be more suitable.
Essential Tips for Seamless API Testing with SoapUI
To make the most of SoapUI and ensure seamless API testing, consider the following tips:
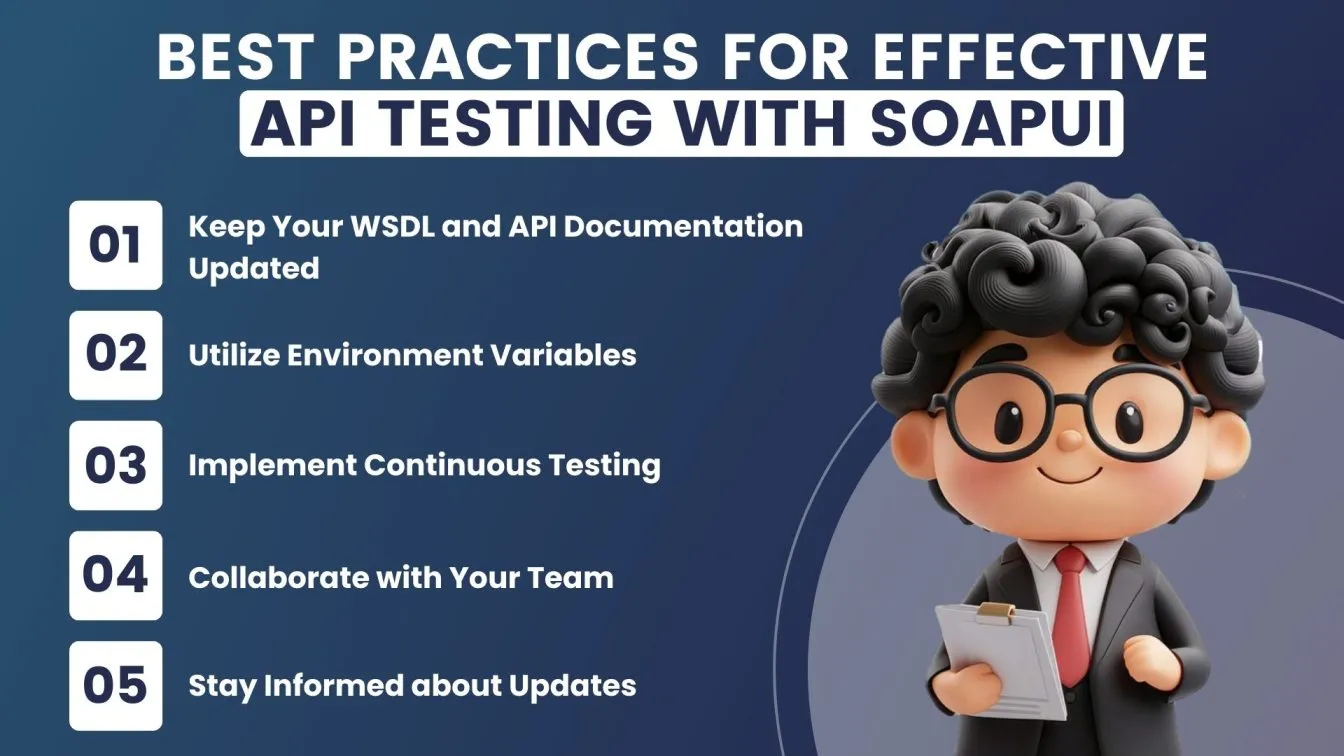
1. Keep Your WSDL and API Documentation Updated
Always refer to the latest WSDL and API documentation when creating requests to ensure accuracy and compliance with specifications.
2. Utilize Environment Variables
Leverage environment variables in SoapUI to manage different testing environments (e.g., development, staging, production). This allows for easy switching between configurations.
3. Implement Continuous Testing
Integrate SoapUI tests into your CI/CD pipelines to ensure continuous testing and faster feedback. This practice helps catch issues early in the development process and supports continuous integration and integration testing to validate how different components of your API work together.
4. Collaborate with Your Team
Use SoapUI’s collaboration features to share test cases, assertions, and reports with your team. Effective communication fosters better testing practices and improves overall quality.
5. Stay Informed about Updates
Regularly check for SoapUI updates and new features. Staying informed helps you leverage the latest capabilities for your testing efforts.
By following these tips, you can enhance your API testing process and unlock the full potential of modern API testing tools like SoapUI as your gateway to API testing excellence.
Conclusion
Mastering SoapUI boosts testing efficiency and accuracy 🛠️. From creating SOAP/REST projects to automation and CI/CD integration 🚀, it ensures reliable, high-performing APIs. SoapUI’s data-driven and performance testing features help streamline workflows, catch issues early, and optimize API quality for seamless, dependable services.
People also asked
👉 Can we test SOAP APIs using REST Assured?
Yes, REST Assured can handle SOAP requests by setting appropriate headers and XML payloads, making it possible to test SOAP APIs.
👉 What are the benefits of using REST Assured for SOAP API testing?
Benefits of using REST Assured for SOAP API testing include easy setup within Java environments, fluent syntax for assertions, and integration with CI/CD pipelines. It also supports data-driven testing and is versatile for both SOAP and REST APIs.
👉 How can I test both SOAP and REST APIs?
For SOAP, use XML payloads and set Content-Type: text/xml; for REST, use JSON payloads. REST Assured and SoapUI support both, though REST Assured is easier for REST.
👉 How do you perform API testing using REST Assured?
To perform API testing with REST Assured, set it up in your project, then write test cases specifying HTTP methods, endpoints, headers, and payload. Send requests, capture responses, and assert the response status and data.
👉 Can SoapUI be used to test REST APIs?
Yes, SoapUI supports both SOAP and REST API testing.
👉 What is the difference between SOAP and REST Assured?
SOAP is a protocol using XML, while REST Assured is a Java library for testing REST APIs, although it can also be adapted for SOAP testing.


%201.webp)
